

How to Frame Wallpaper as Artwork
Forever a sucker for up-cycling projects and DIY tutorials, today I’m focusing on the hidden potential of wallpaper scraps.
Have wallpaper leftovers from a project you don’t know what to do with (maybe you even purchased some of our designer wallpaper)? Chances are you hand-picked your wallpaper to be an aesthetic statement for a specific space. Why not echo this design choice in another setting and make the most of your investment?

With a few simple steps, your wallpaper scraps can be up-cycled into beautiful framed artwork for your space. In this post, I’ll walk you through our framing process and give you all our tips and tricks.

Here are a few reasons why I LOVE framing wallpaper as art:
Budget-friendly way to bring high-end looking artwork into your space (no purchase of thousand-dollar paintings required!)
Instantly brings some pattern into a room
One of the easiest DIYs ever
Takes little time
Great way to use up wallpaper leftovers, scraps, and samples
Even if you don’t have wallpaper scraps on hand, you can visit wallpaper companies and ask for samples- many of which are free and come in generous sizes. If you are nervous about completing a larger wallpaper installation and don’t want to purchase multiple rolls right away, introducing the pattern first as a framed piece of artwork may be the way to go.
Without further ado, let’s make some wallpaper art!
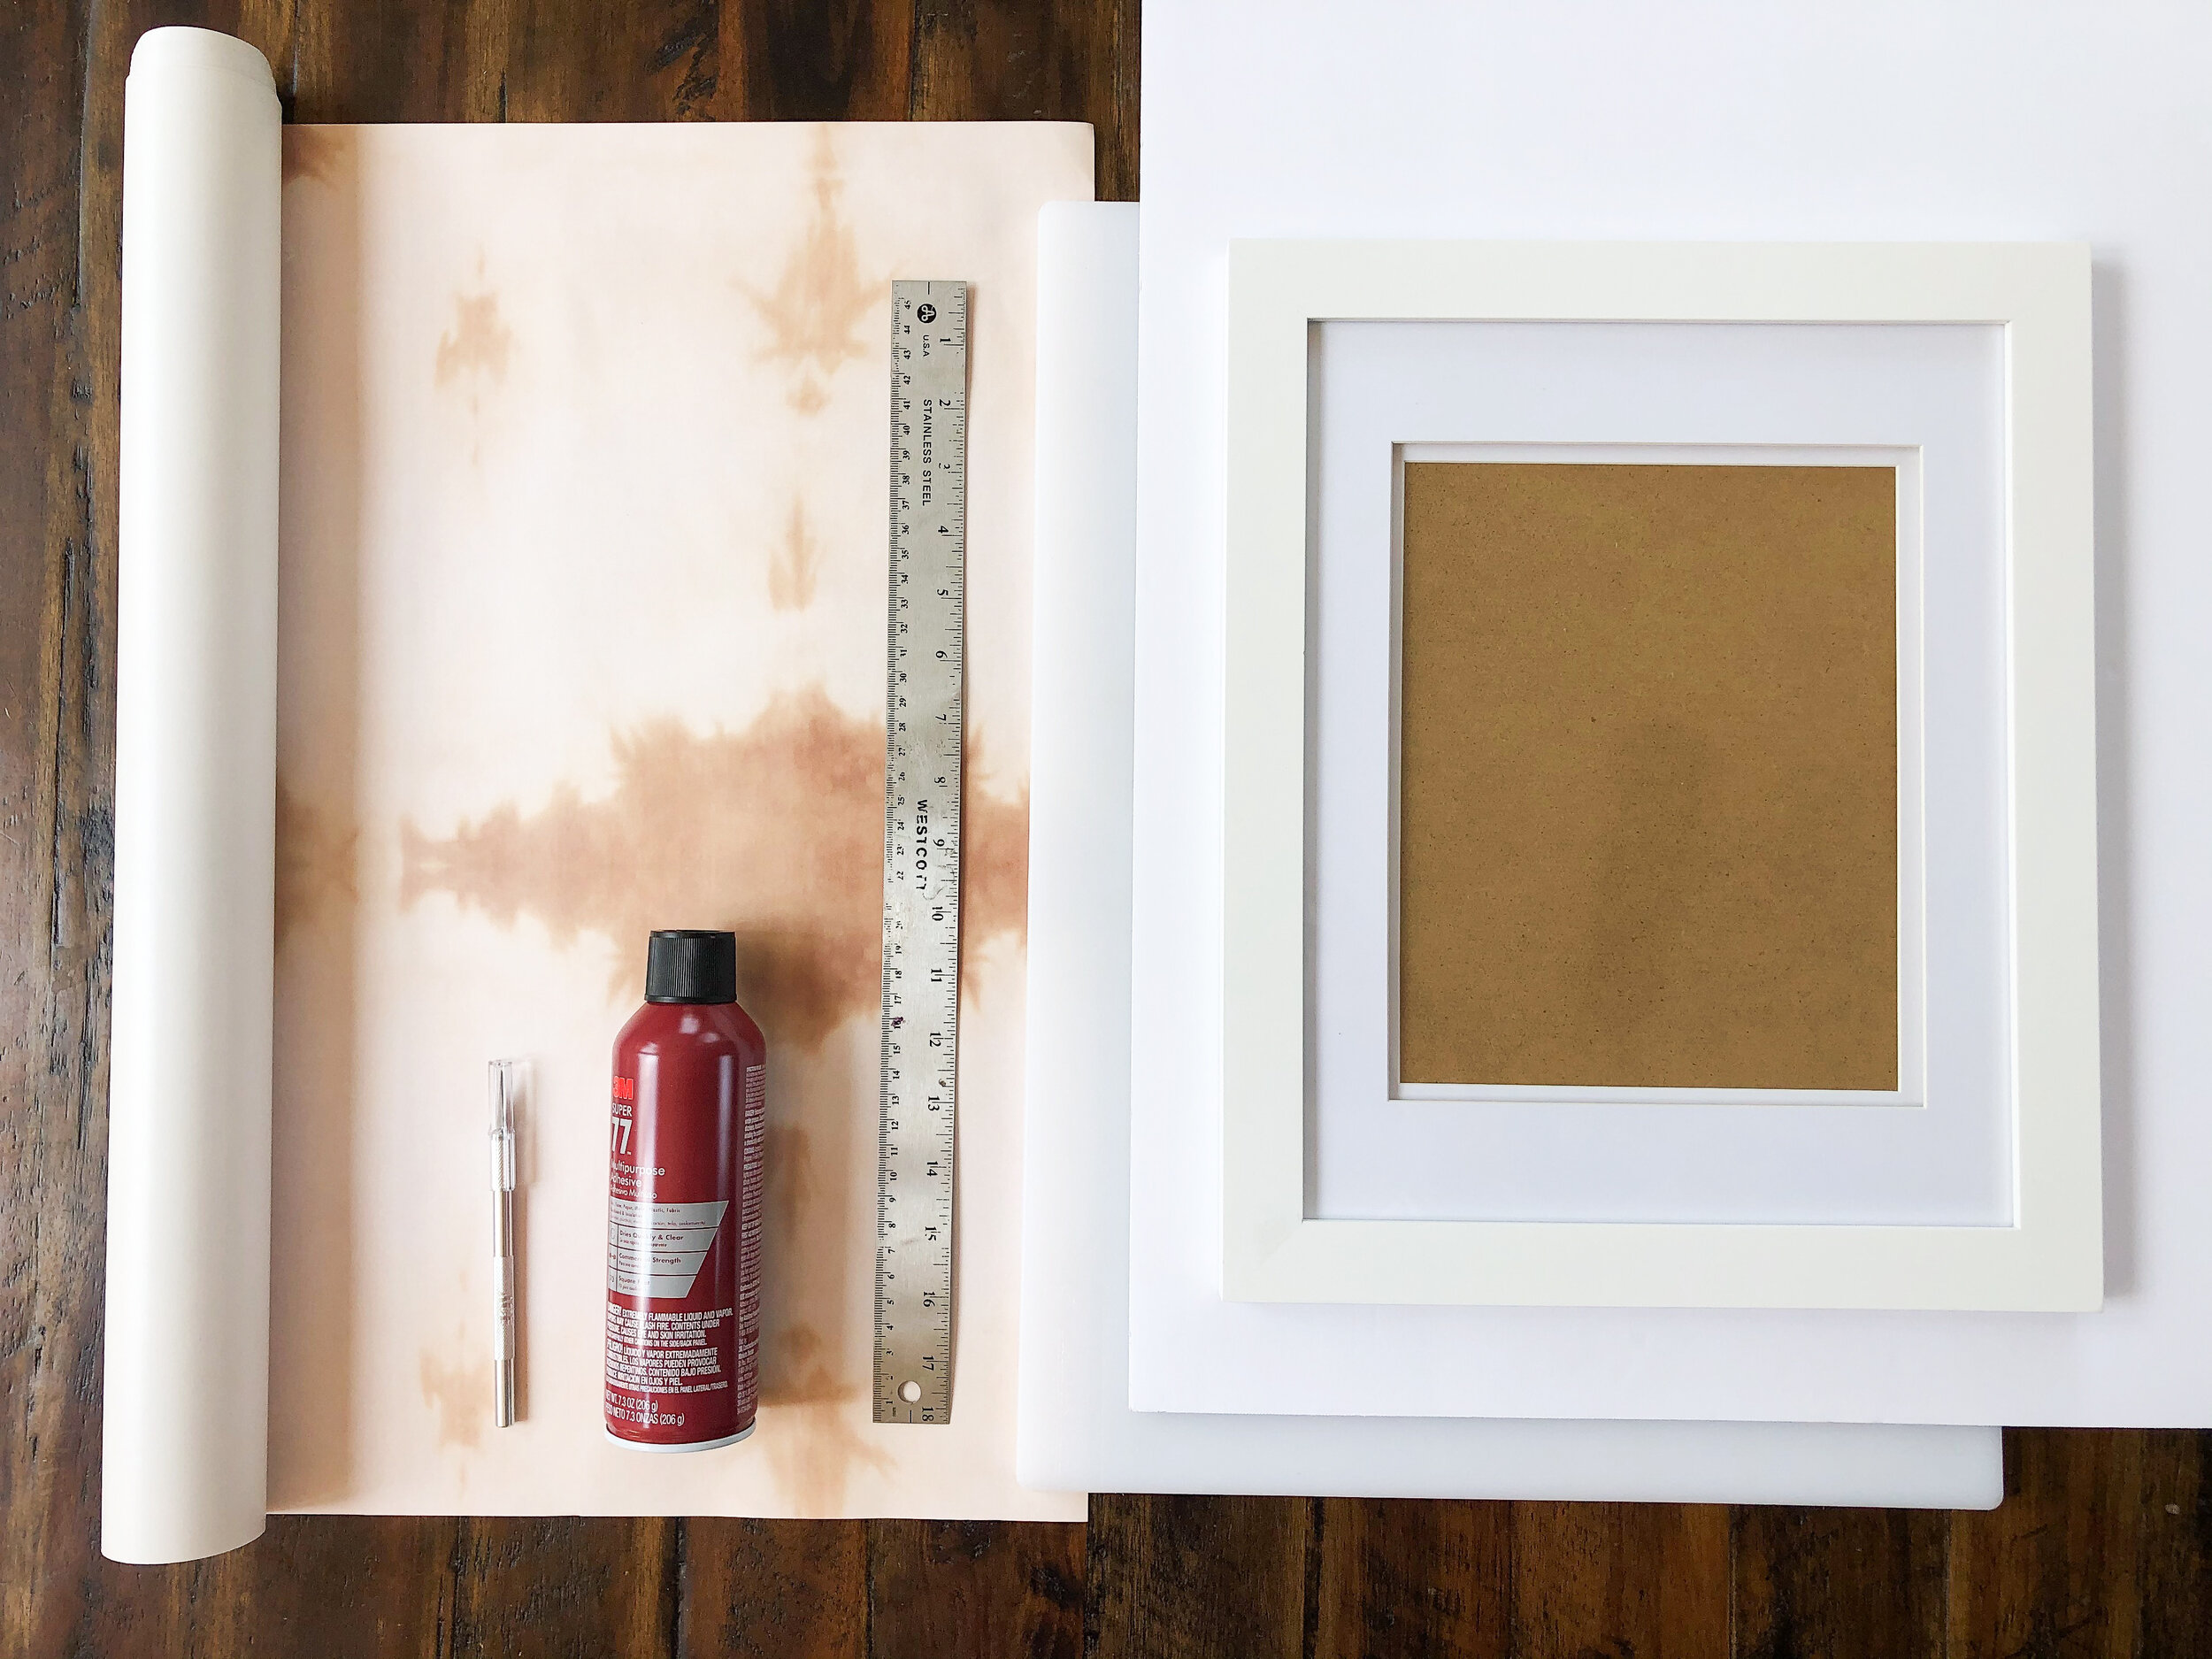
Supplies Needed:
Wallpaper (see more below)
Poster Board or Foam Core
Spray adhesive (if your wallpaper isn’t peel-and-stick)
X-acto knife
Cutting mat
Ruler or other straight edge
Pencil
Frame of your choice
Scraper or brayer (optional)

Selecting & Sourcing Wallpaper
Any type of wallpaper works for this project- regular, pasted, and peel-and-stick- so focus on choosing an interesting and inspiring pattern you’re drawn to.
However, to make your wallpaper look more like art than wallpaper, it’s best to look for a large-scale pattern that won’t repeat within your selected frame size. As wallpaper is almost always created by repeating certain design elements, obvious pattern-repeats tend to read as “wallpaper” within a space as opposed to artwork. But hey, if you like the repetition, go for it. Maybe repetition and pattern is what brings interest to your space!
If you don’t have wallpaper scraps on hand or are looking to source wallpaper for a project and aren’t sure where to begin, here are some ideas!
Visit our online shop! We have a great selection of nature-inspired, designer wallpapers sure to bring interest and calm to your space. Our wallpapers are pre-pasted, eco-friendly, and come in a variety of sizes (yes, you can order samples!).
Visit local interior design shops and contact interior designers to ask if they have scraps or sample books they no longer need.
Check second-hand stores, antique shops, or clearance sections of home decor stores.
Order samples from wallpaper companies online.
Visit speciality paper stores for unique papers and patterns.
Check Amazon for inexpensive rolls.
In this tutorial, I am using a leftover roll of our “Tiger Eye” wallpaper in terracotta, shown below.

Step 1: cut foam core or poster board
First, using an X-acto knife and cutting mat, cut down a piece of foam core or blank poster board to a size that will fit inside your selected frame. *Tip: foam core will provide a sturdier surface for your wallpaper, but blank poster board also works.

To fit within my 11 x 14 inch frame, I cut out a section of foam core with these measurements. *Tip: after cutting, place your foam core or board inside your frame to make sure it fits. You may need to trim a bit away, or cut a new piece if its too small (happens to the best of us!).
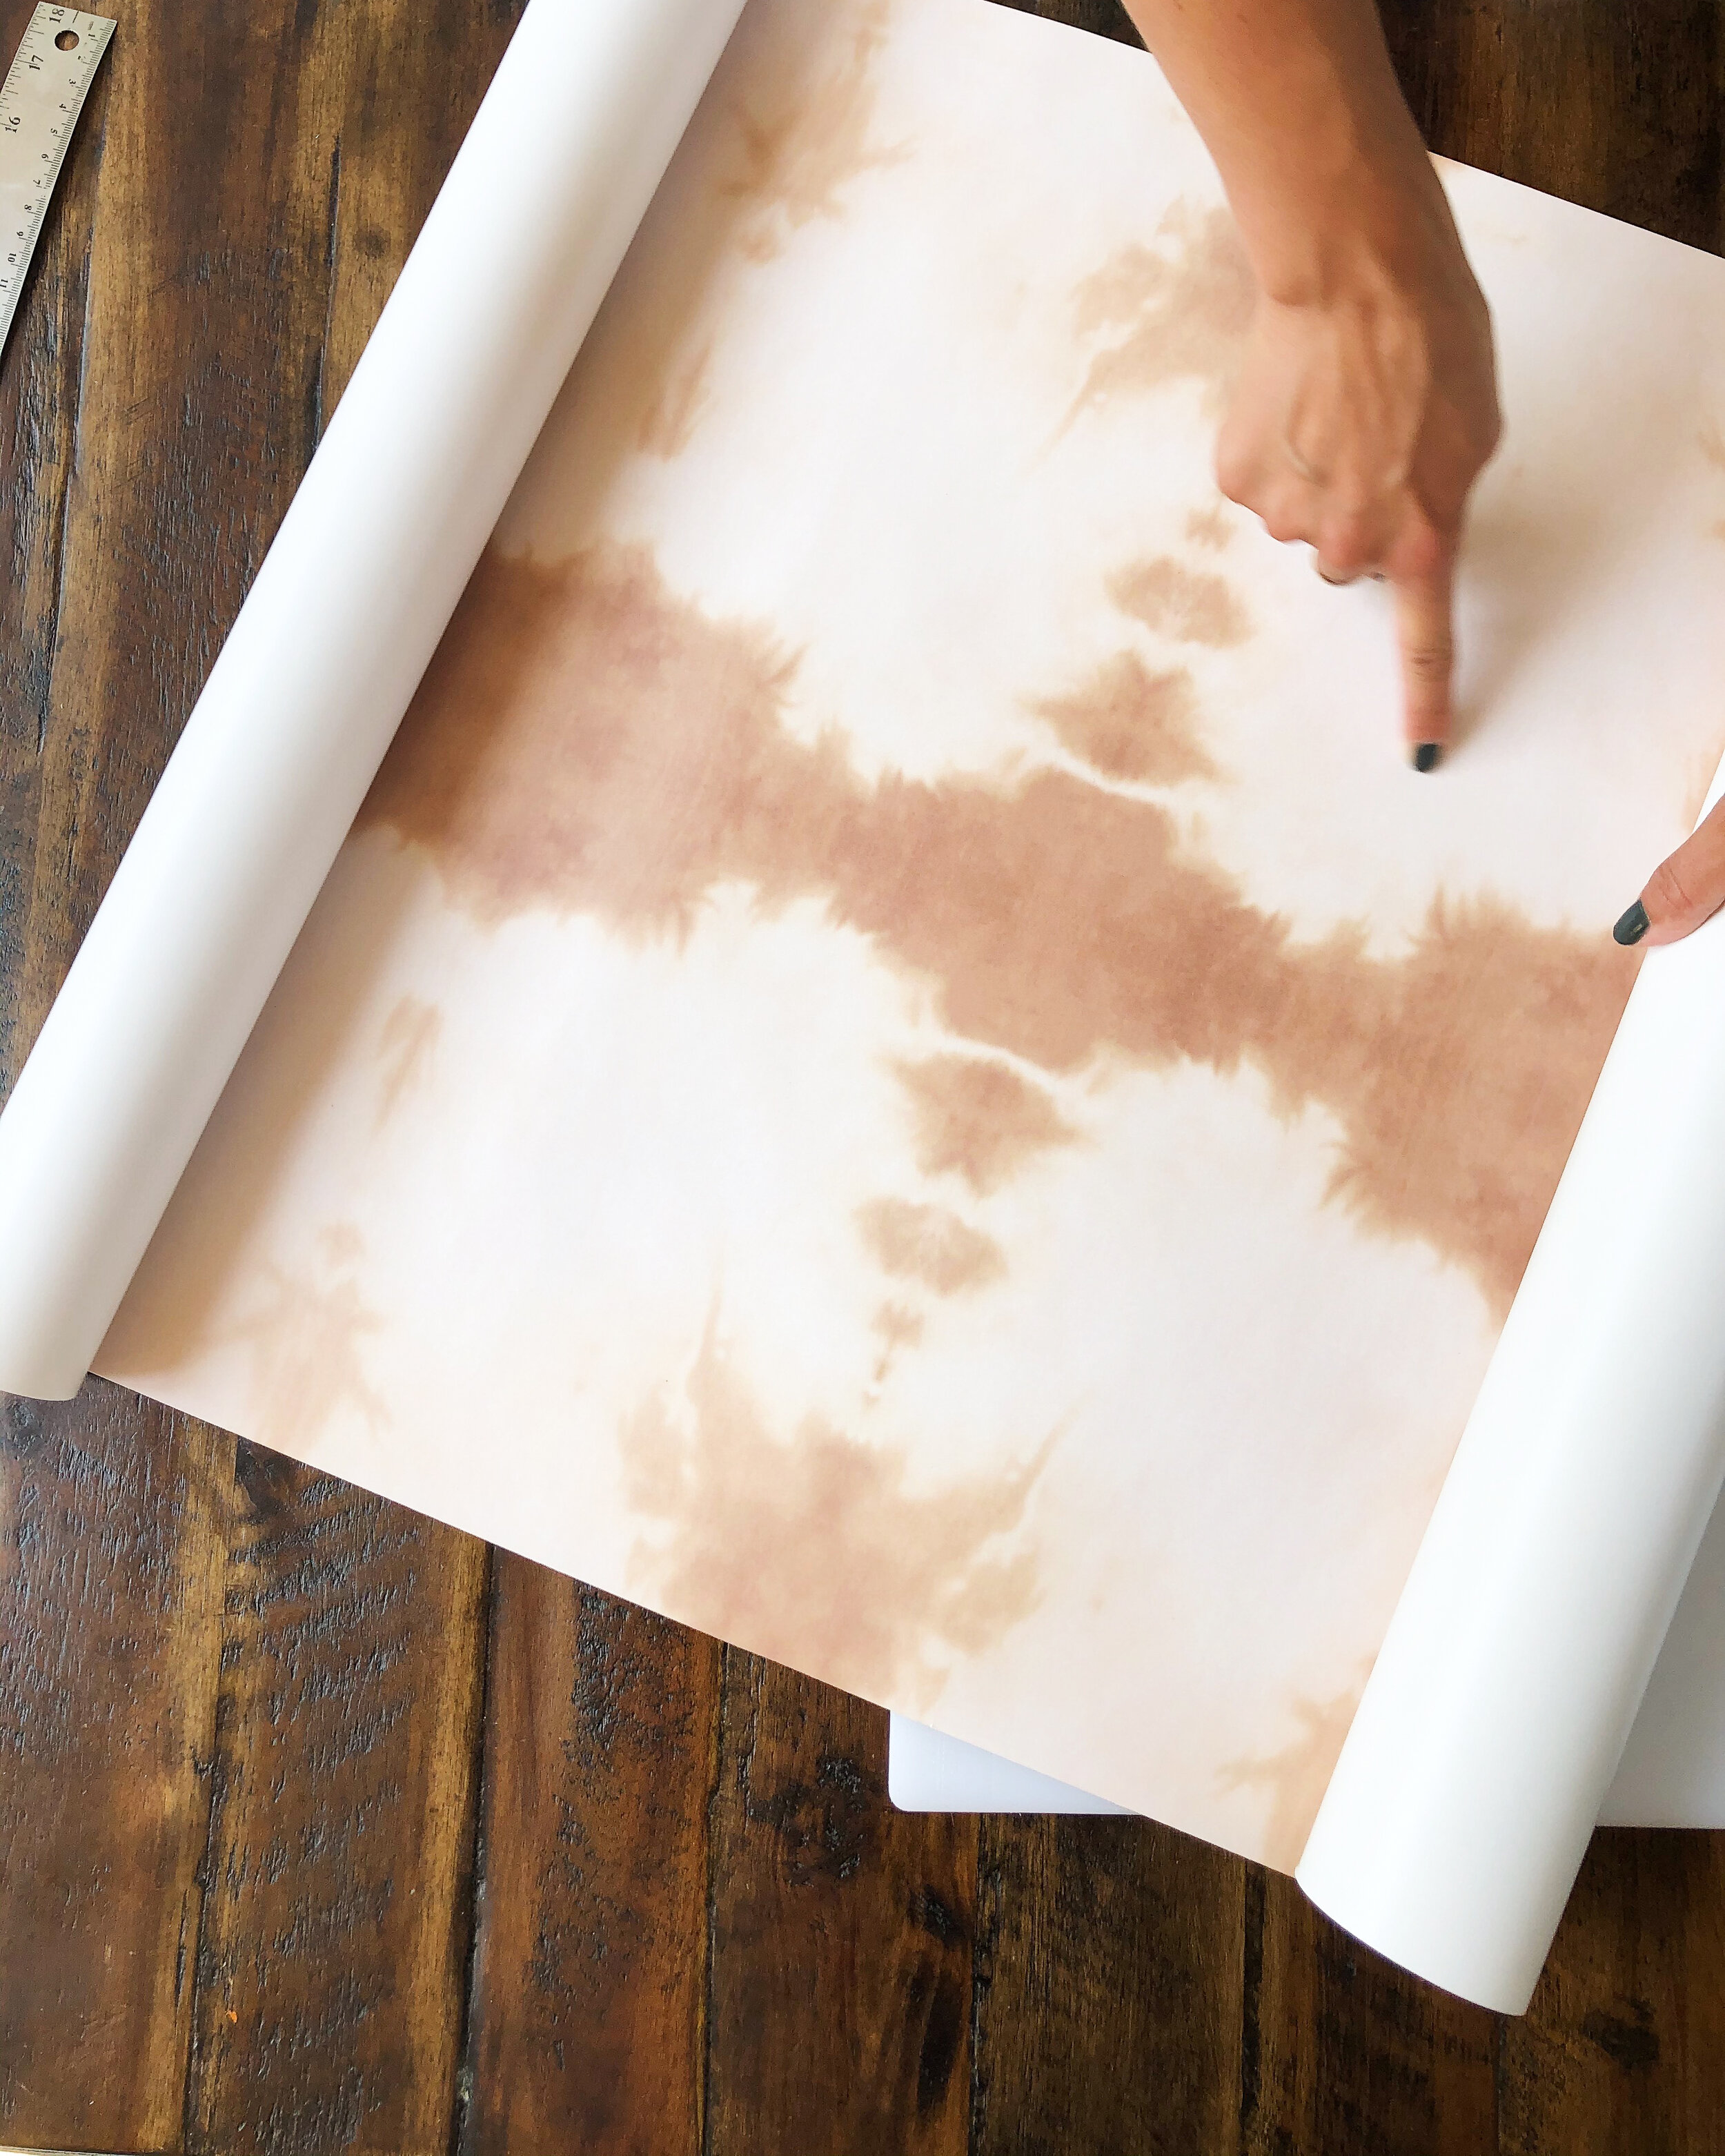
step 2: select and cut wallpaper
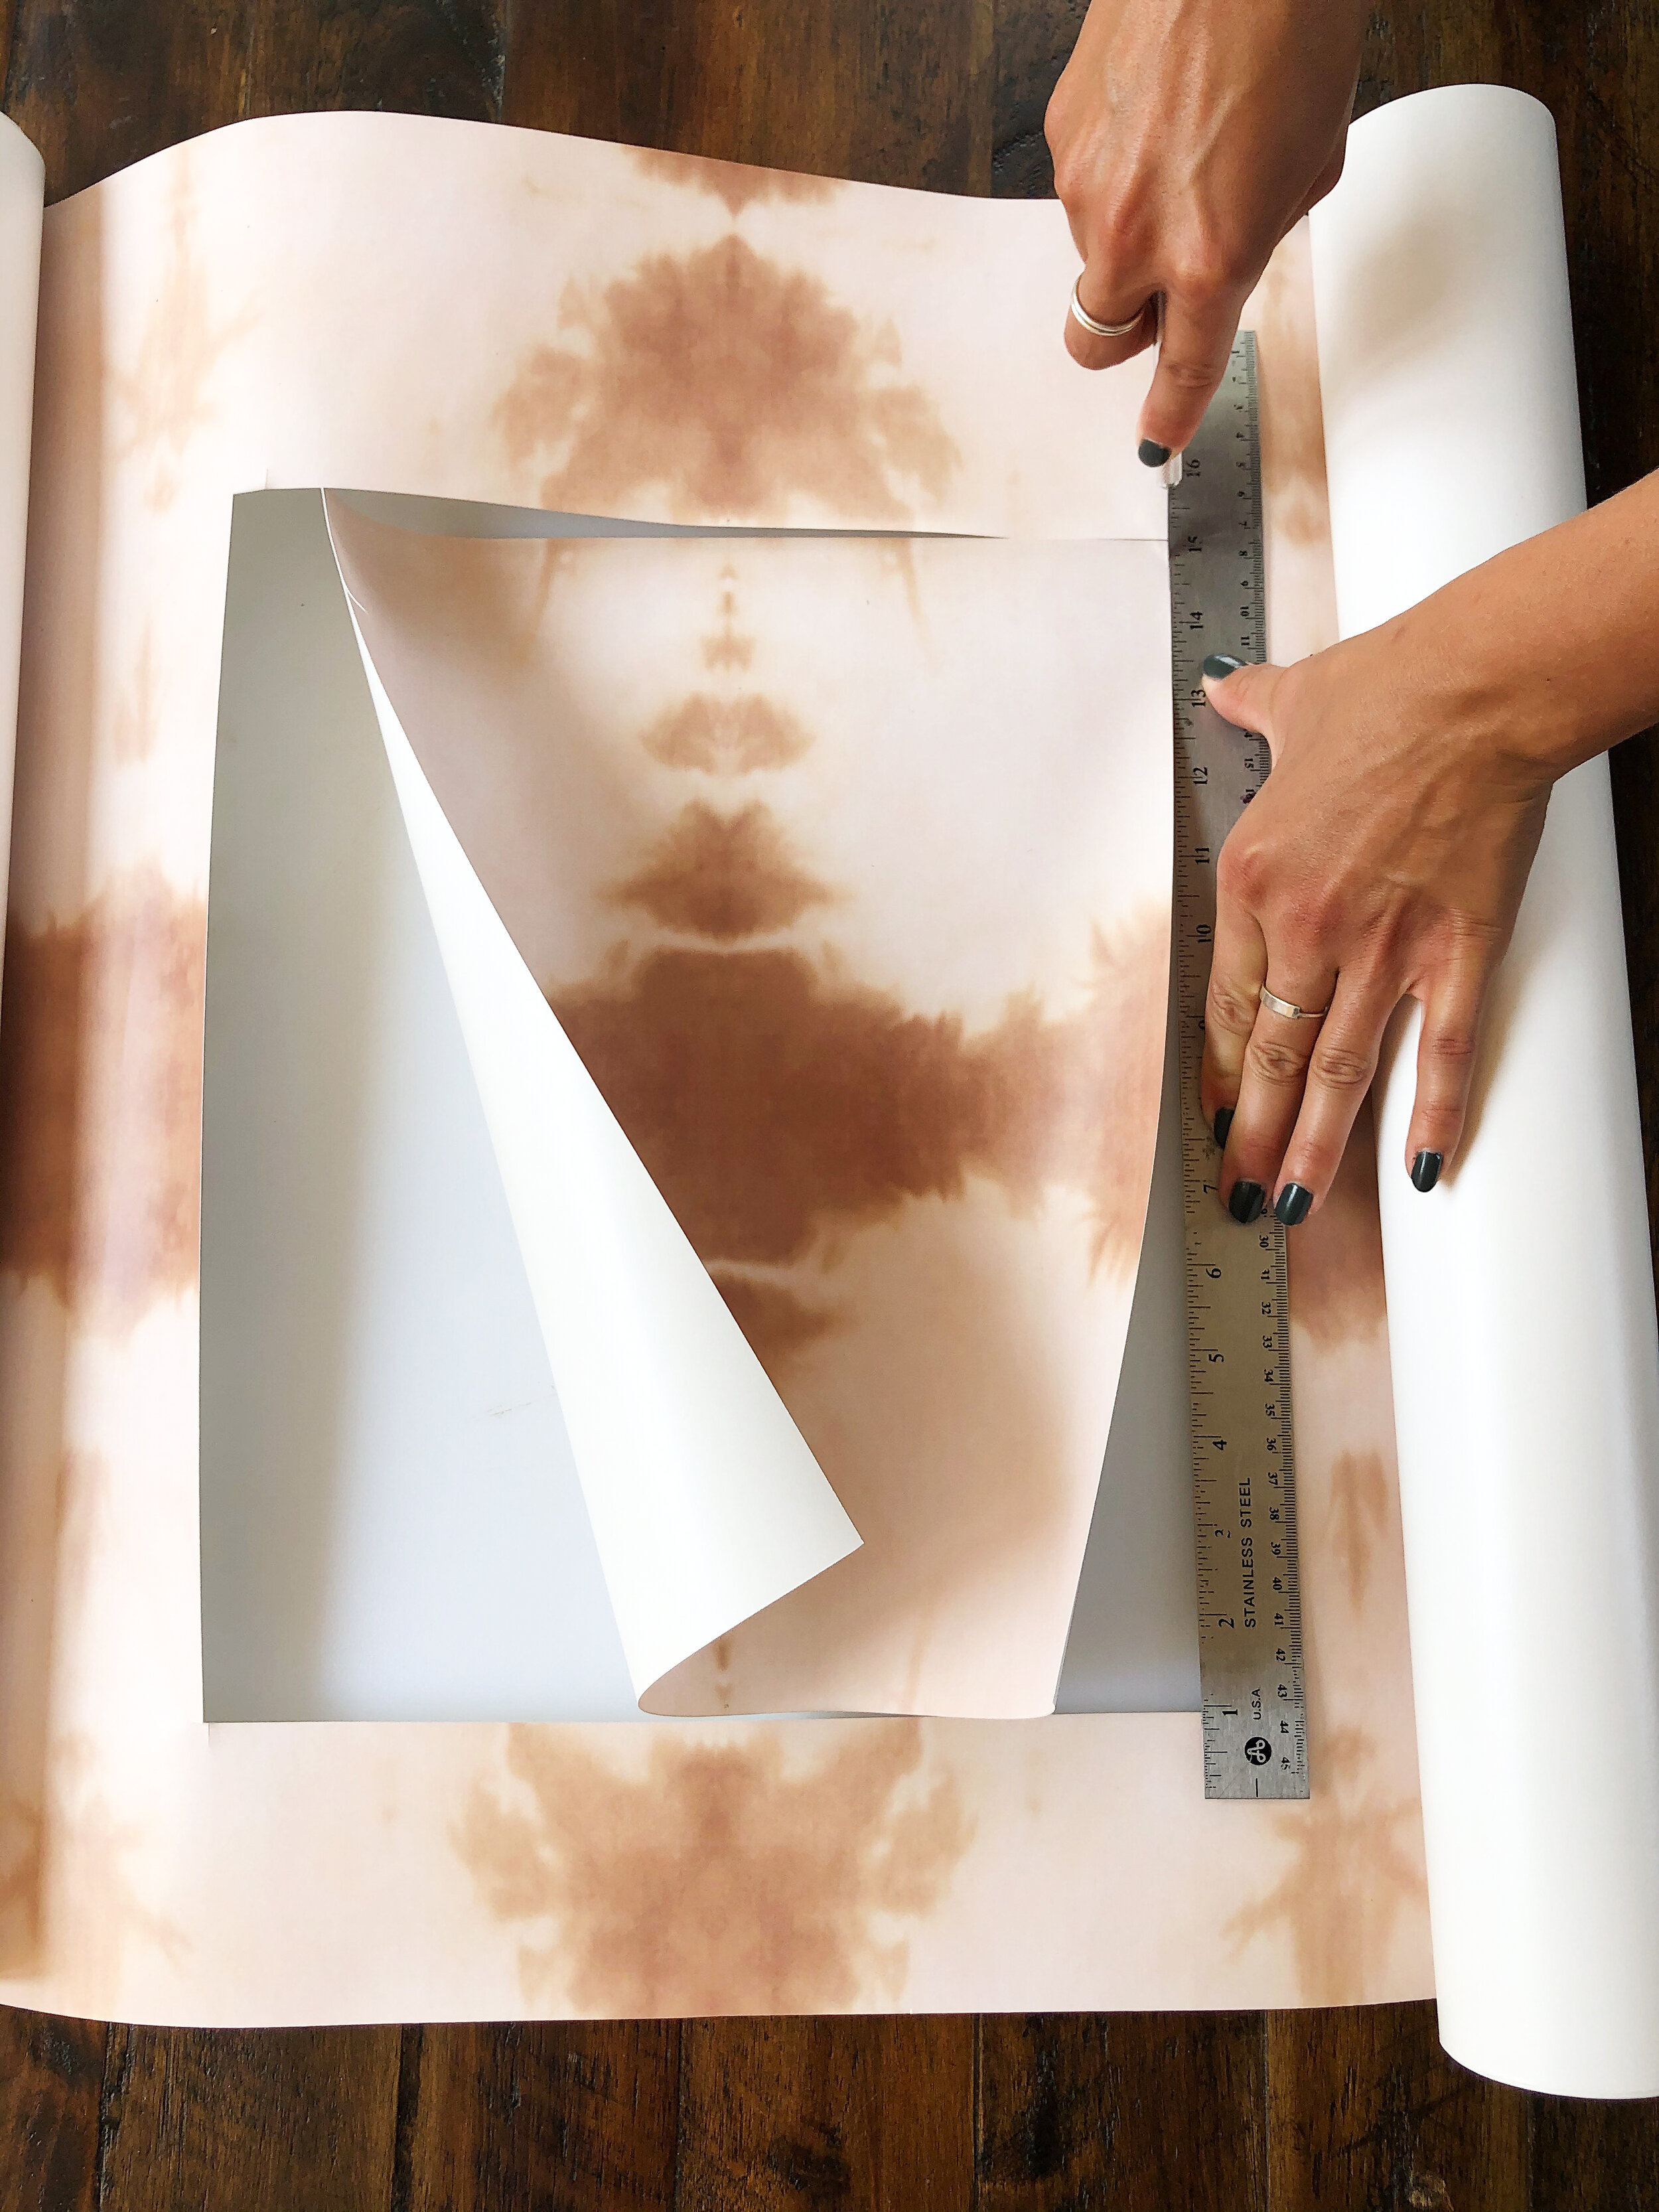
Next, lay your wallpaper onto a flat surface. If the wallpaper is larger than your frame, select the portion of the wallpaper you want to frame. Will it feature the main design elements or an abstract corner? Play with the orientation of the wallpaper to determine which way it will appear when framed.
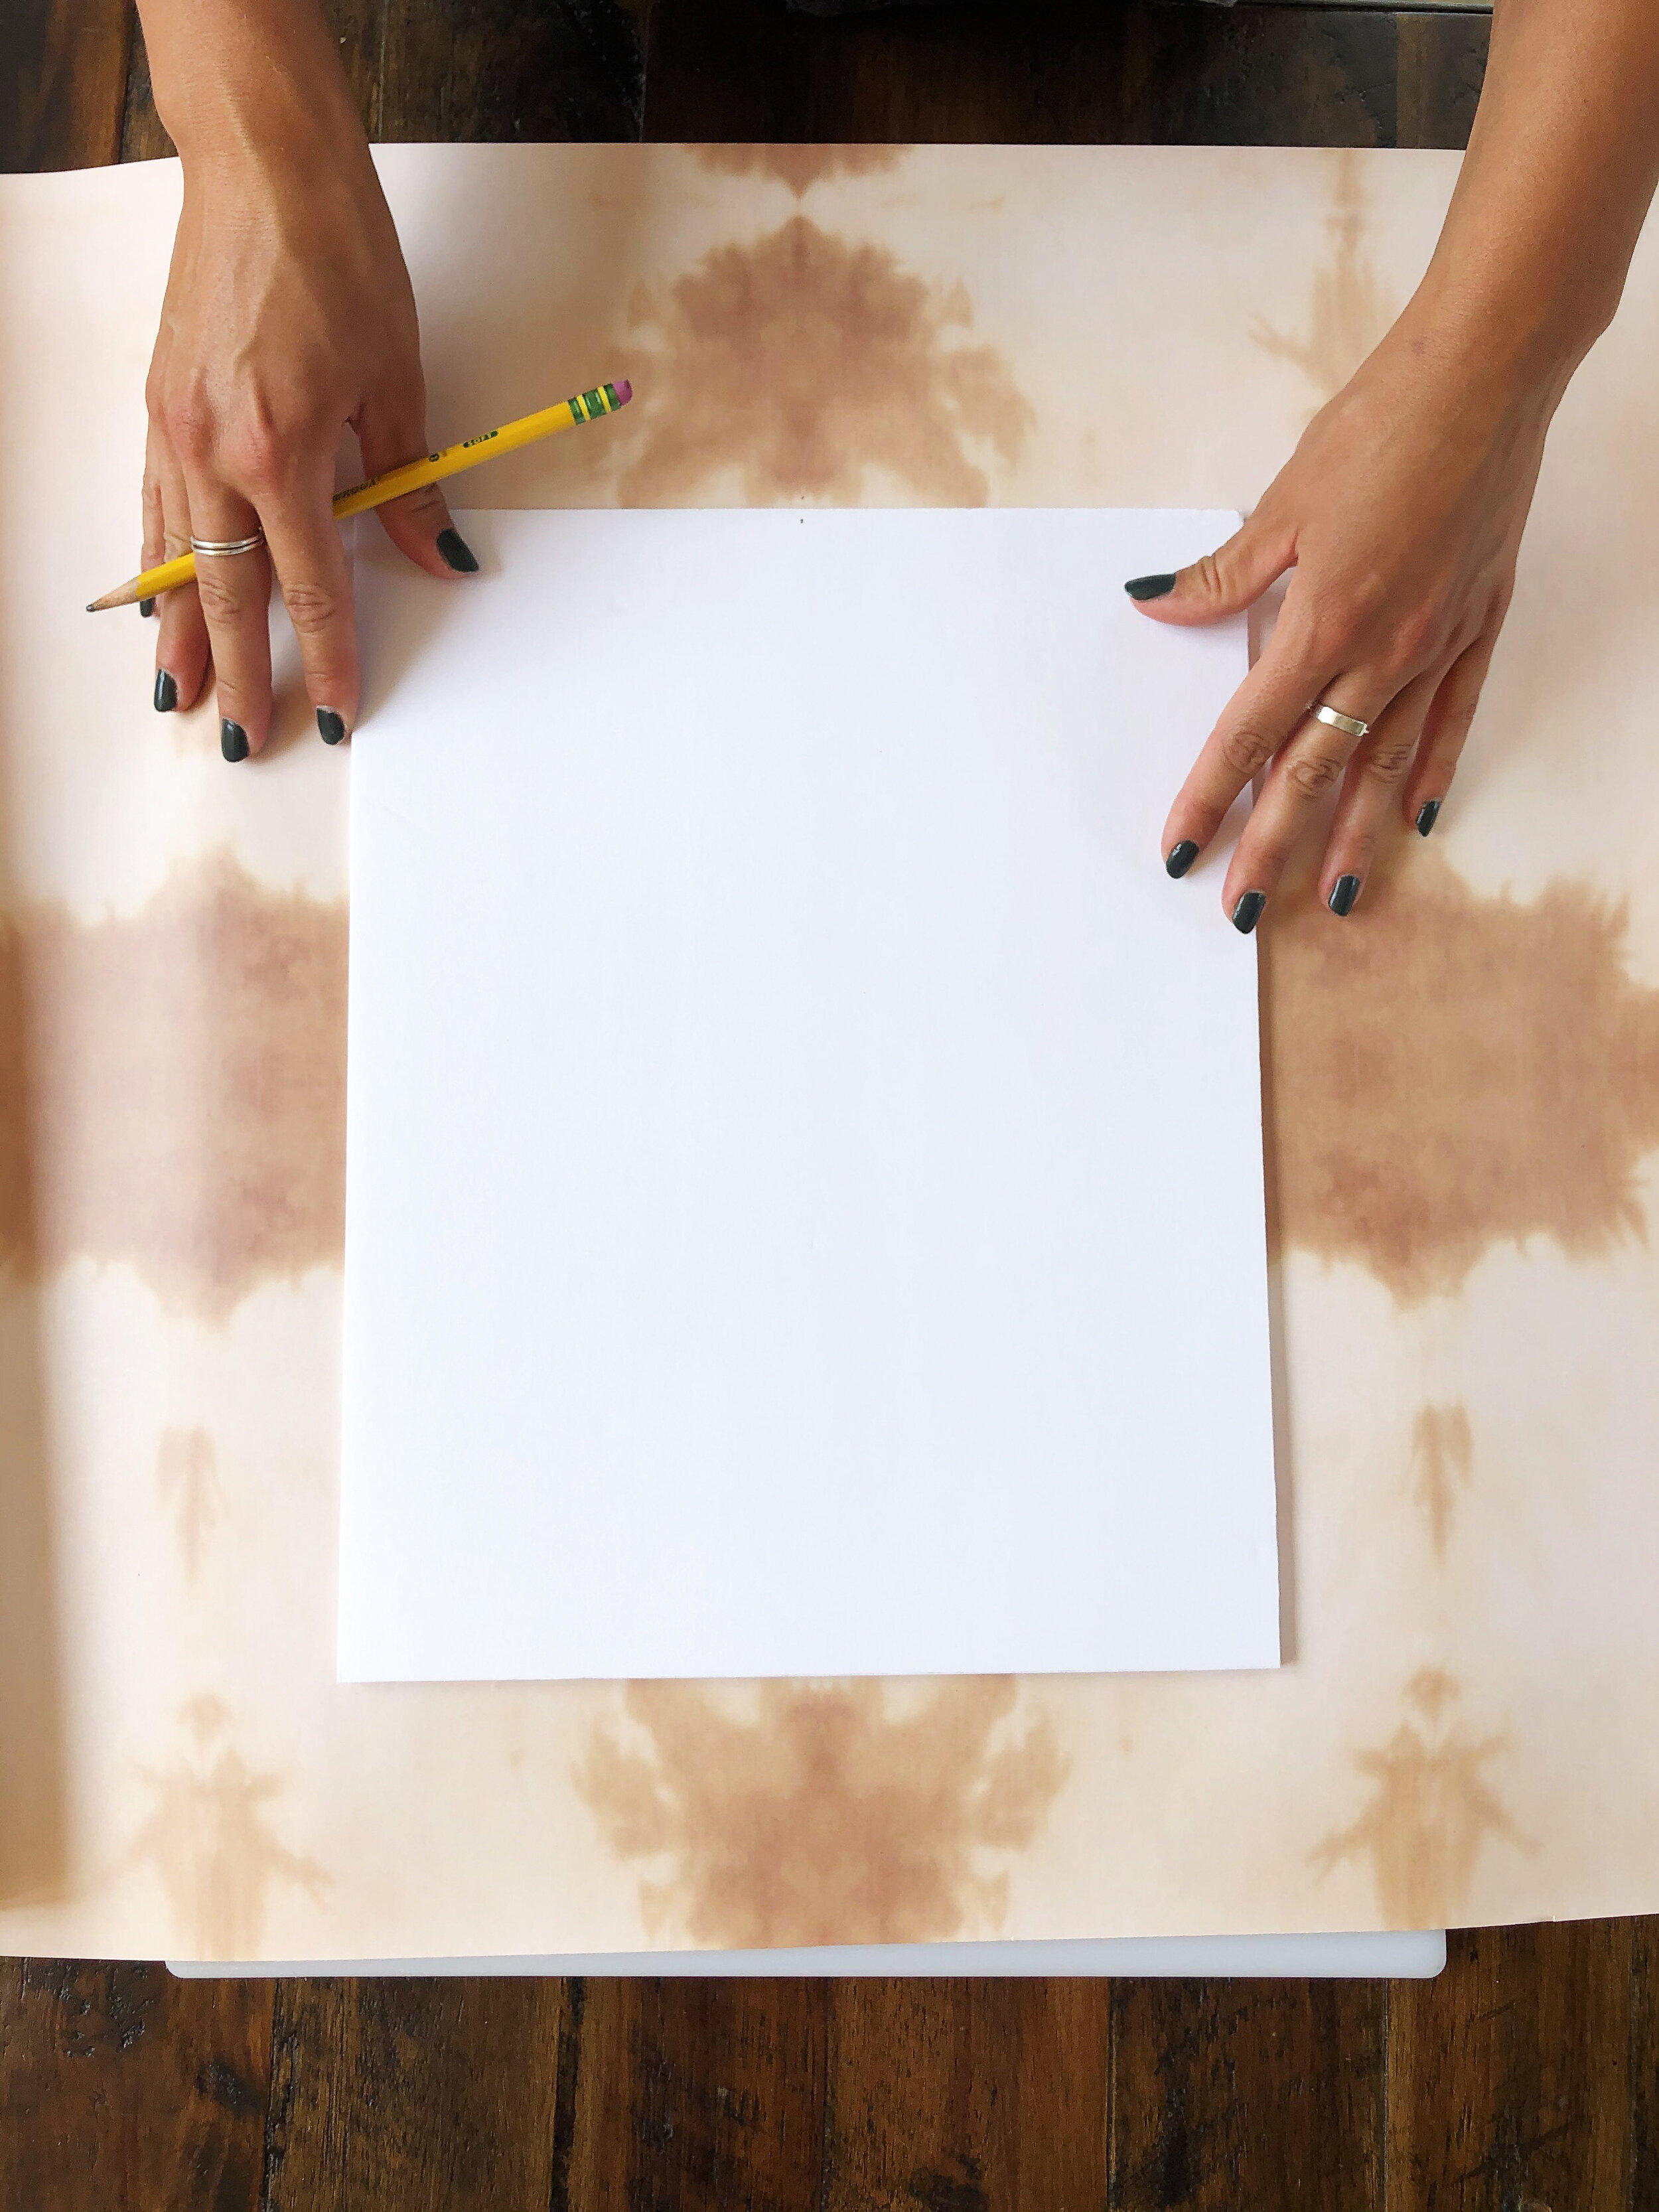
Once you’ve made your selection, lay the wallpaper on a flat surface and place the foam core or poster board over the portion of the pattern to be framed. Trace around this portion lightly with a pencil and then cut, or use an X-acto knife and cut around the perimeter of the board.
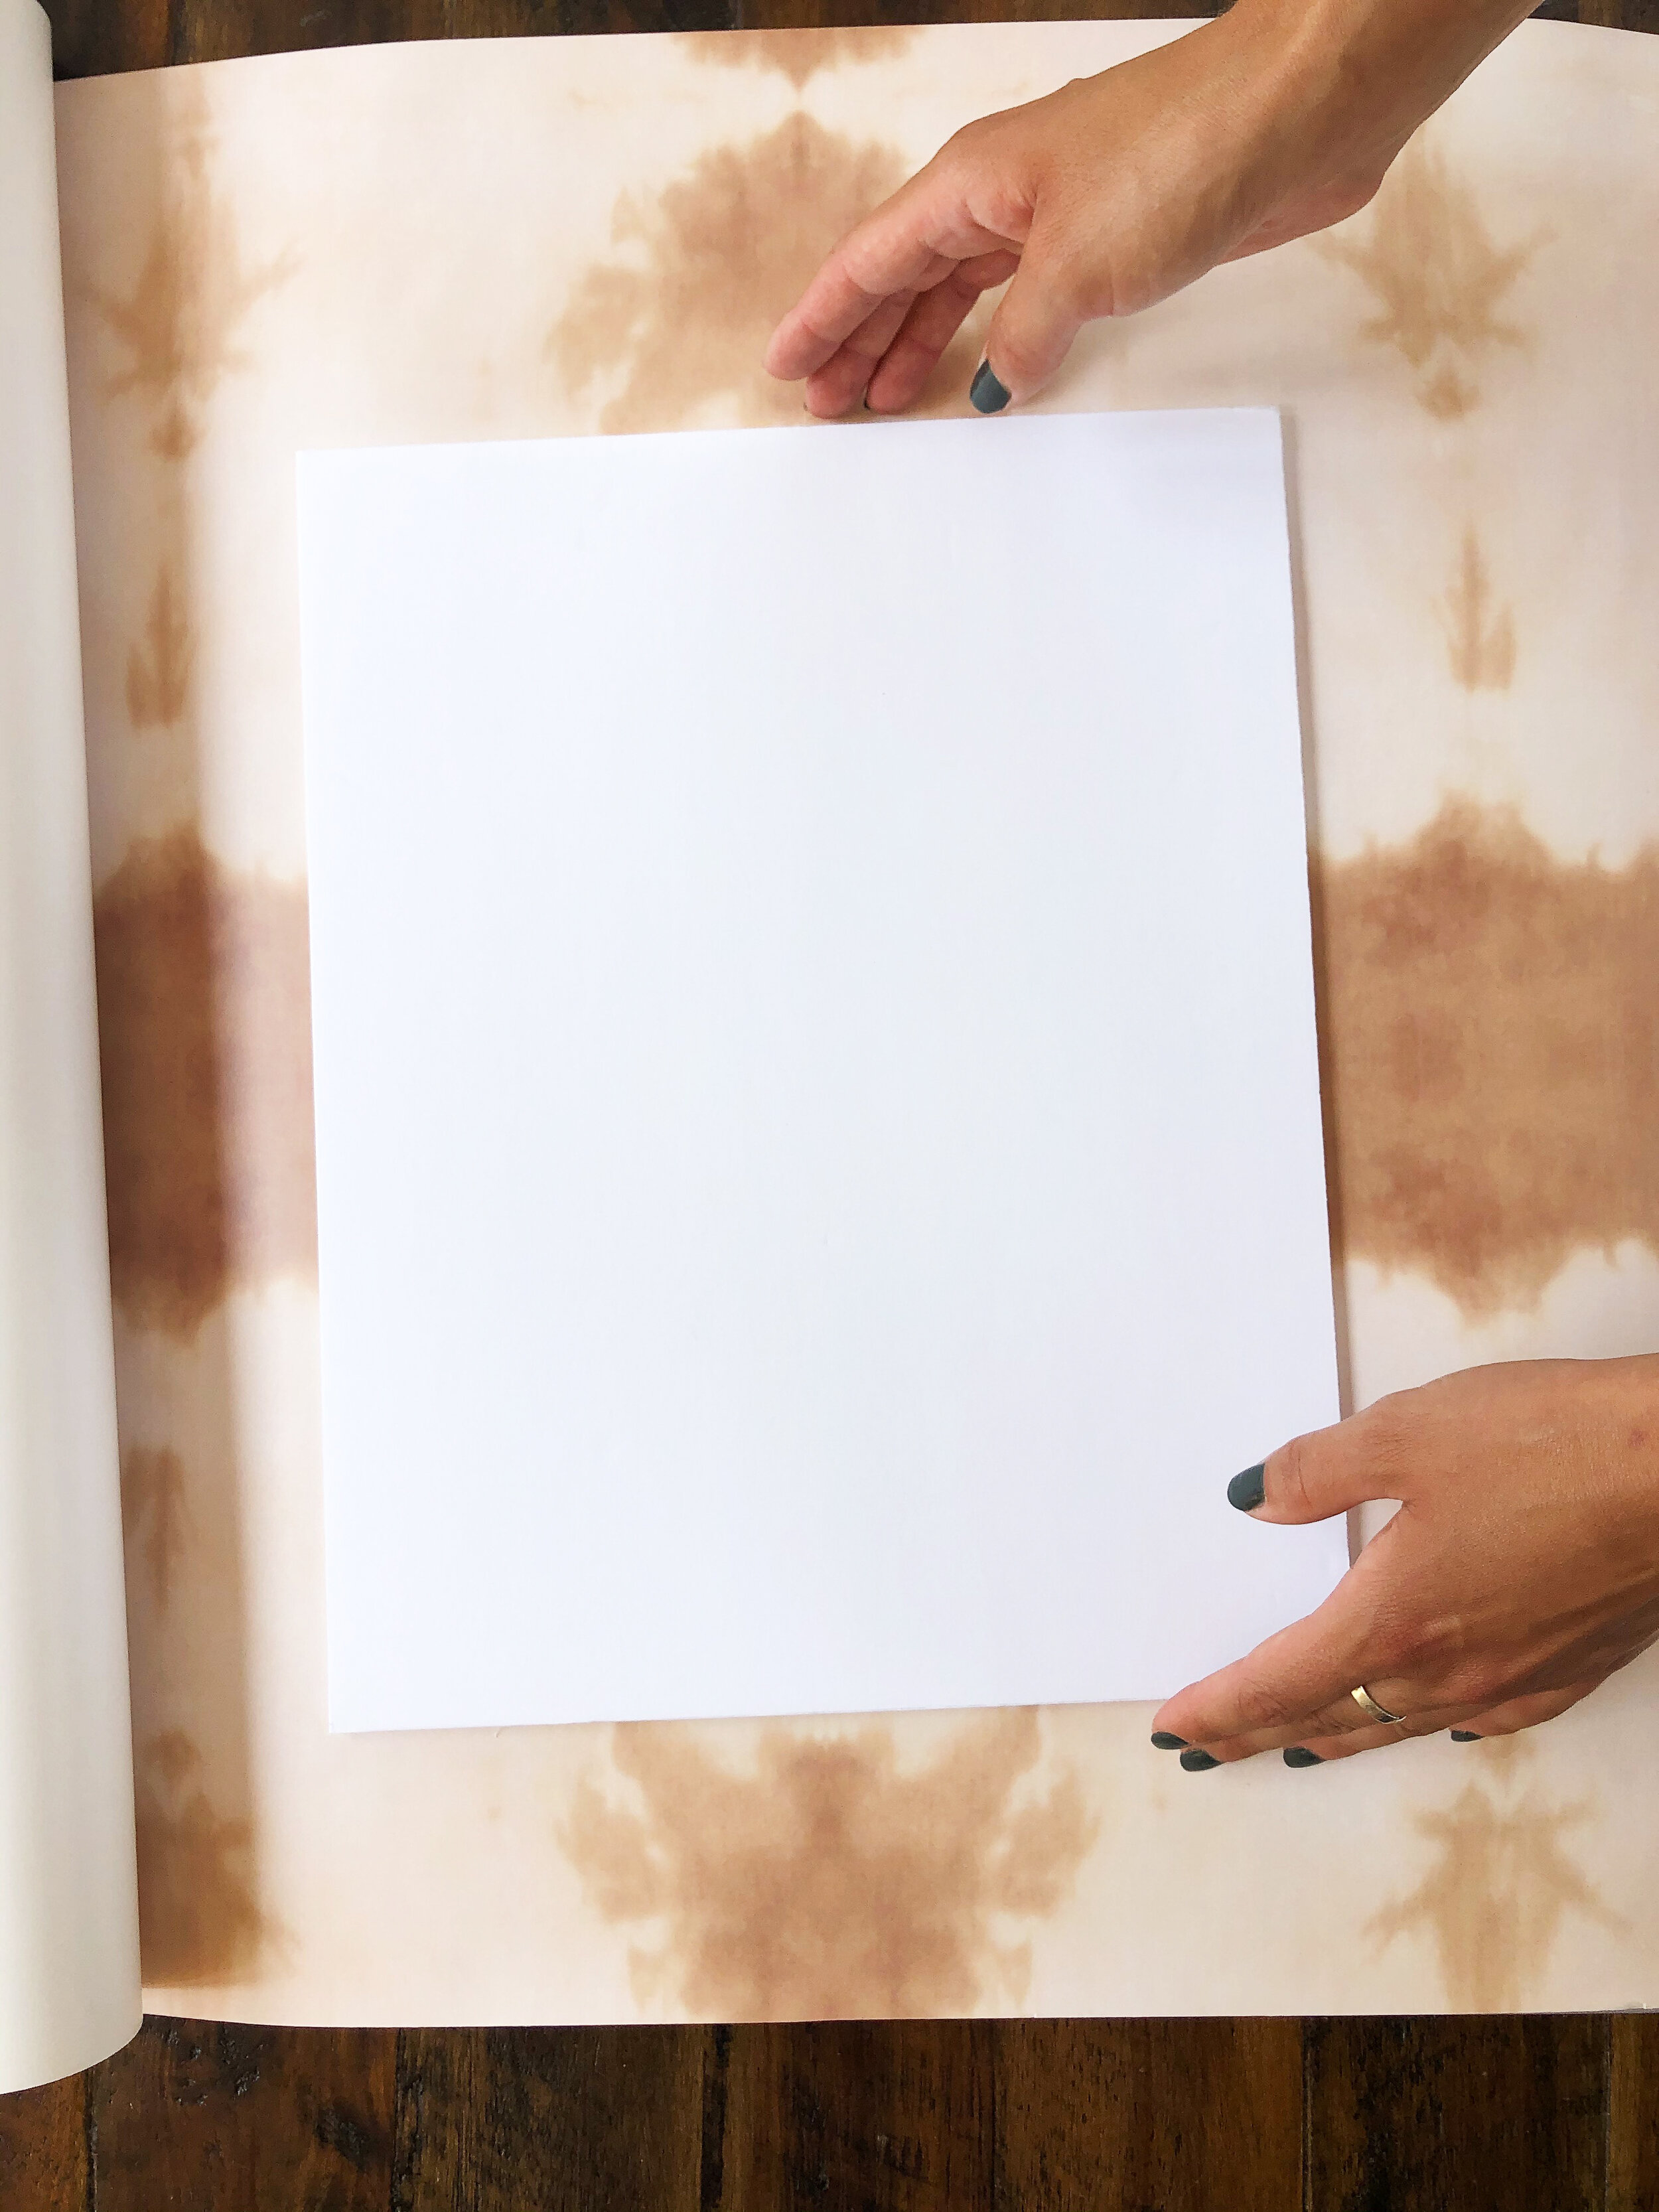
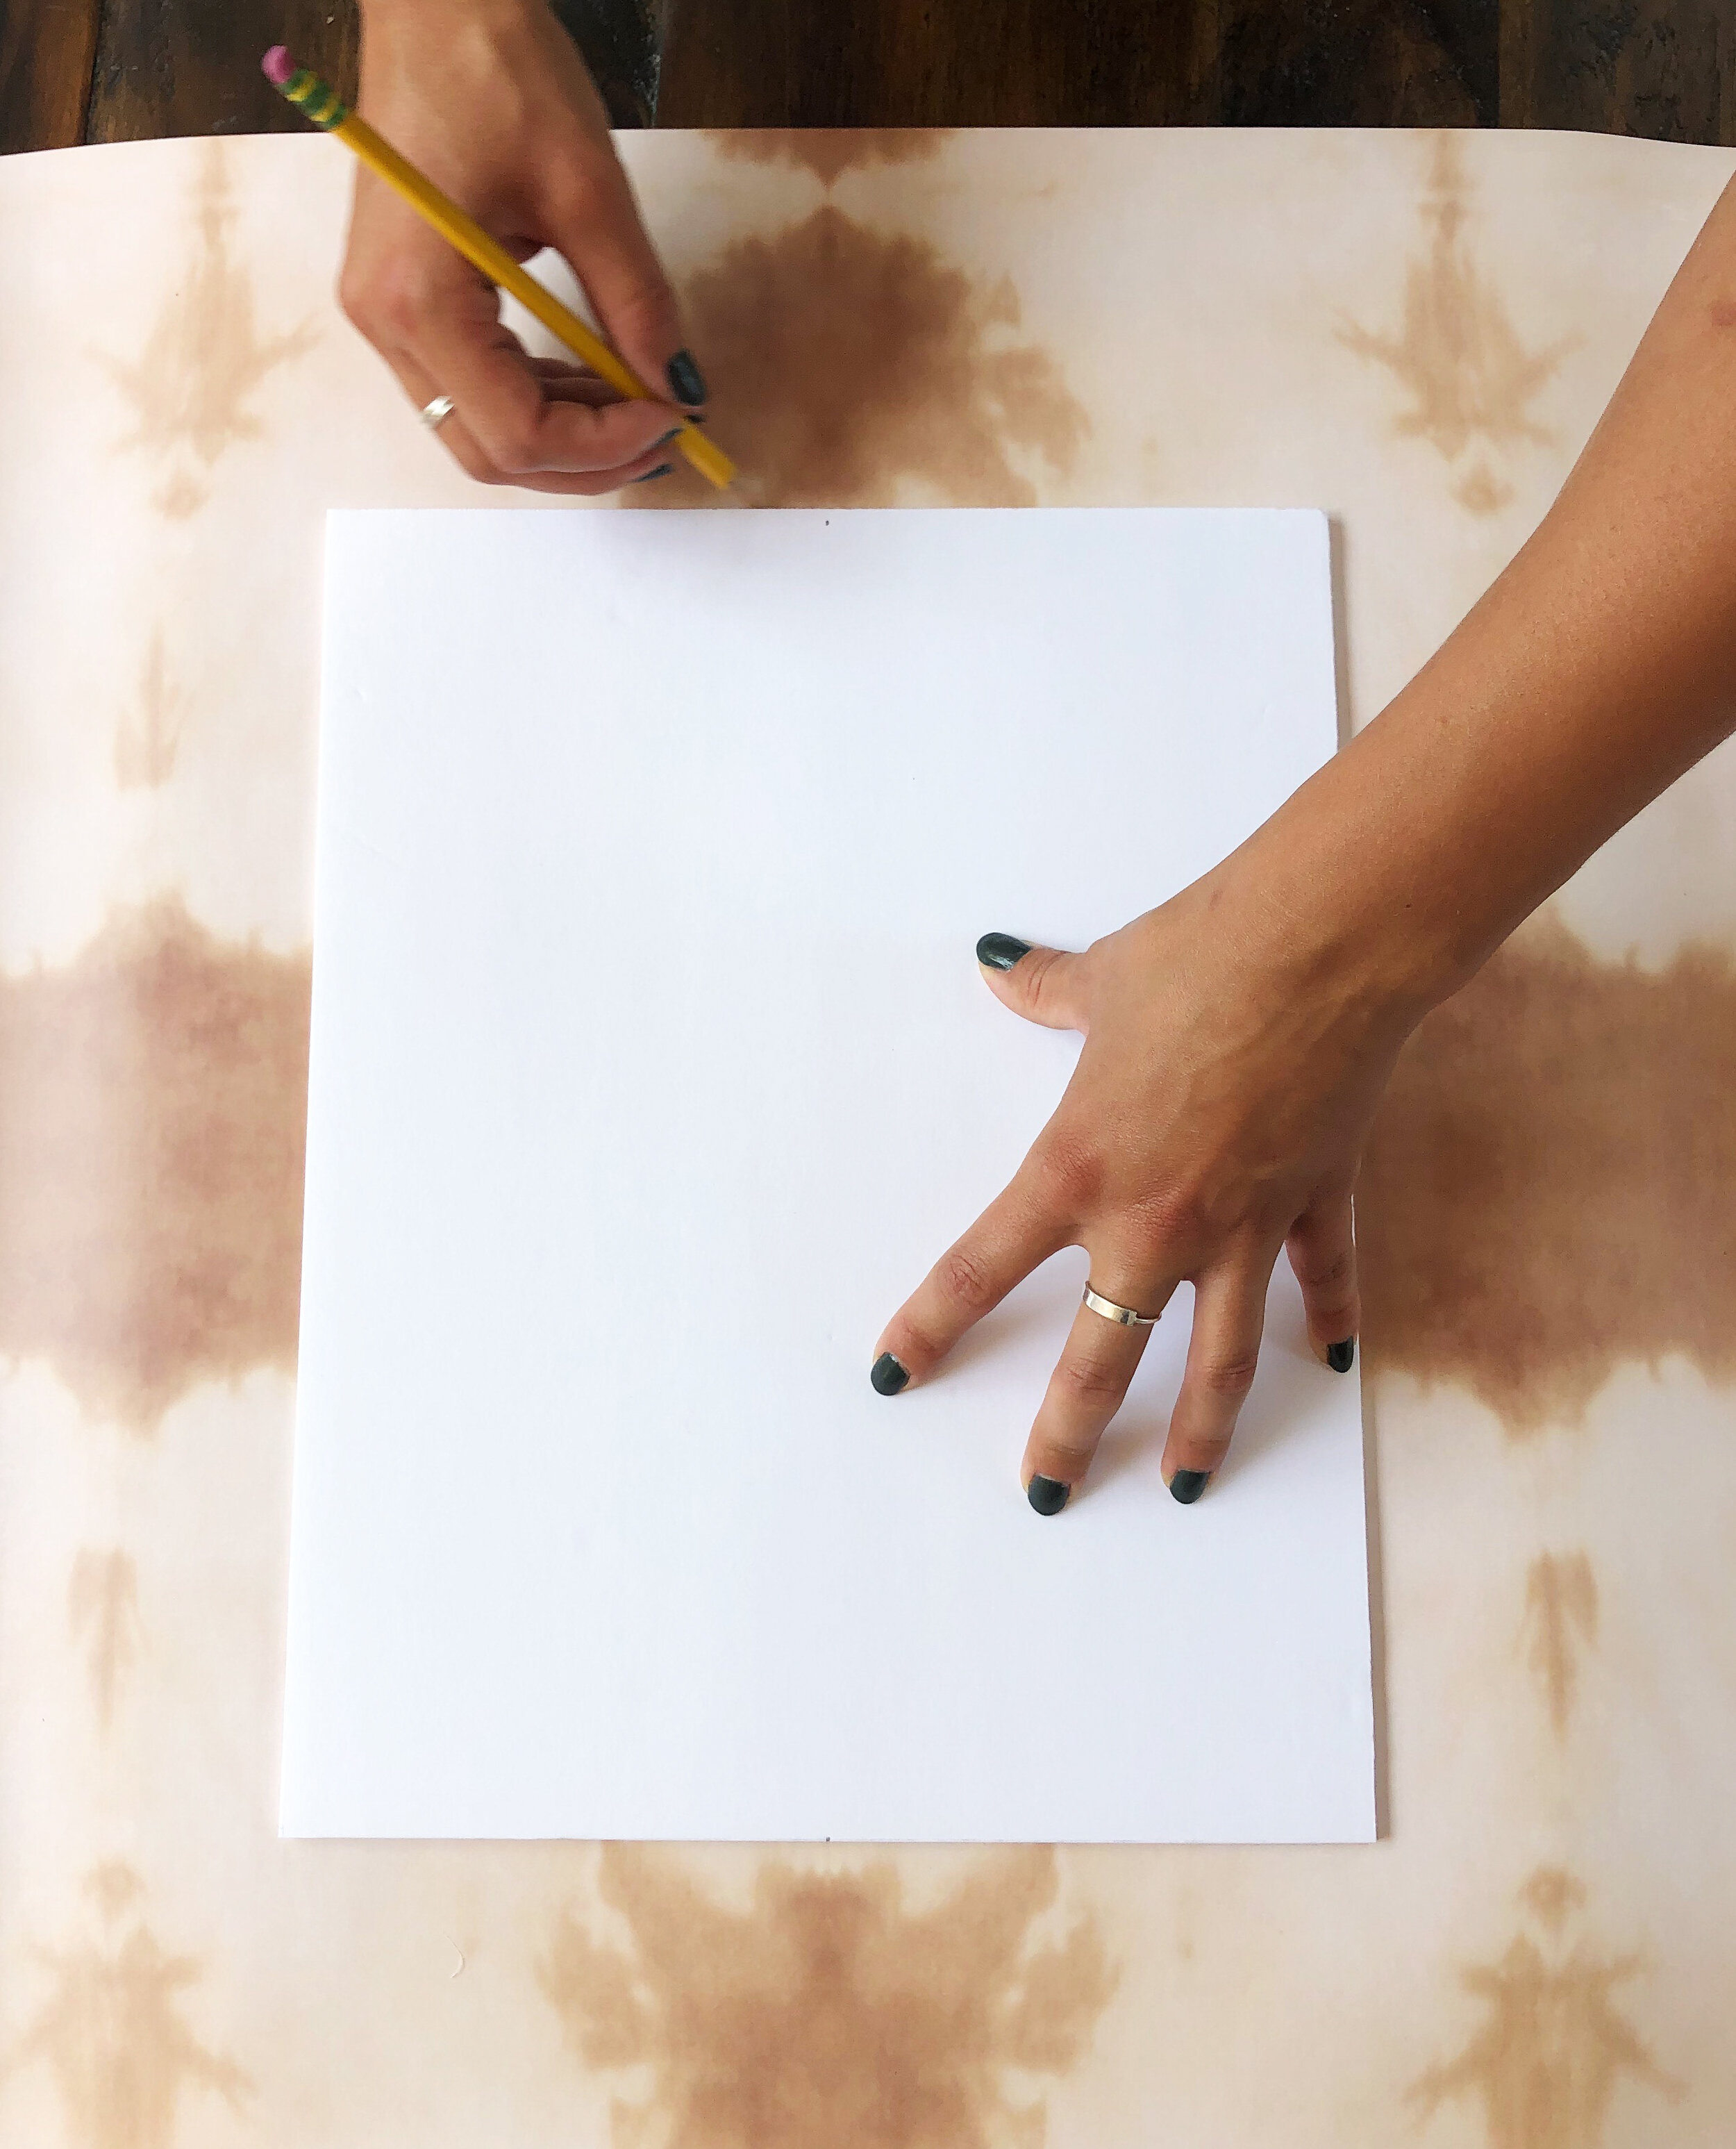
I chose to frame a mirrored design section of Tiger Eye. To ensure the centering of the design on the foam core, I had to find the center of the design, mark it with a pencil on both vertical ends, and then line these center marks with the center of my foam core before tracing and cutting.

step 3: attach wallpaper to board
If your wallpaper is peel-and-stick, peel back the top of the paper backing and align it with the top edge of the foam core or board. Stick the top of the wallpaper to this edge. Slowly and carefully continue to peel away the paper backing and use your hands or a scraper to press down the wallpaper and remove air bubbles as you move down the board.
If your wallpaper is not peel-and-stick, spray the foam-core or board with spray adhesive. Align the top of the wallpaper with the top of the foam core or board. Slowly and carefully press the wallpaper onto the board, beginning at the top and finishing at the bottom. Using your hands or a brayer, smooth your wallpaper flat.

Spray adhesive tips:
Always use outdoors or in a well-ventilated area.
Work on top of a piece of cardboard to avoid the spread of stickiness.
Shake before use to avoid clumps of adhesive spraying out. If this happens, lightly remove them with your fingers before adhering your wallpaper.
Be quick yet work with precision- it dries fast!
Overall, take time and care to readjust the corners and edges of your wallpaper as needed so as to avoid bubbles and wrinkles. If you don’t get your wallpaper straight the first time, don’t be afraid to remove it from the board and start again.


*Tip: If you get a bit of spray adhesive on the display side of your wall paper, don’t fret! Get a damp paper towel and lightly rub it off once the spray adhesive dries.
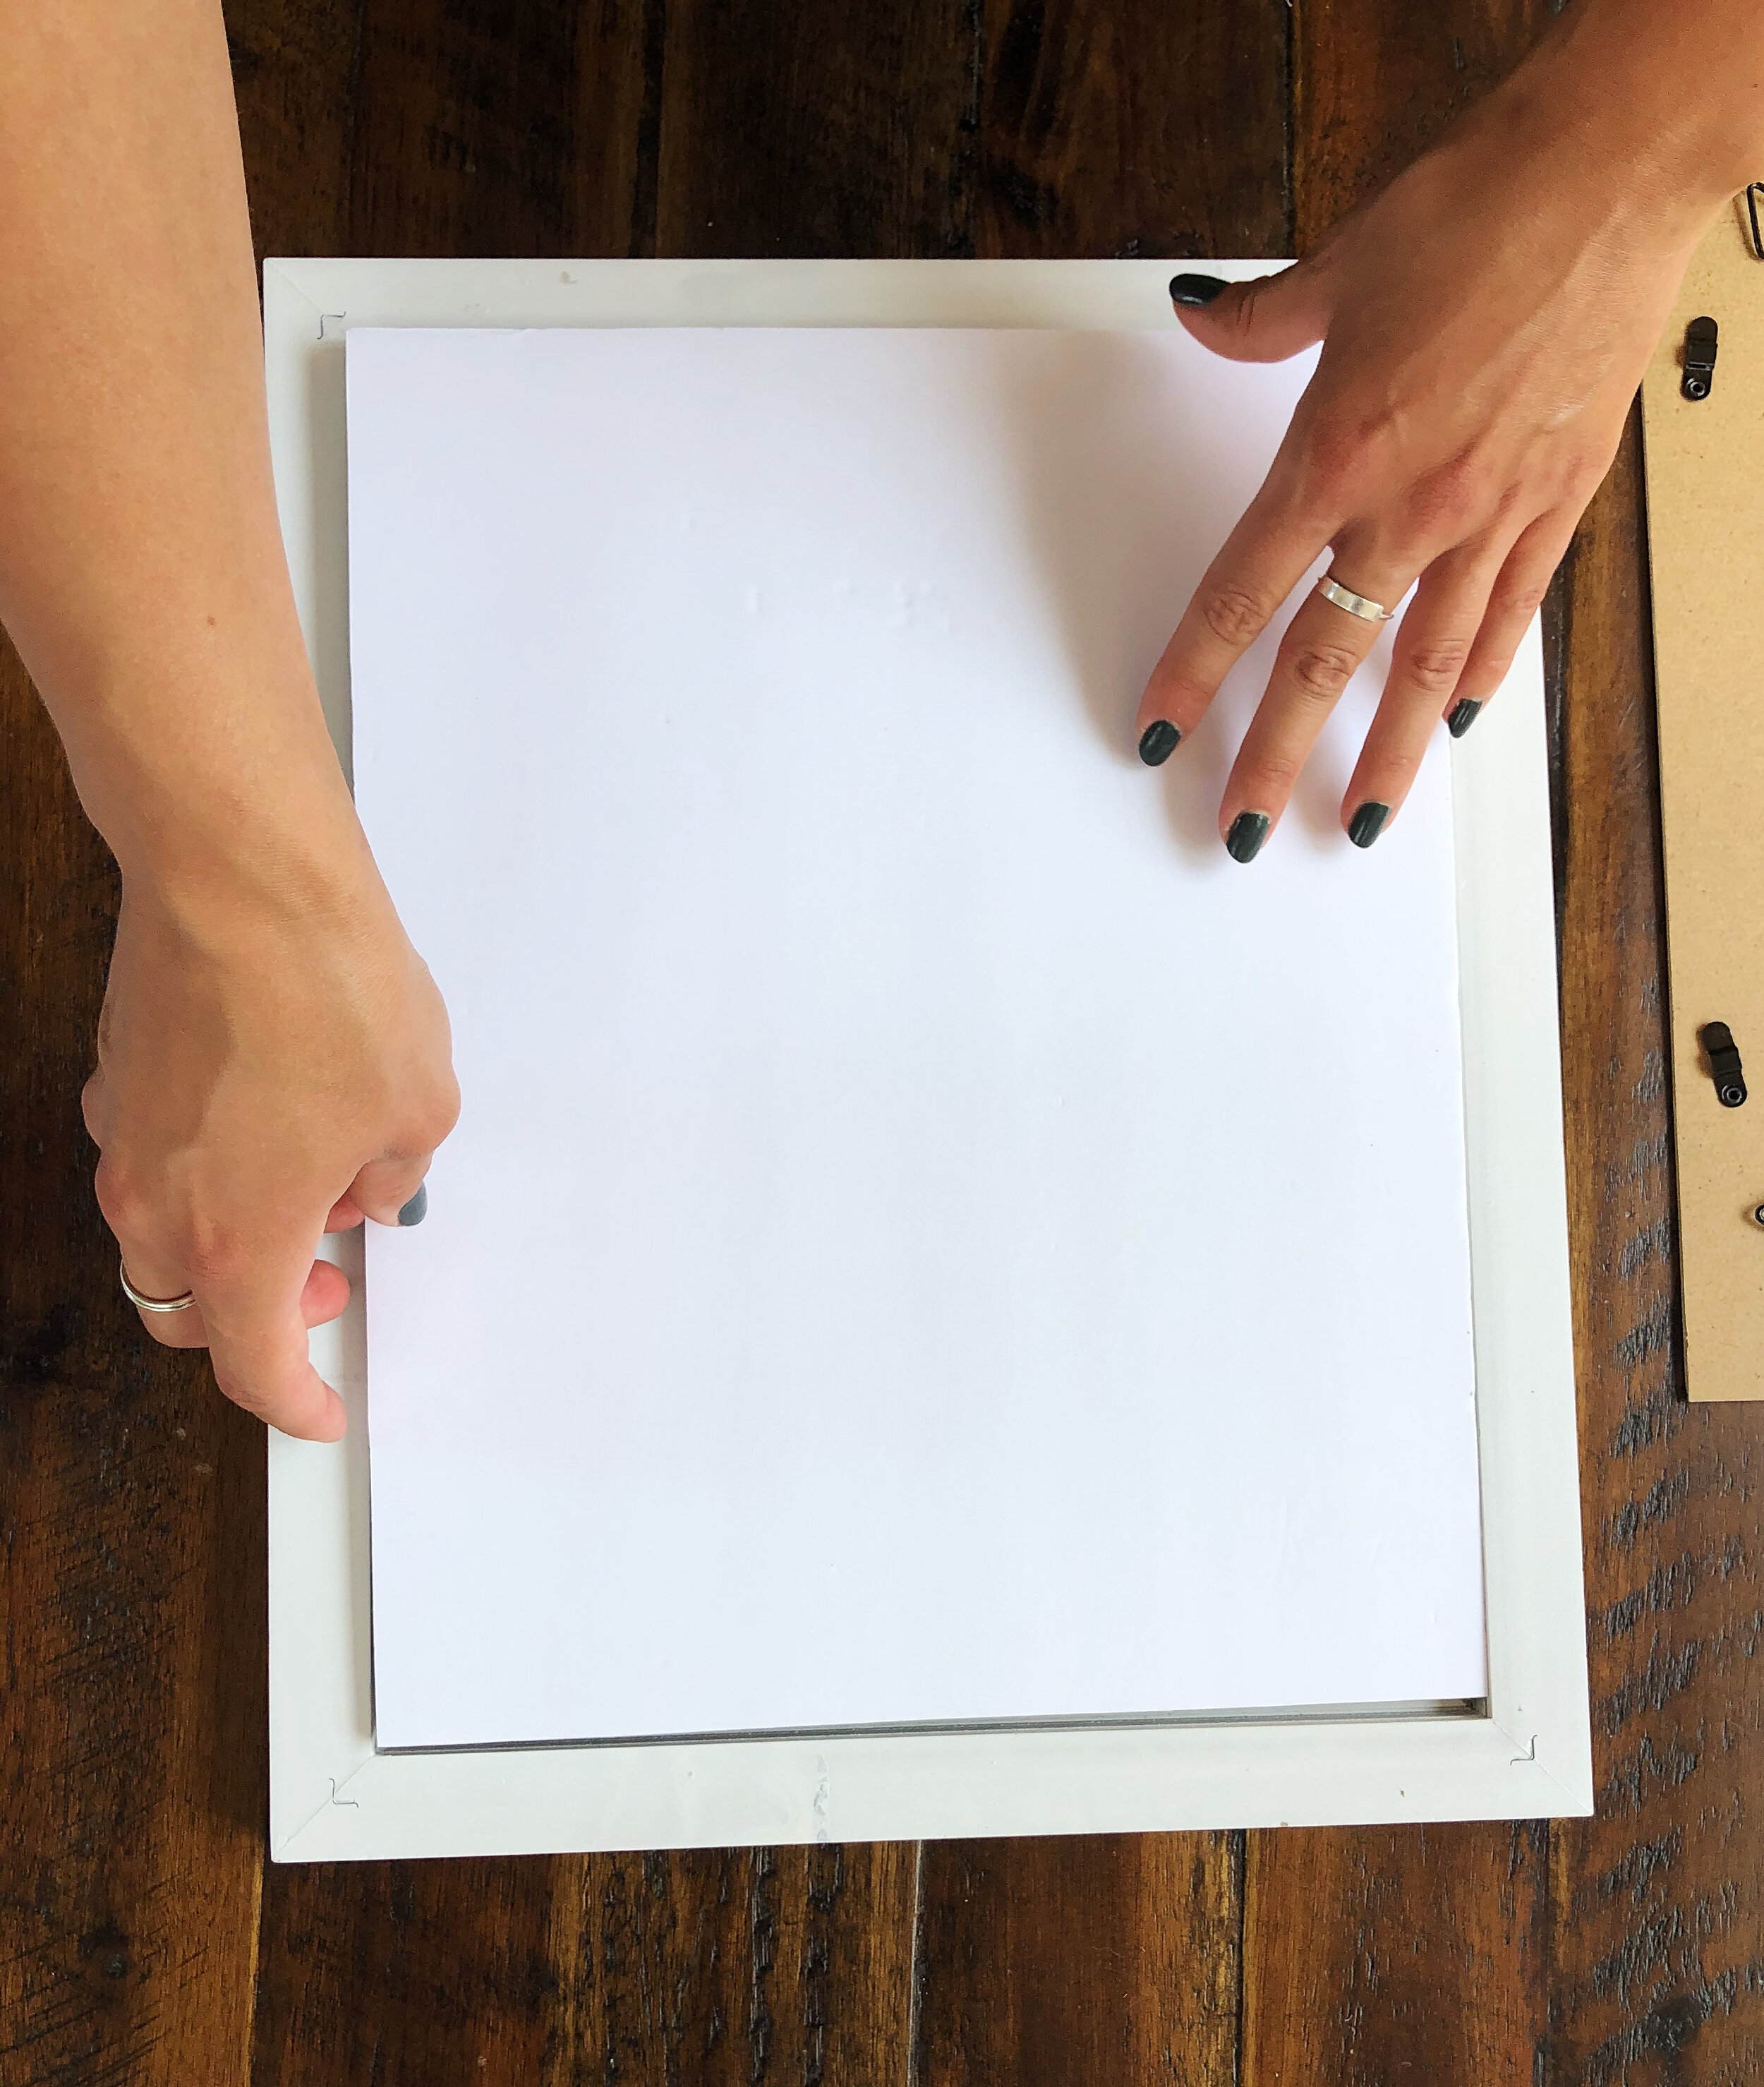
Step 4: frame wallpaper-covered board
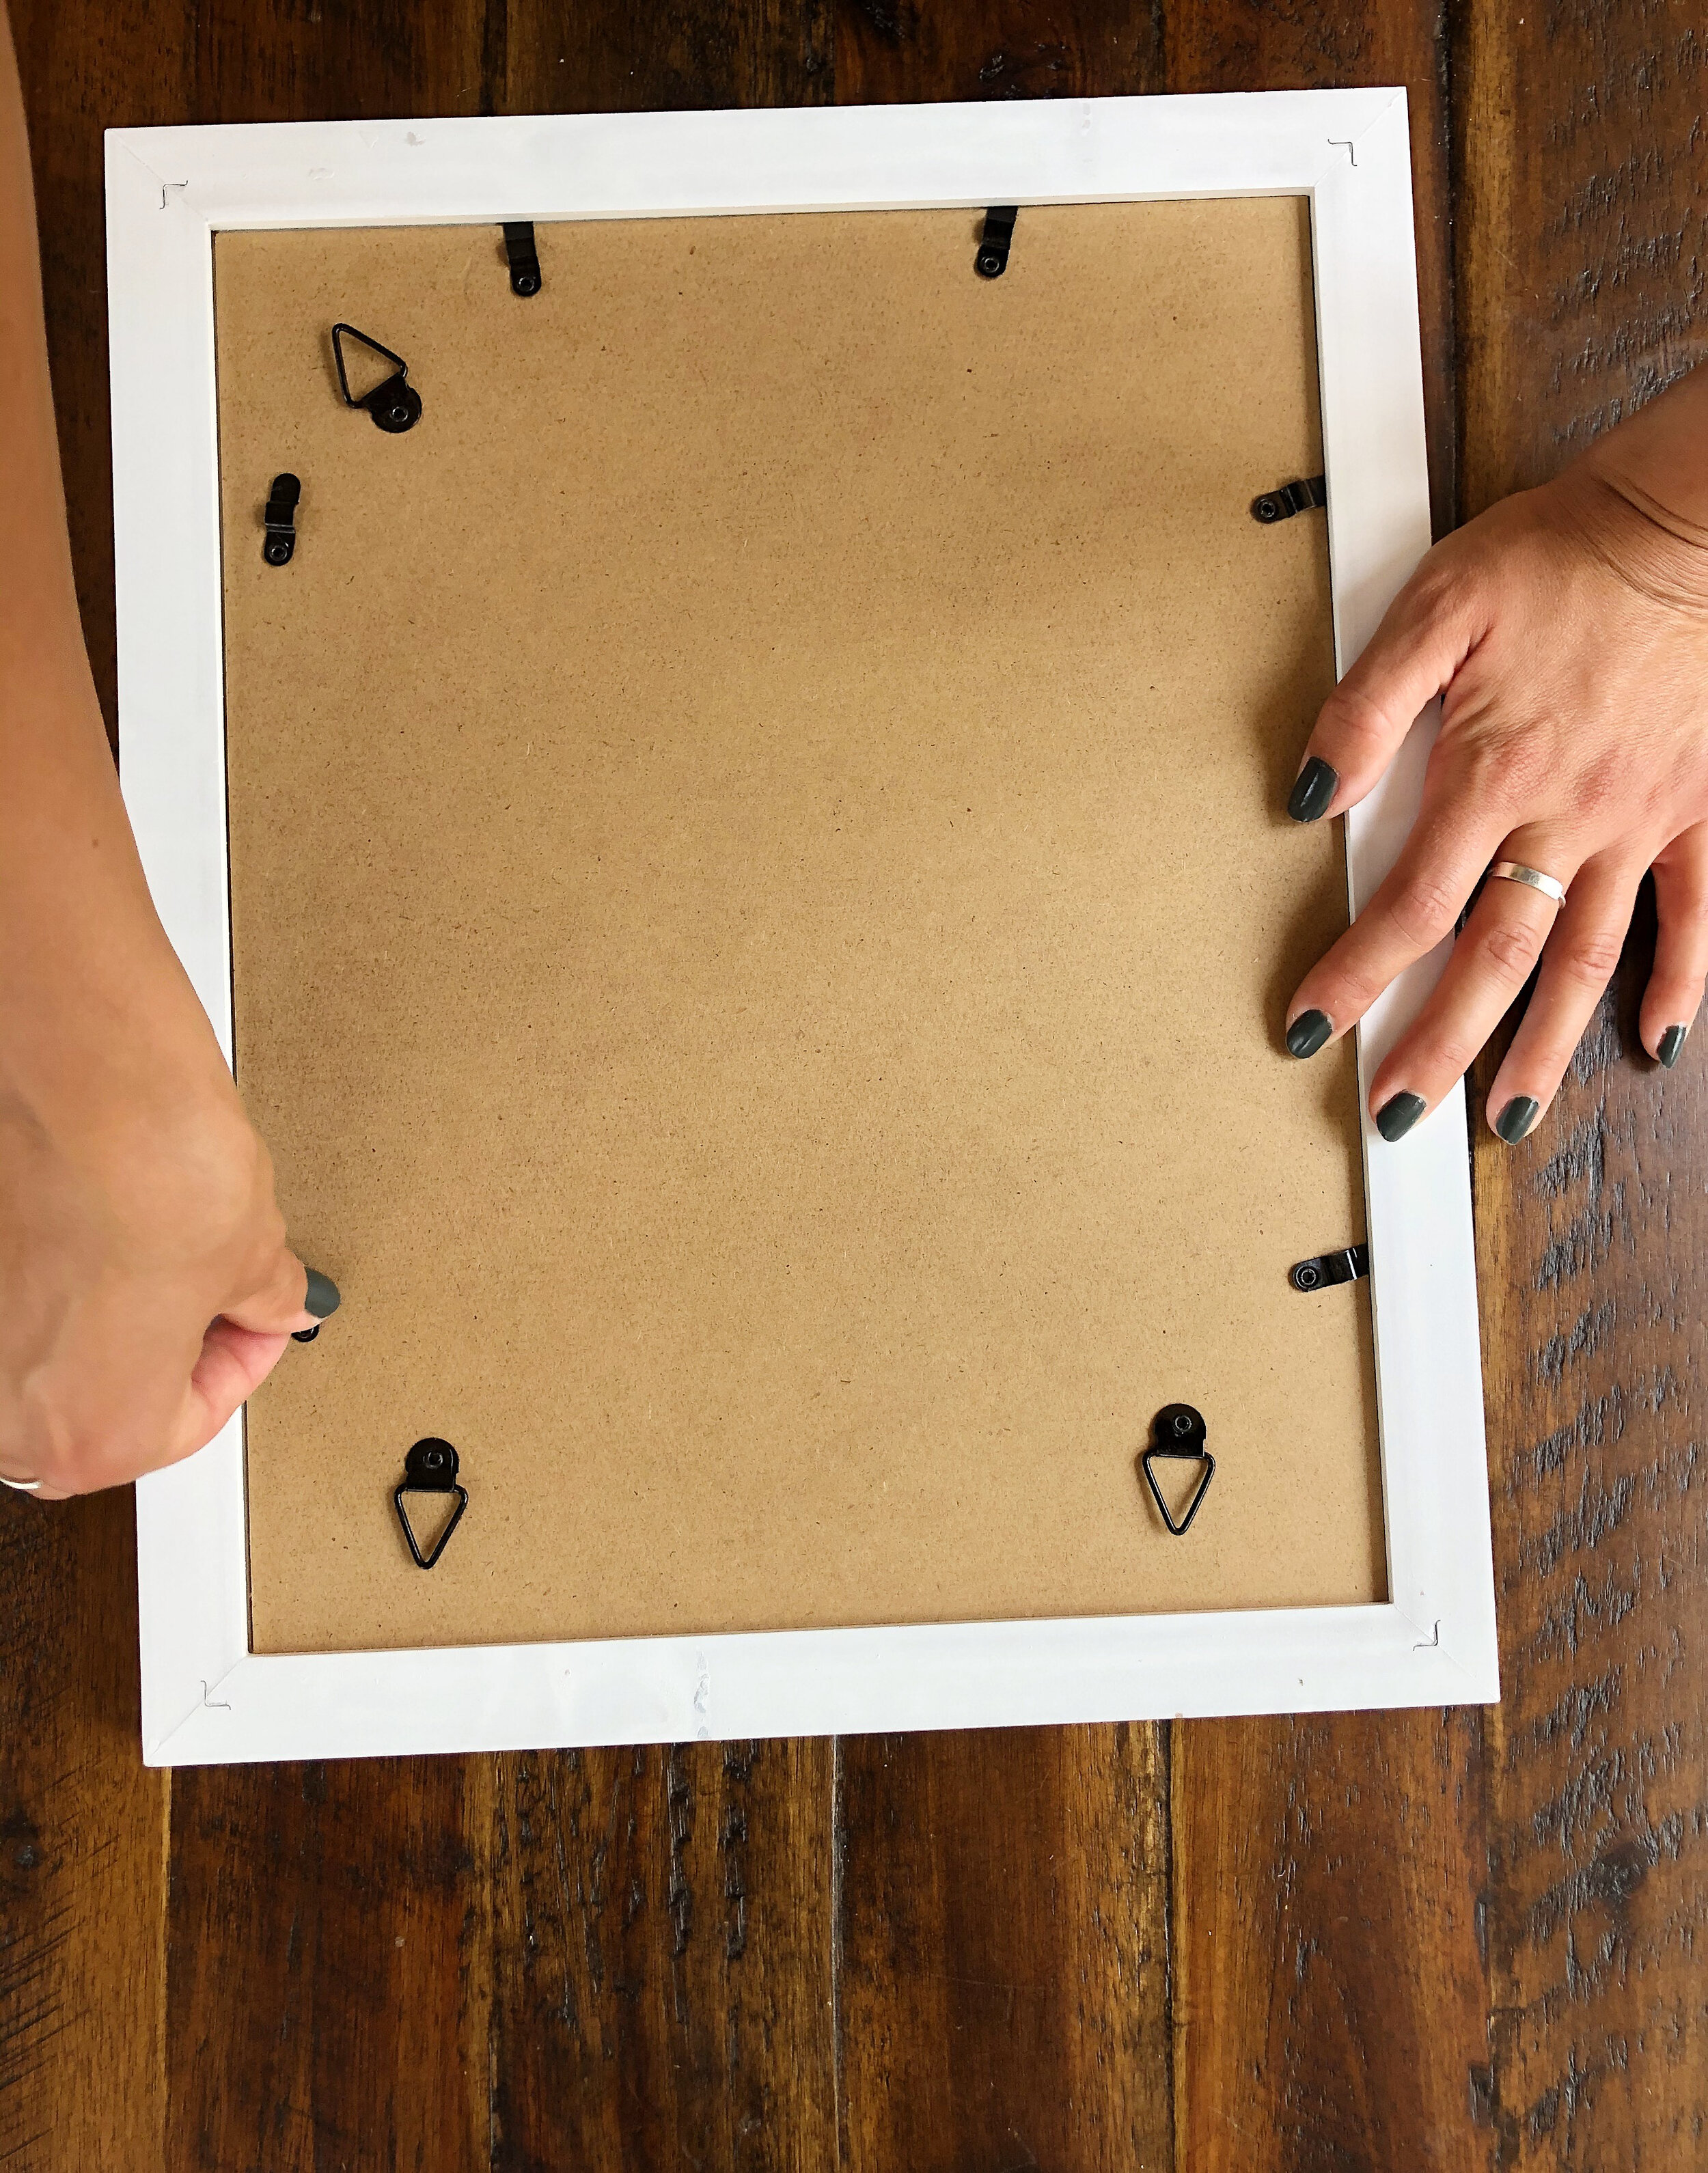
Place your wallpaper covered foam core or board into your frame. Make any last adjustments, close the backing of your frame, and…. it is ready to hang!
From here, use your imagination- you could add this framed artwork to a gallery wall, or make it a statement piece on its own. What room will it be placed in? How will it speak to a space? Give a space life and vivacity or calm and peace? If you’ve used this wallpaper pattern elsewhere in your home or space, how will this artwork carry the pattern through your space and create a continuity of feeling or mood?

Now I’m thinking of all the other possibilities of up-cycling and reusing wallpaper scraps and samples in framed artwork… collaging scraps together, cutting shapes out of the scraps and adhering to a board… much more is in store! I will have to experiment and share.
I hope you enjoyed today’s tutorial and that you try it out soon. Don’t forget to share what you make and tag @eso.studio on Instagram to show us your up-cycling wallpaper projects!
