Creating New From Old - Dresser Flip
I’ve been giving old furniture “facelifts” for as long as I can remember. Un(Fortunately) I do not have any photos of the early decoupaging I did to everything growing up, but I’d like to think it was all excellent experience in my furniture flipping journey…
I’m a rummager. I love packed, unorganized antique shops and estate sales that turn people away with their hoard. They hold the best treasures! In recent times, Facebook Marketplace has truly become a gold mine for forgotten antique and vintage furniture. Of course, it still takes some virtual rummaging for the best pieces at the best deals. You’re searching for the person selling the sweet Dixie MCM dresser for $35, titled only “old dresser”. “Project Piece” is another good search to use, but can still be a little risky. It’s best to commit to the sale only when you’ve checked it out in person.
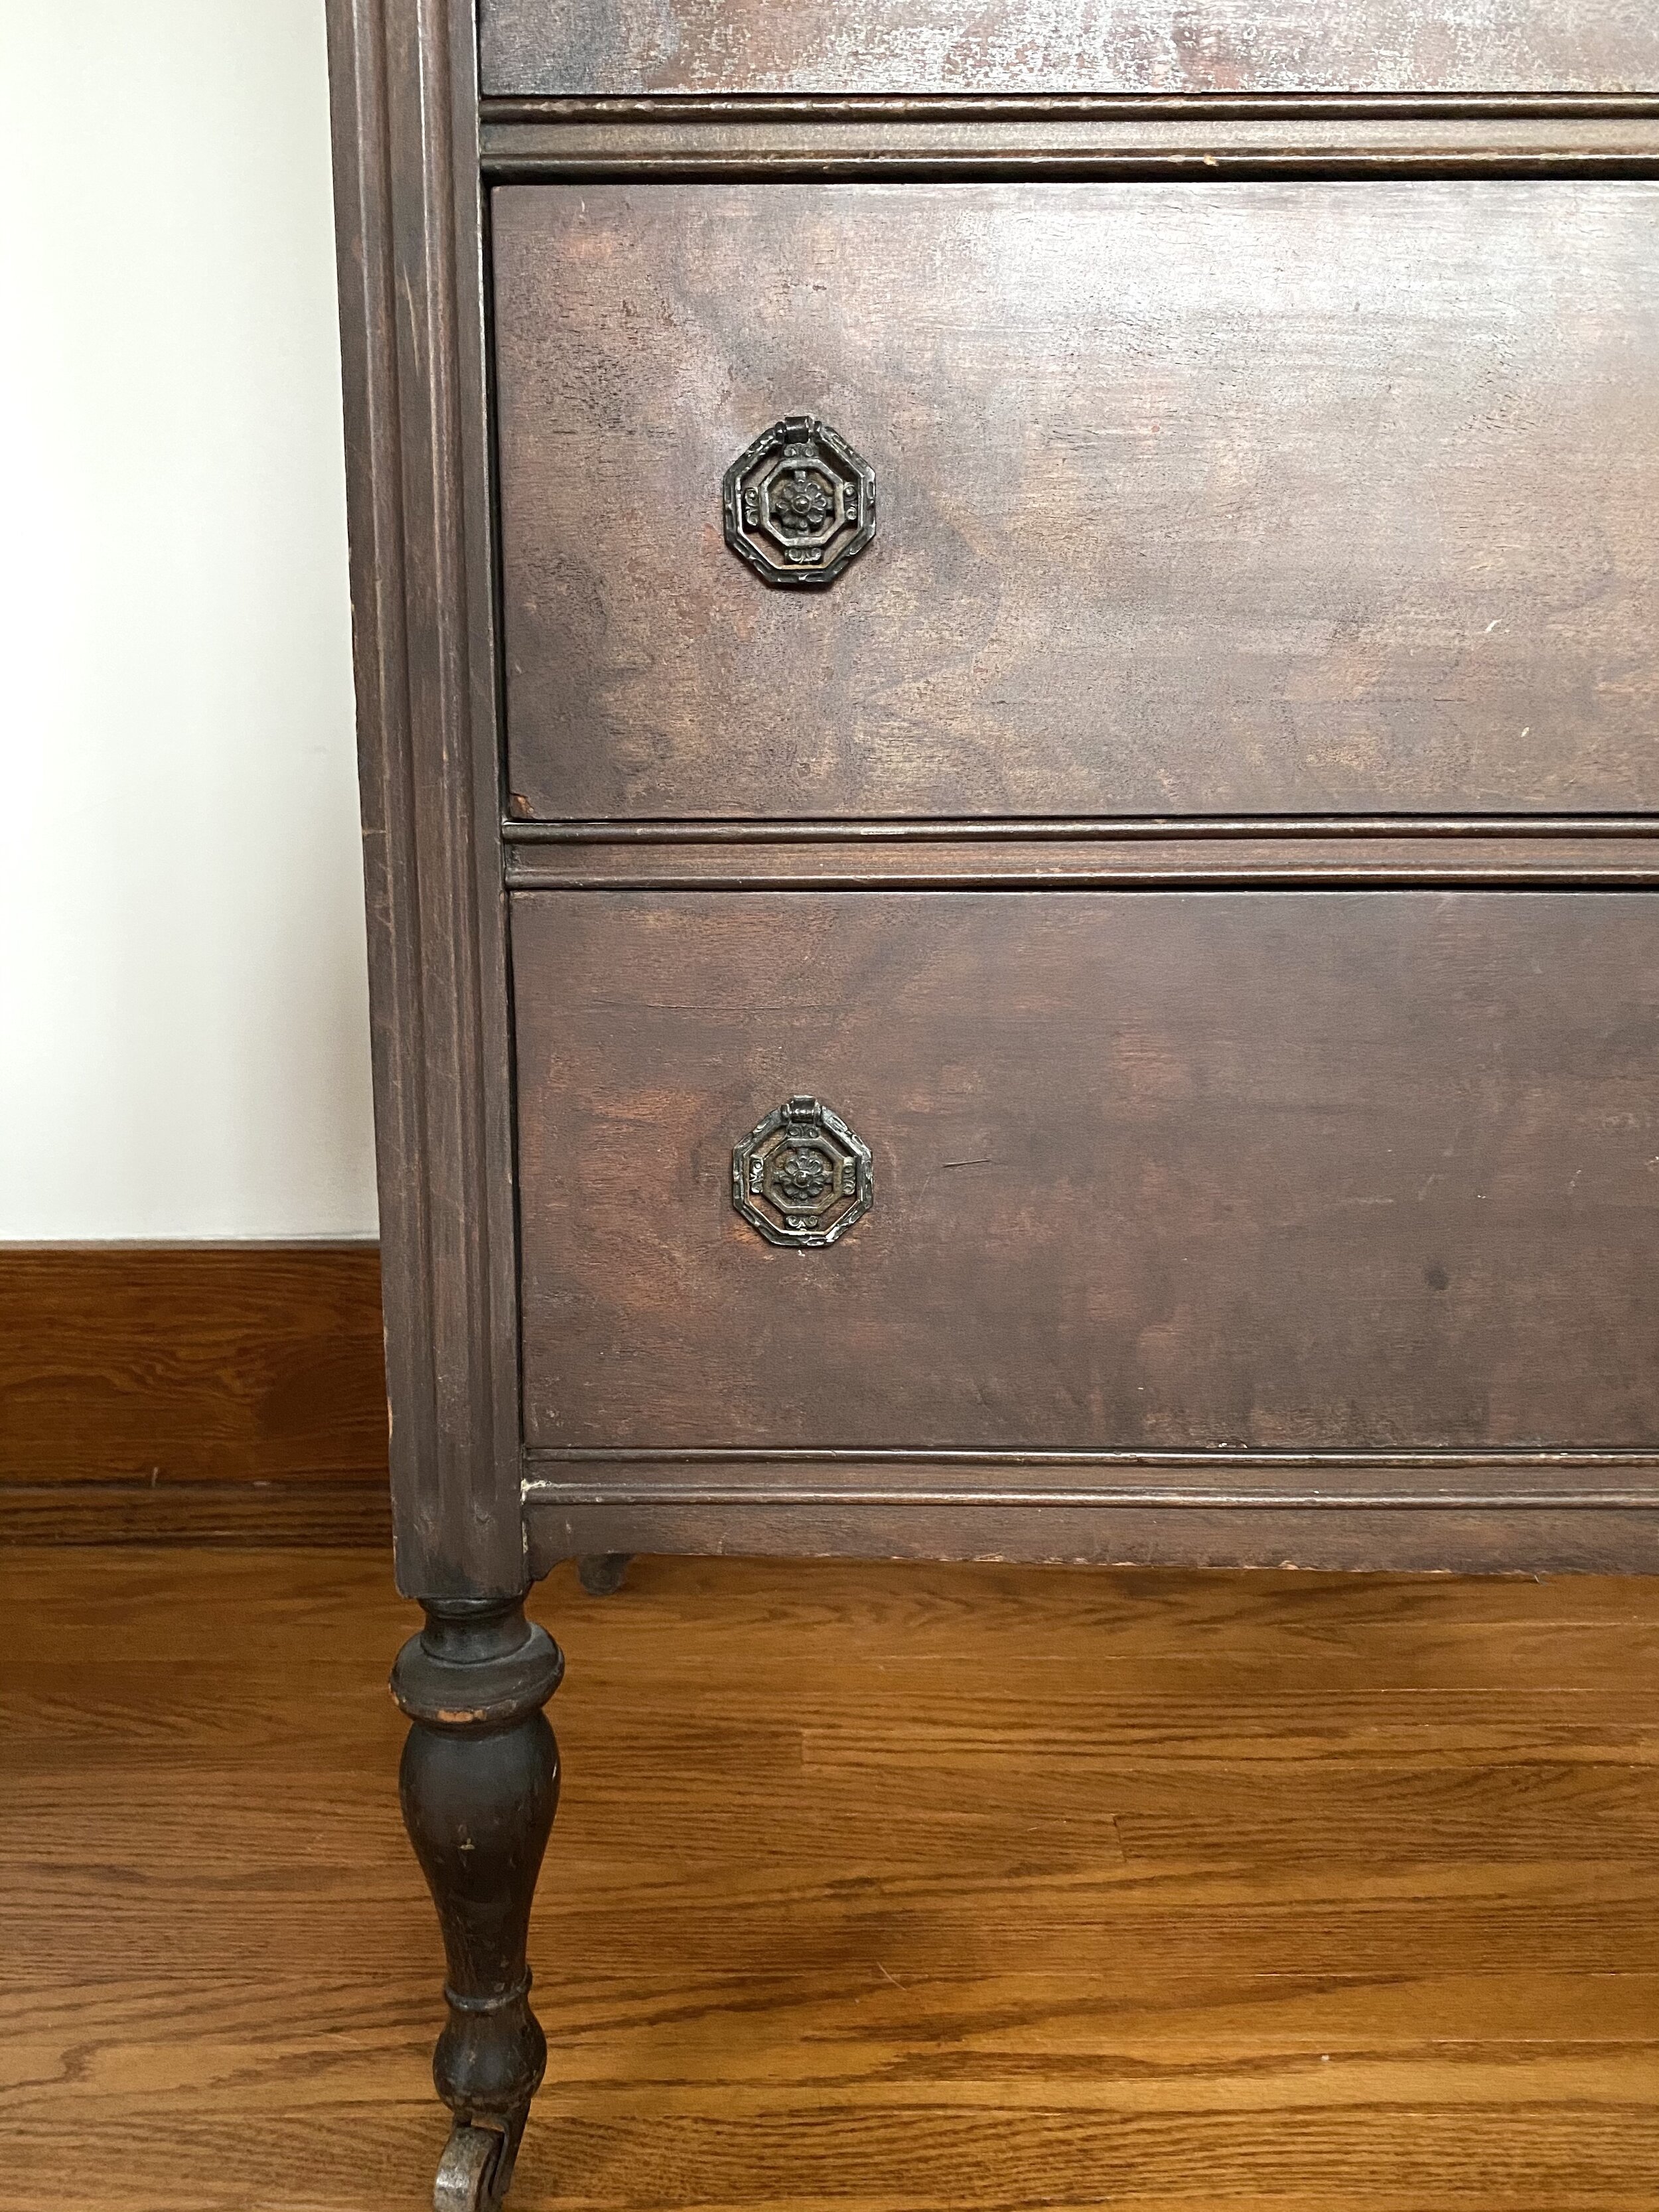
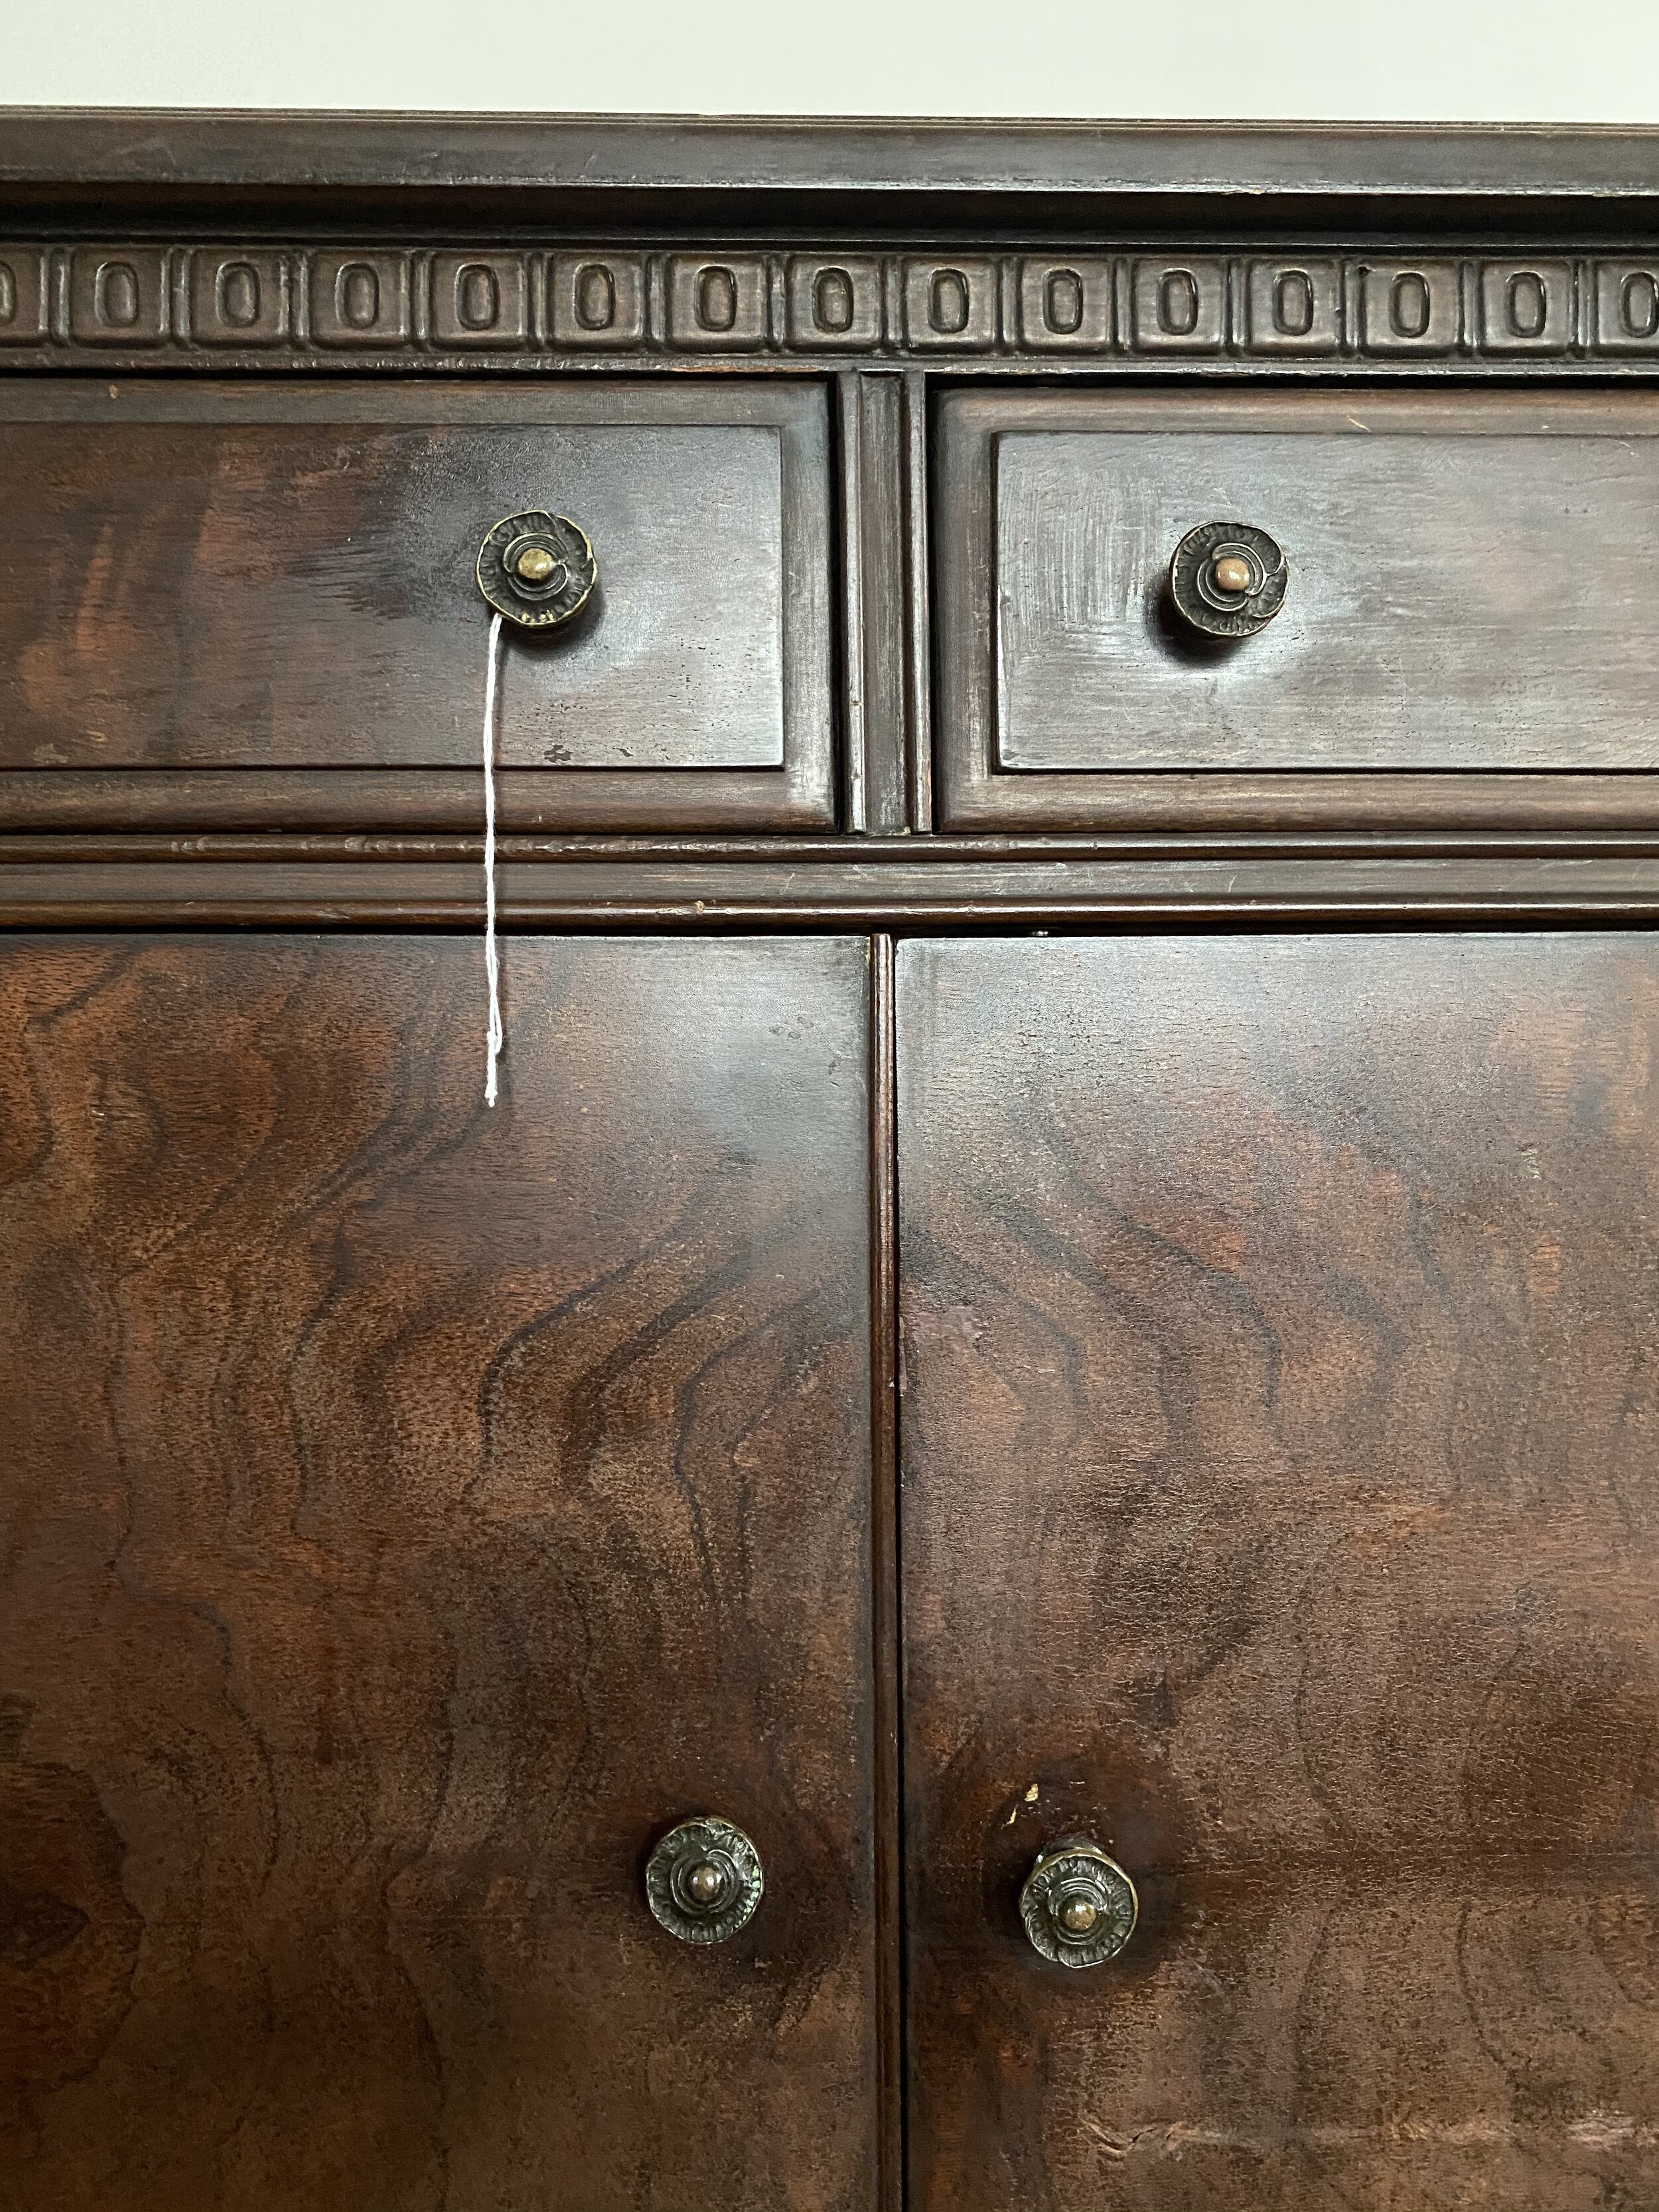
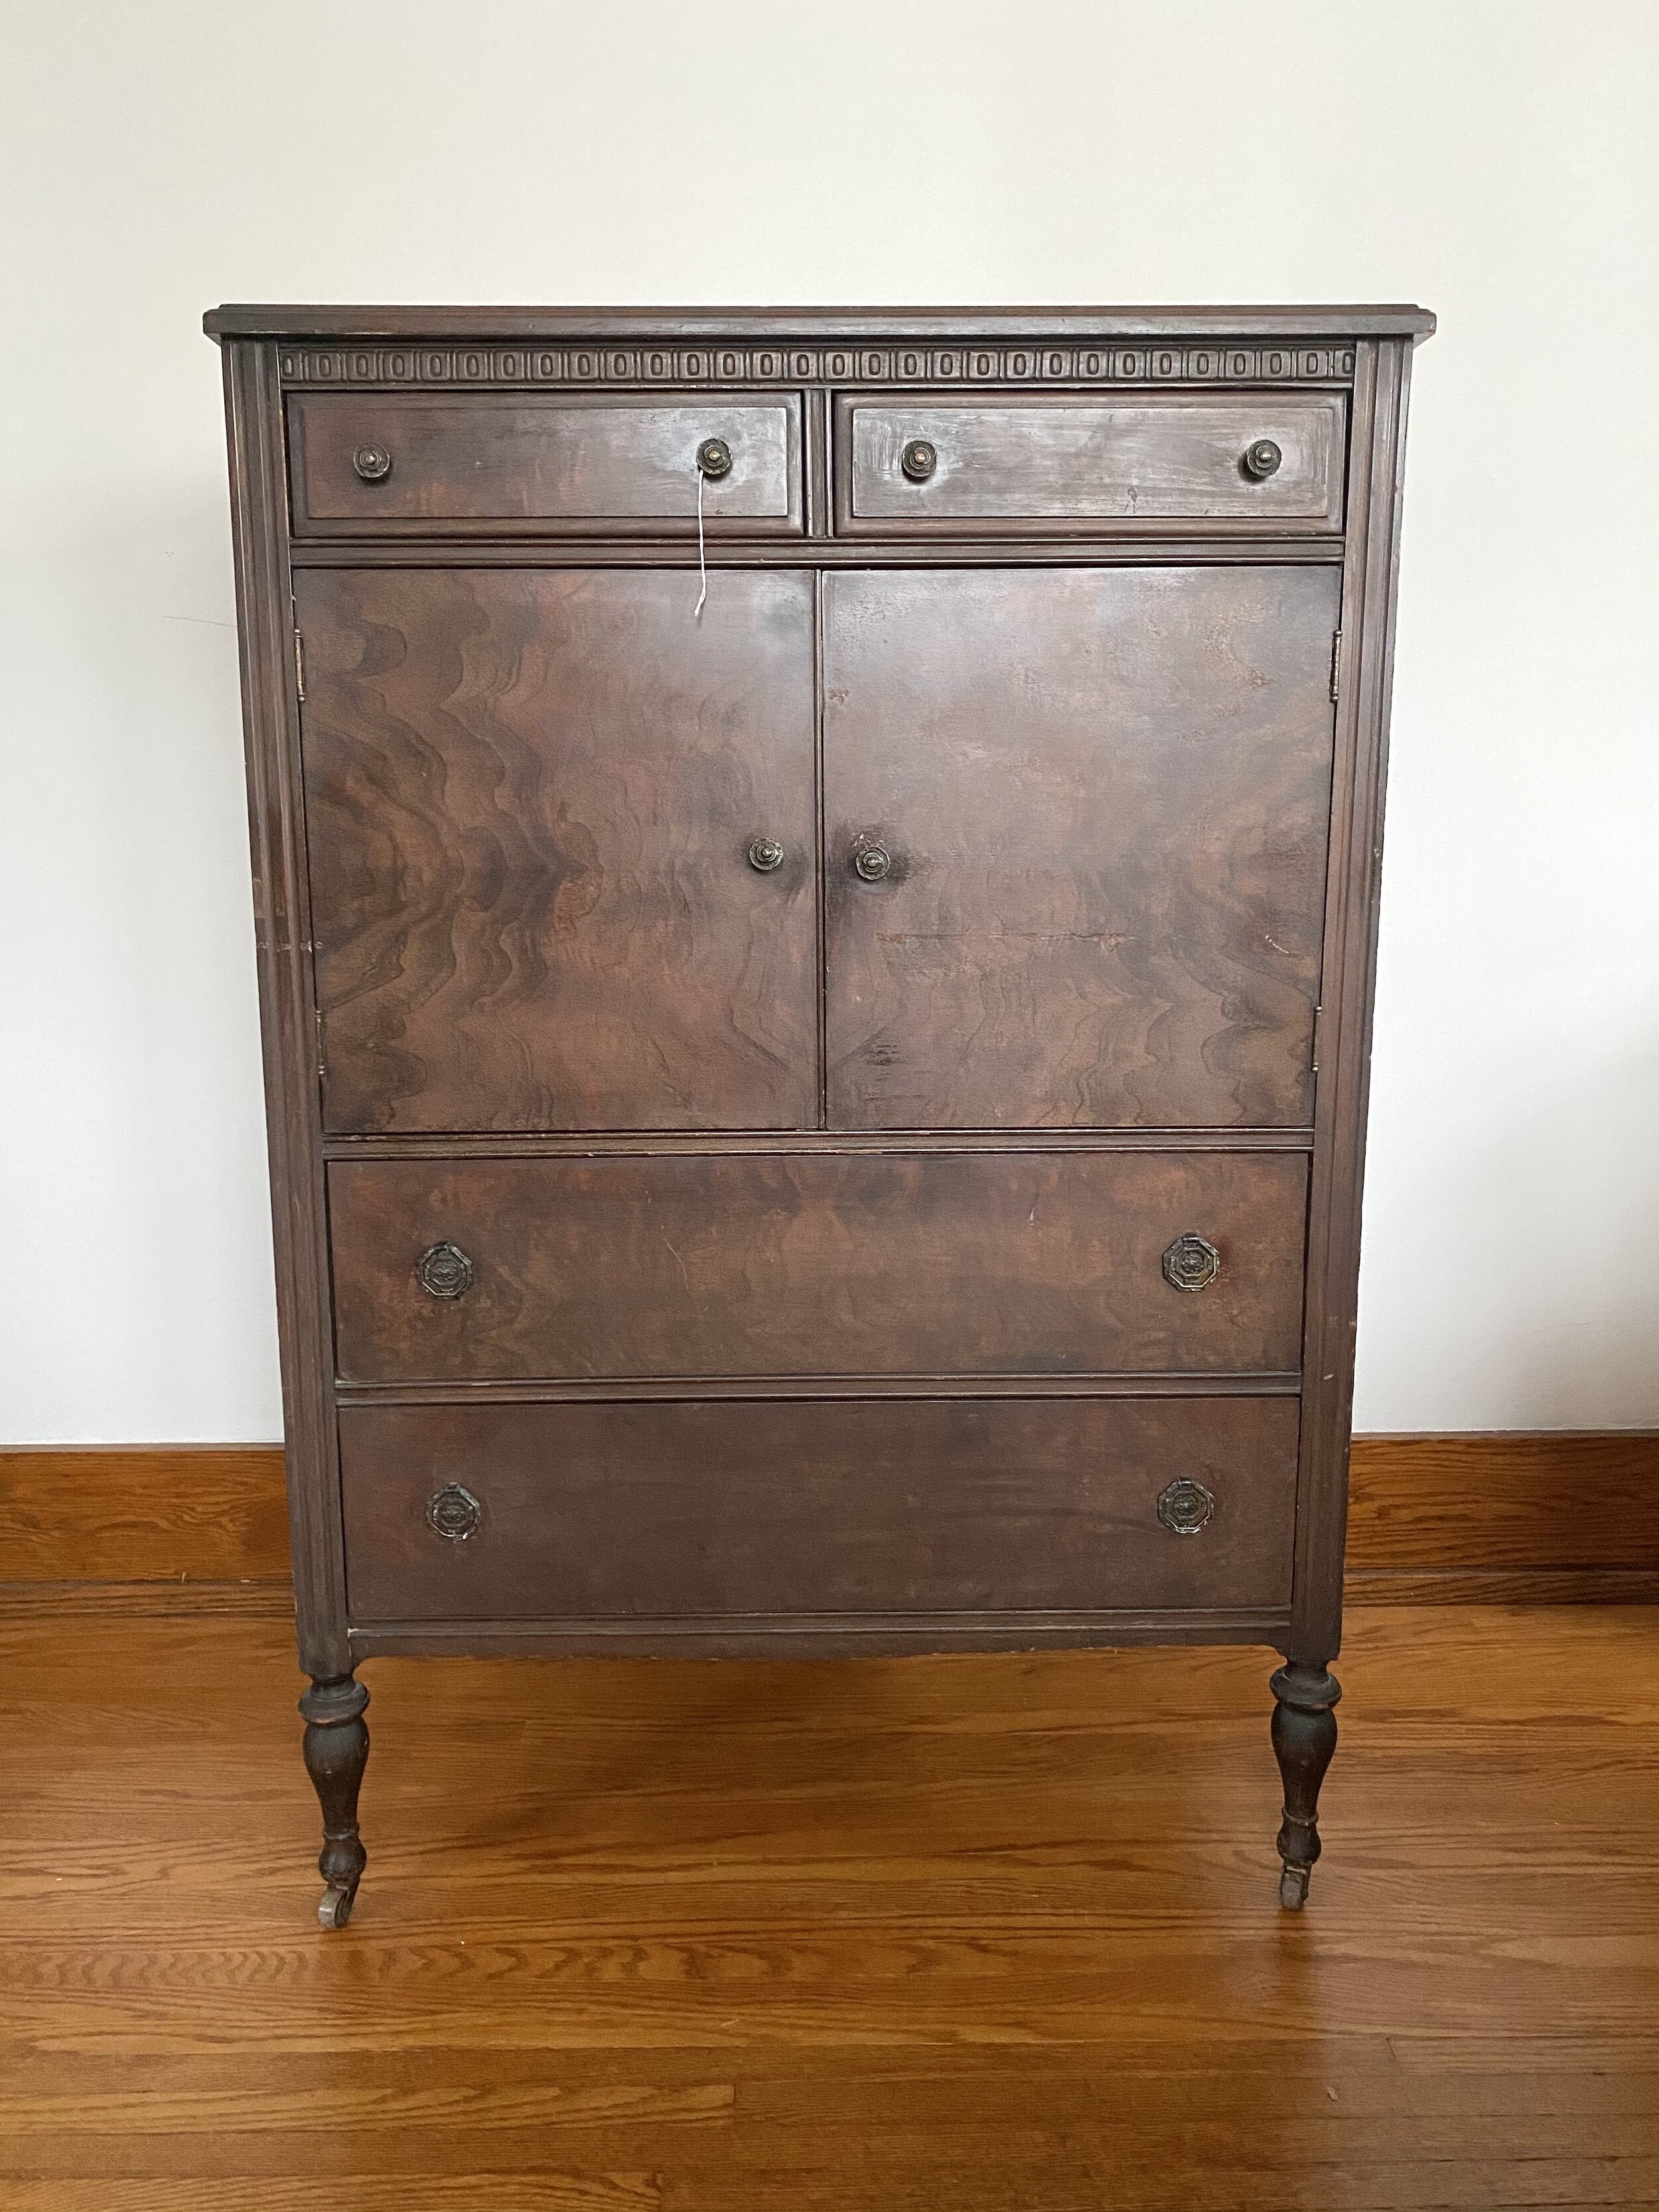
The dresser I’m flipping is from a local furniture shop that restocks weekly and prices to sell quick. I saw this dresser for a great price and just had to have it…
I mean, look at this thing!

let’s get to work!
Yes, prep-work is absolutely the most boring and unsatisfying part of the project- BUT it makes all the difference in the finished piece and how long it will last. A little forefront effort is worth it when your piece is spic ‘n span at the end!

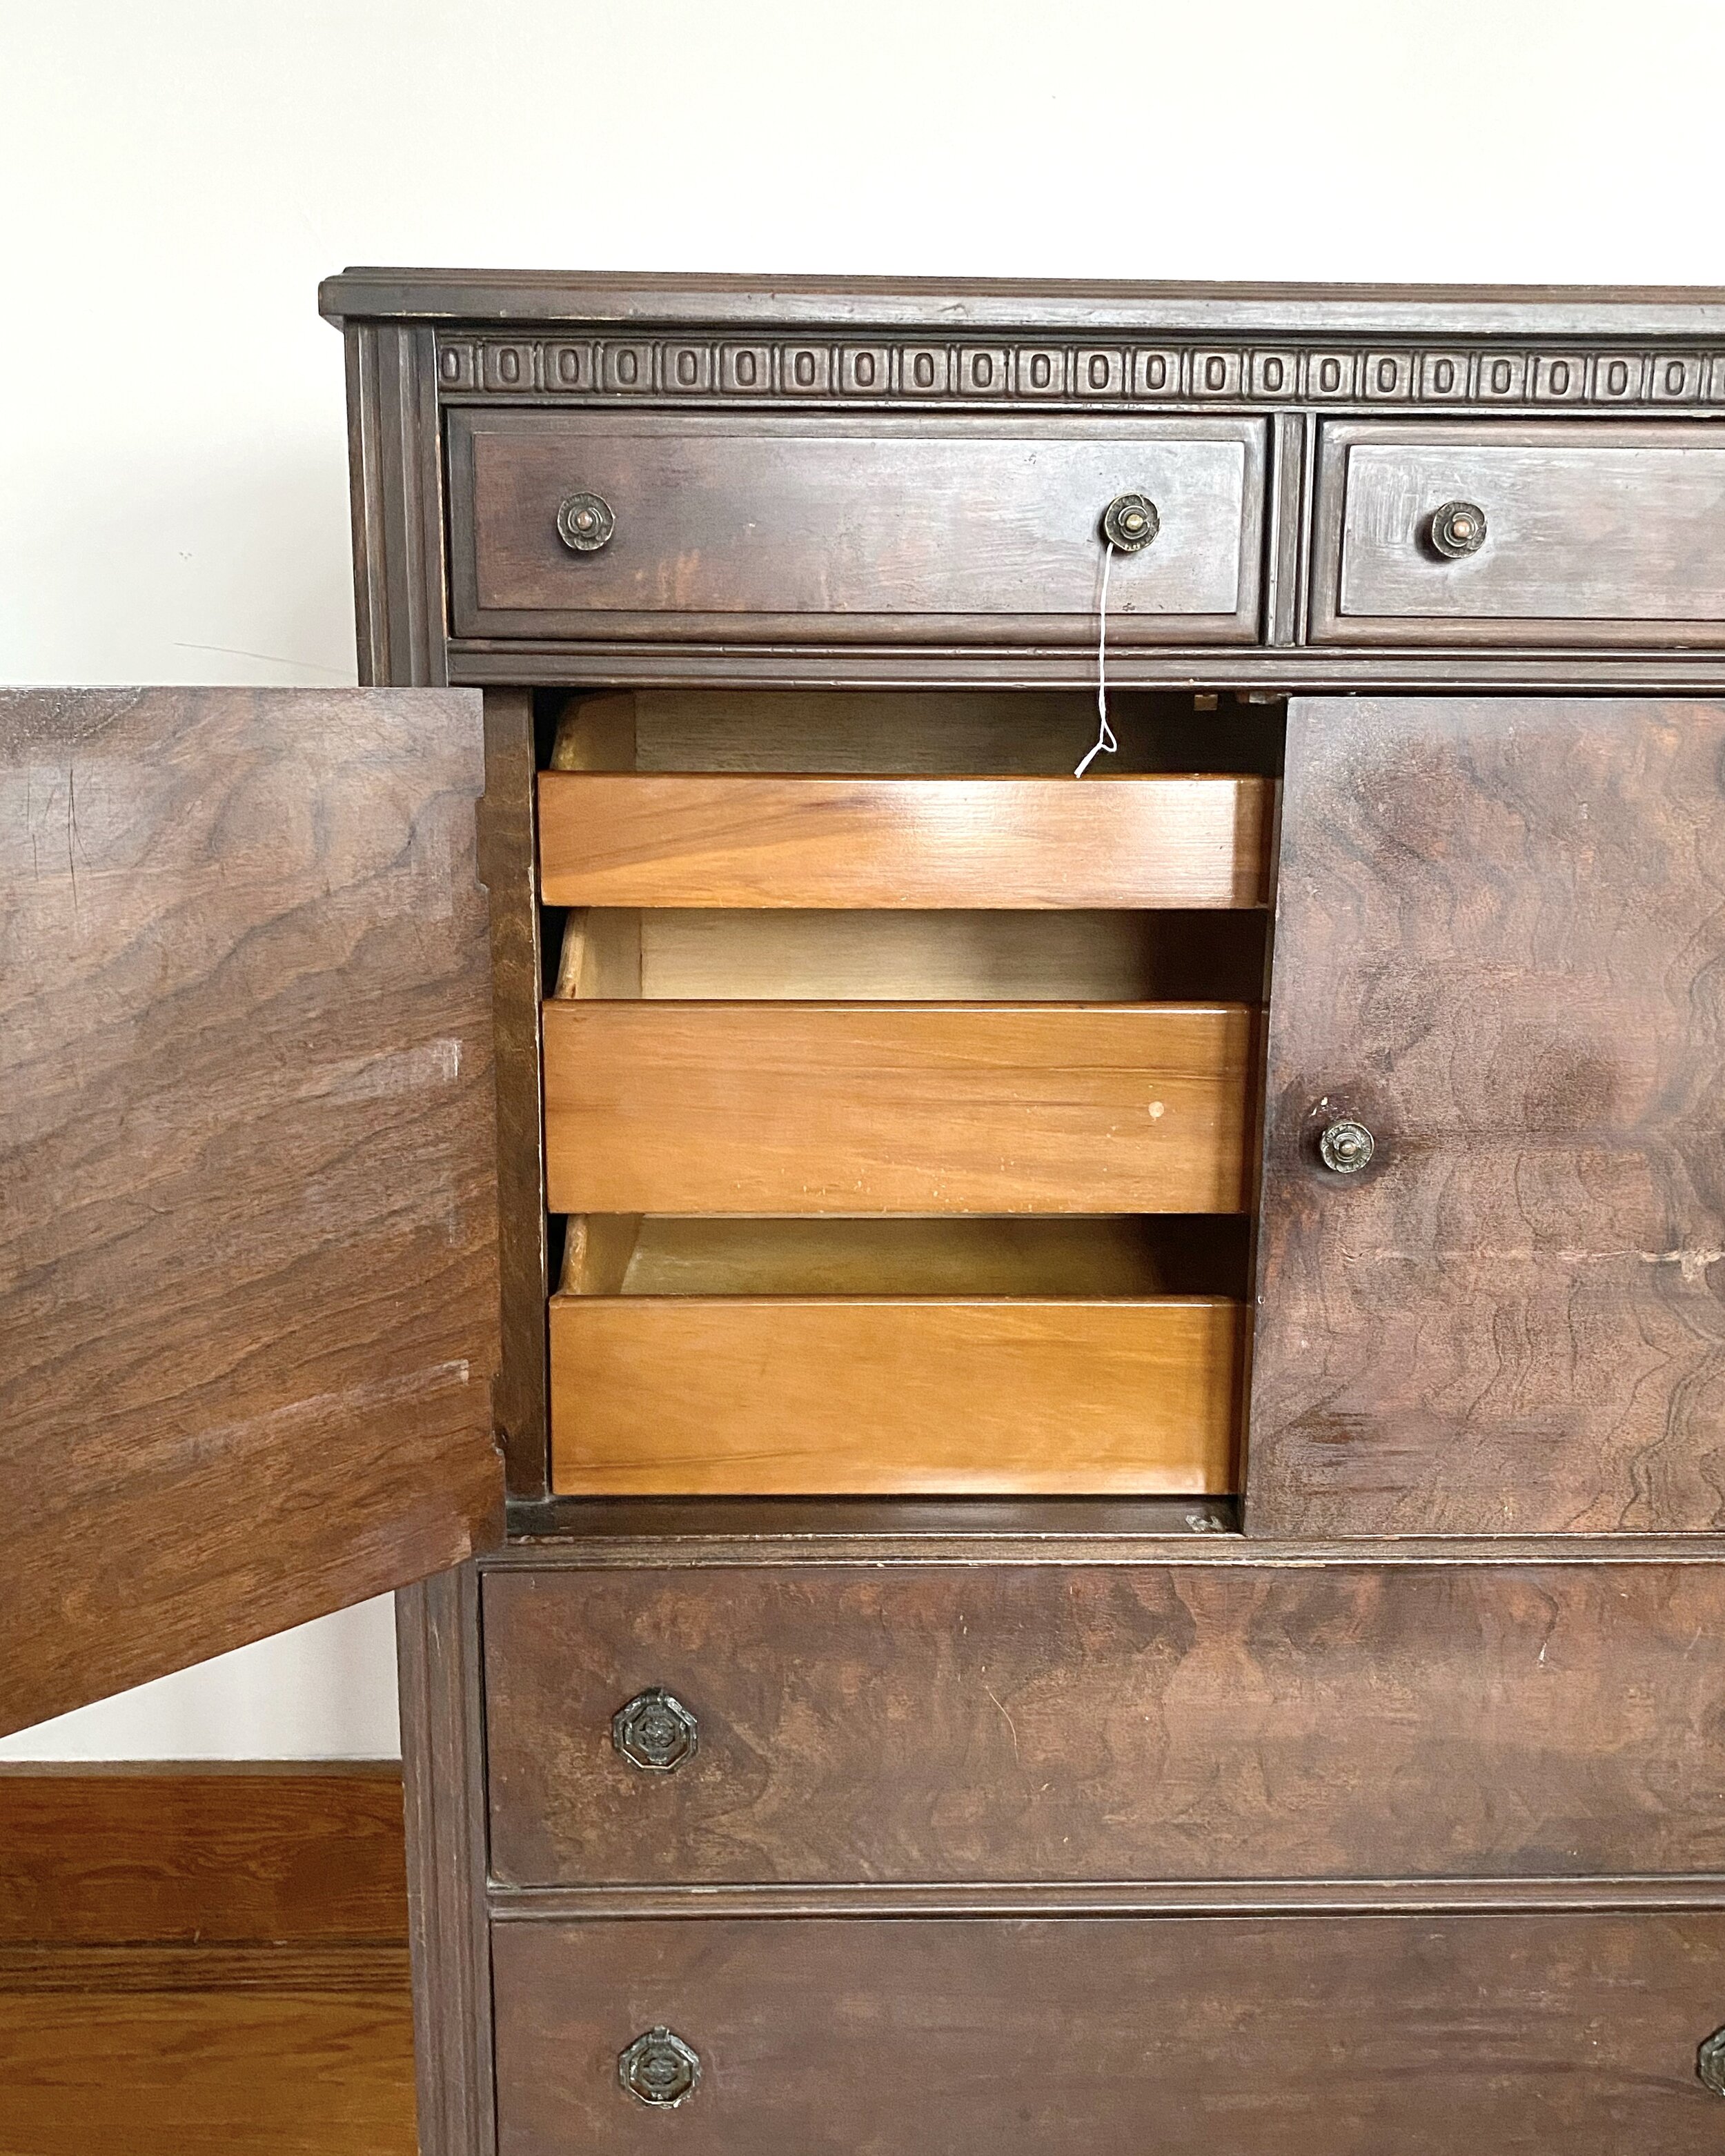
First, remove all hardware.
Hot Tip: Place all pieces you remove in a Tupperware with a lid. You will lose something even if you think you won’t, believe me.

Give it a good clean.
You want a degreaser. I use Krud Kutter. It kuts all the krud.

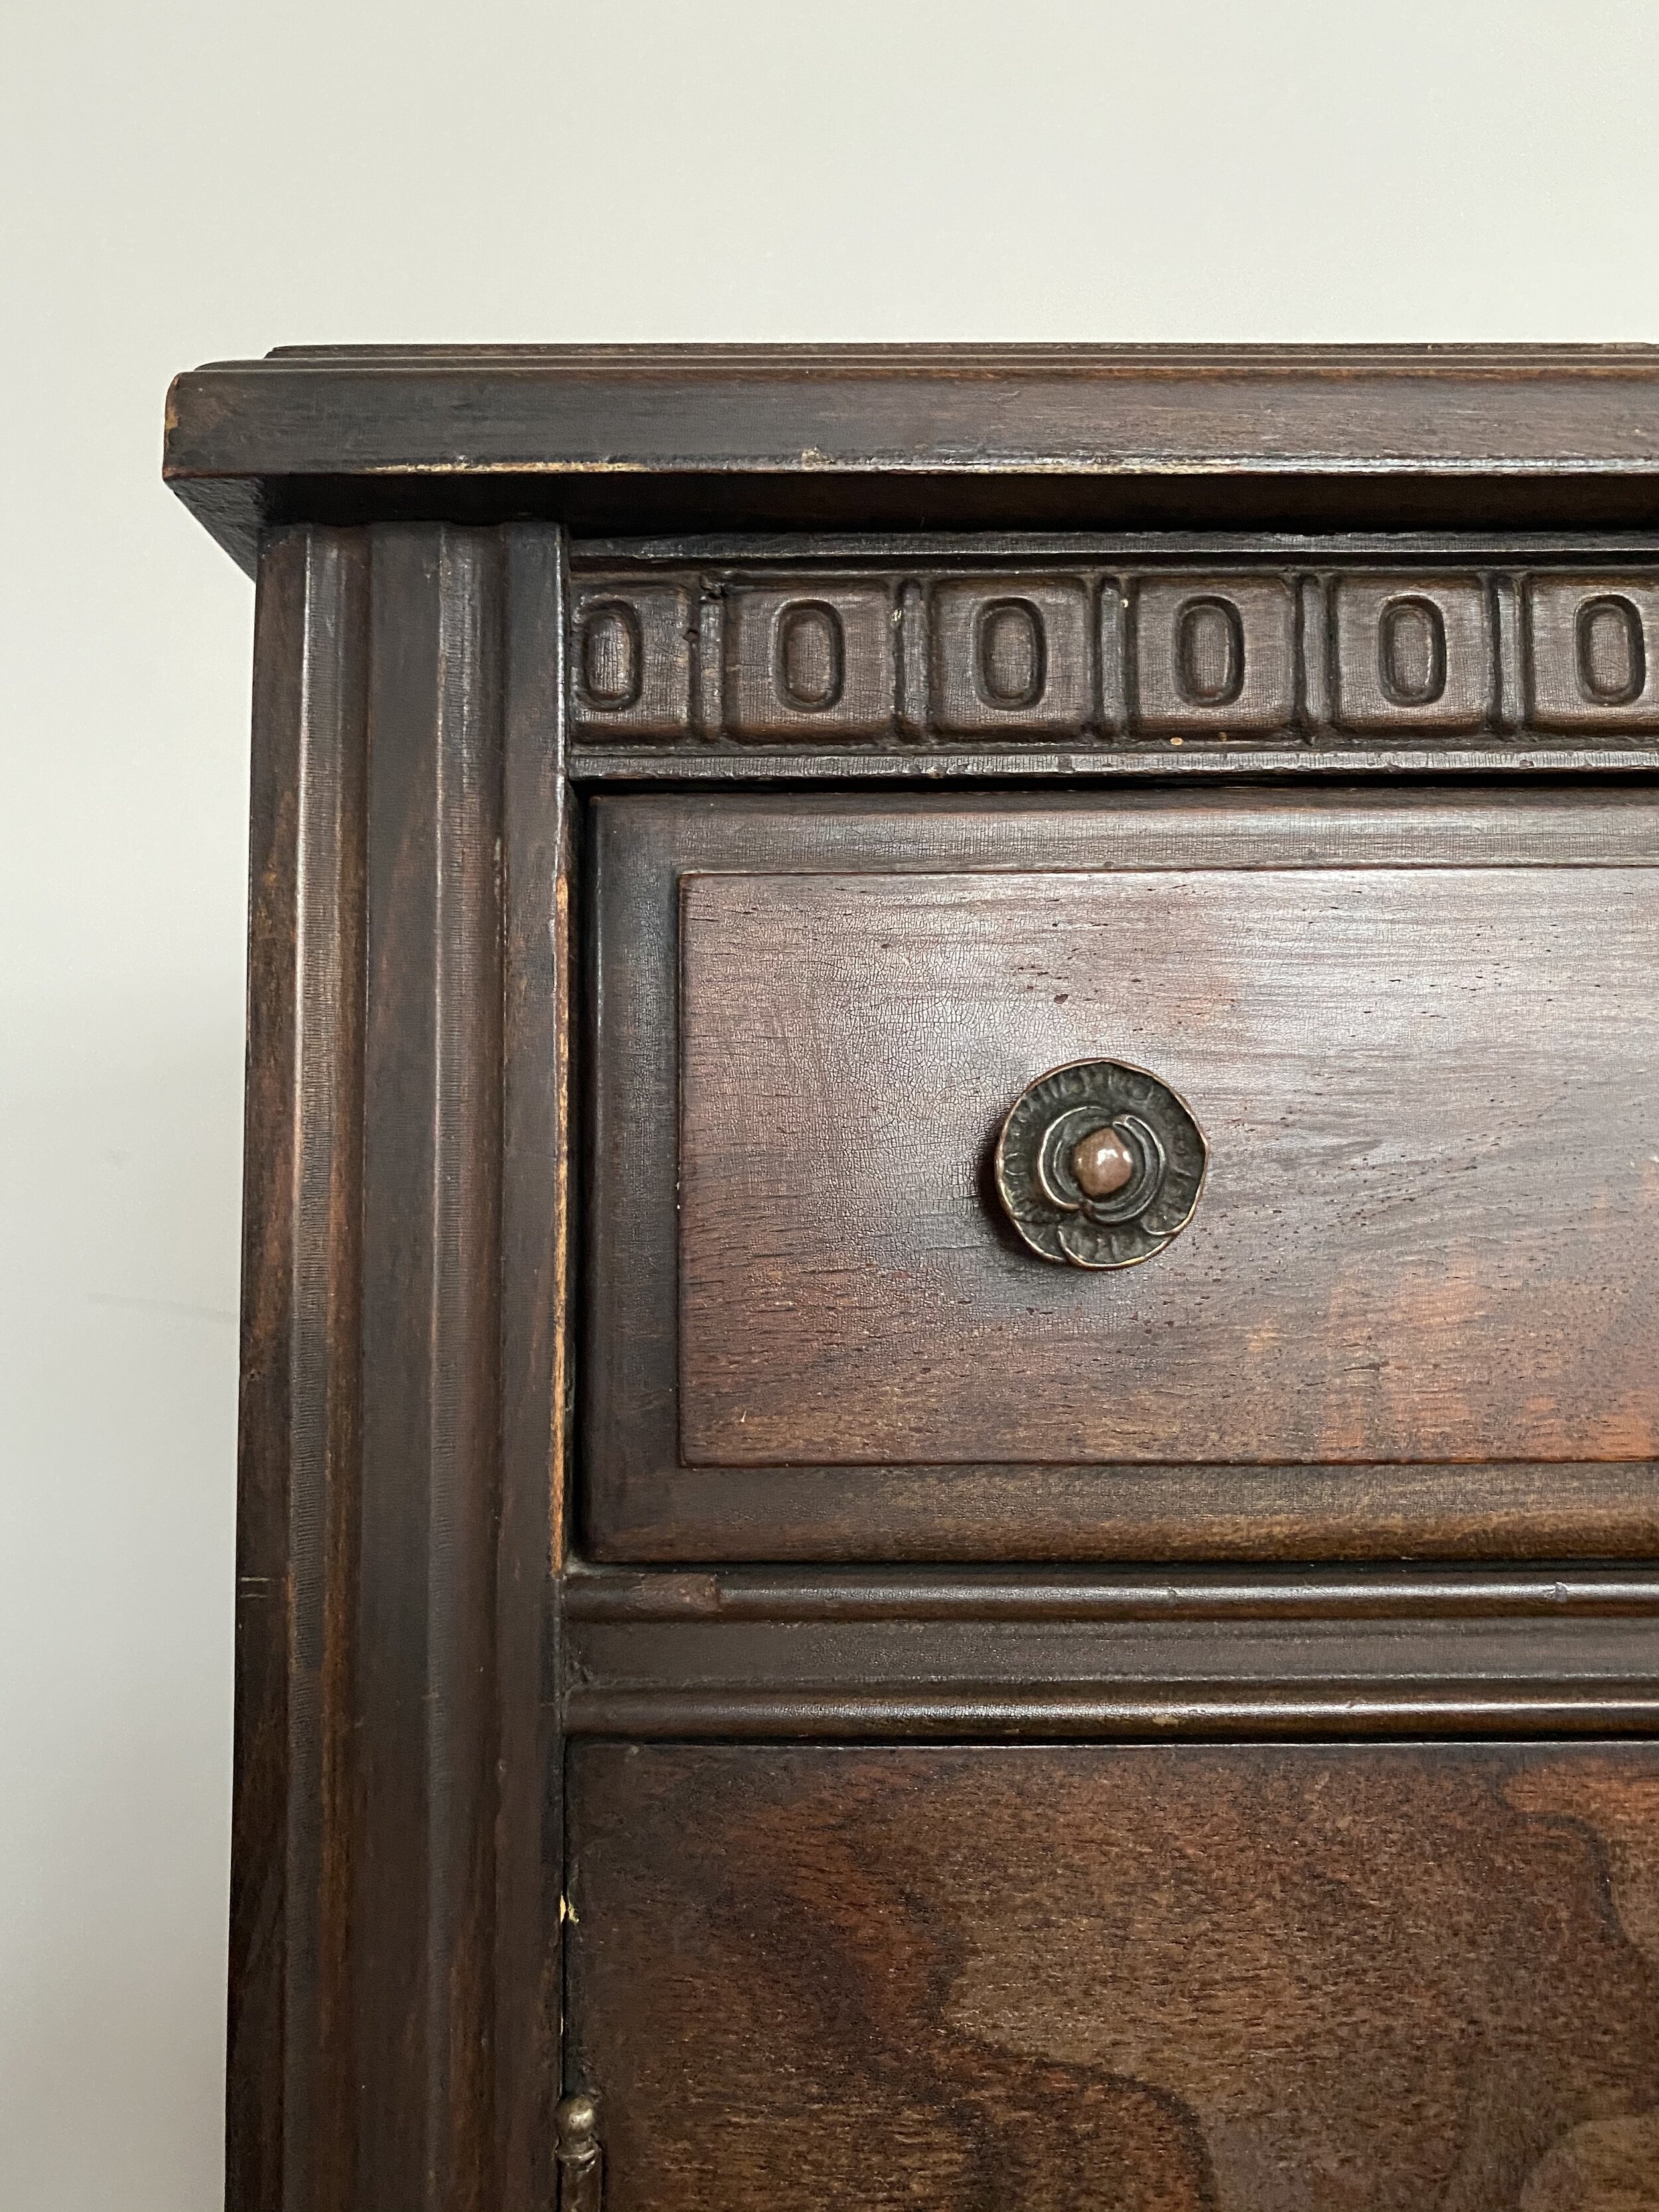
Patch holes & imperfections.
I don’t mind a bit of wear on old pieces, but there was a large gauge across the front of one drawer that I wanted to take care of. Let it dry fully before sanding.

Sand and/or Strip.
I wanted the front legs on this to stand out a bit. Sanding would be a pain with all those nooks and crannies, so I broke out Citristrip to do the trick. It’s one of the “safer” strippers out there, but wear a mask and gloves while using. It’s also a bit of a messy process, but it works great!

sand, sand & sand.
I decided I wanted the inside of the doors to be be left wood. The original varnish wasn’t in great condition, so sanding it off was the best option.

Scuff that surface up.
Sanding roughens up the surface so that the paint adheres better. Paint doesn’t do well with shiny, slick surfaces.
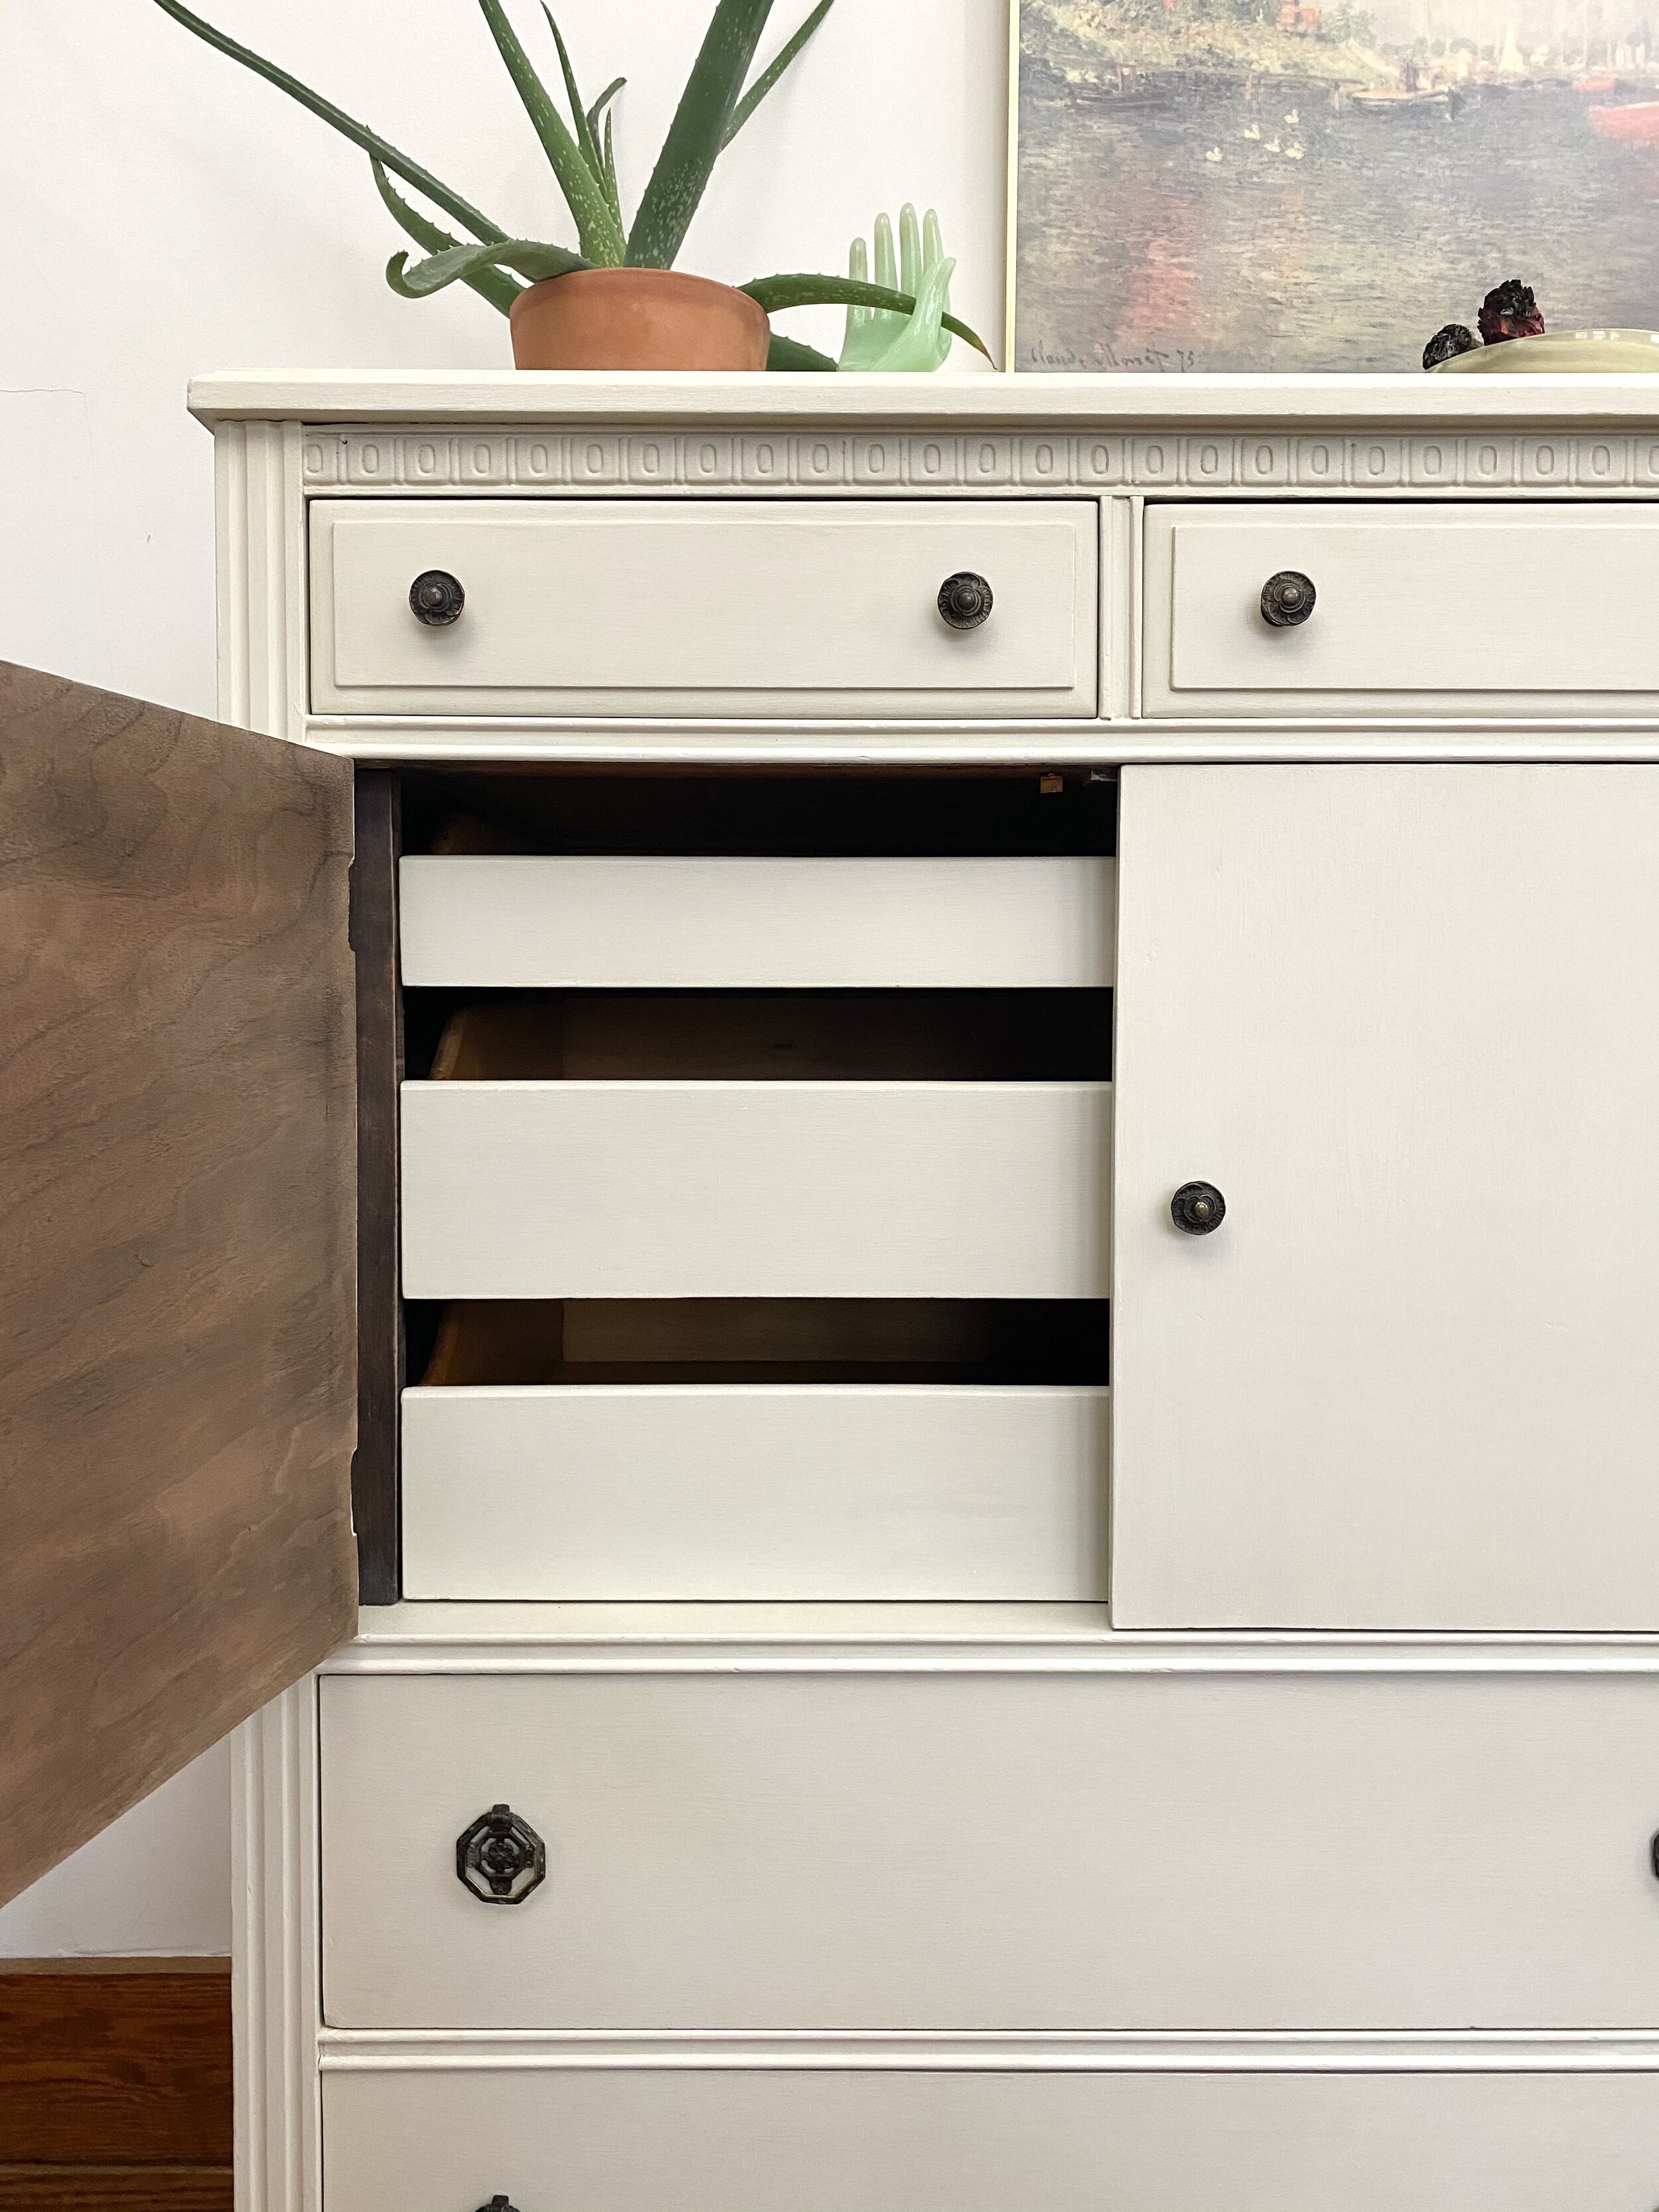
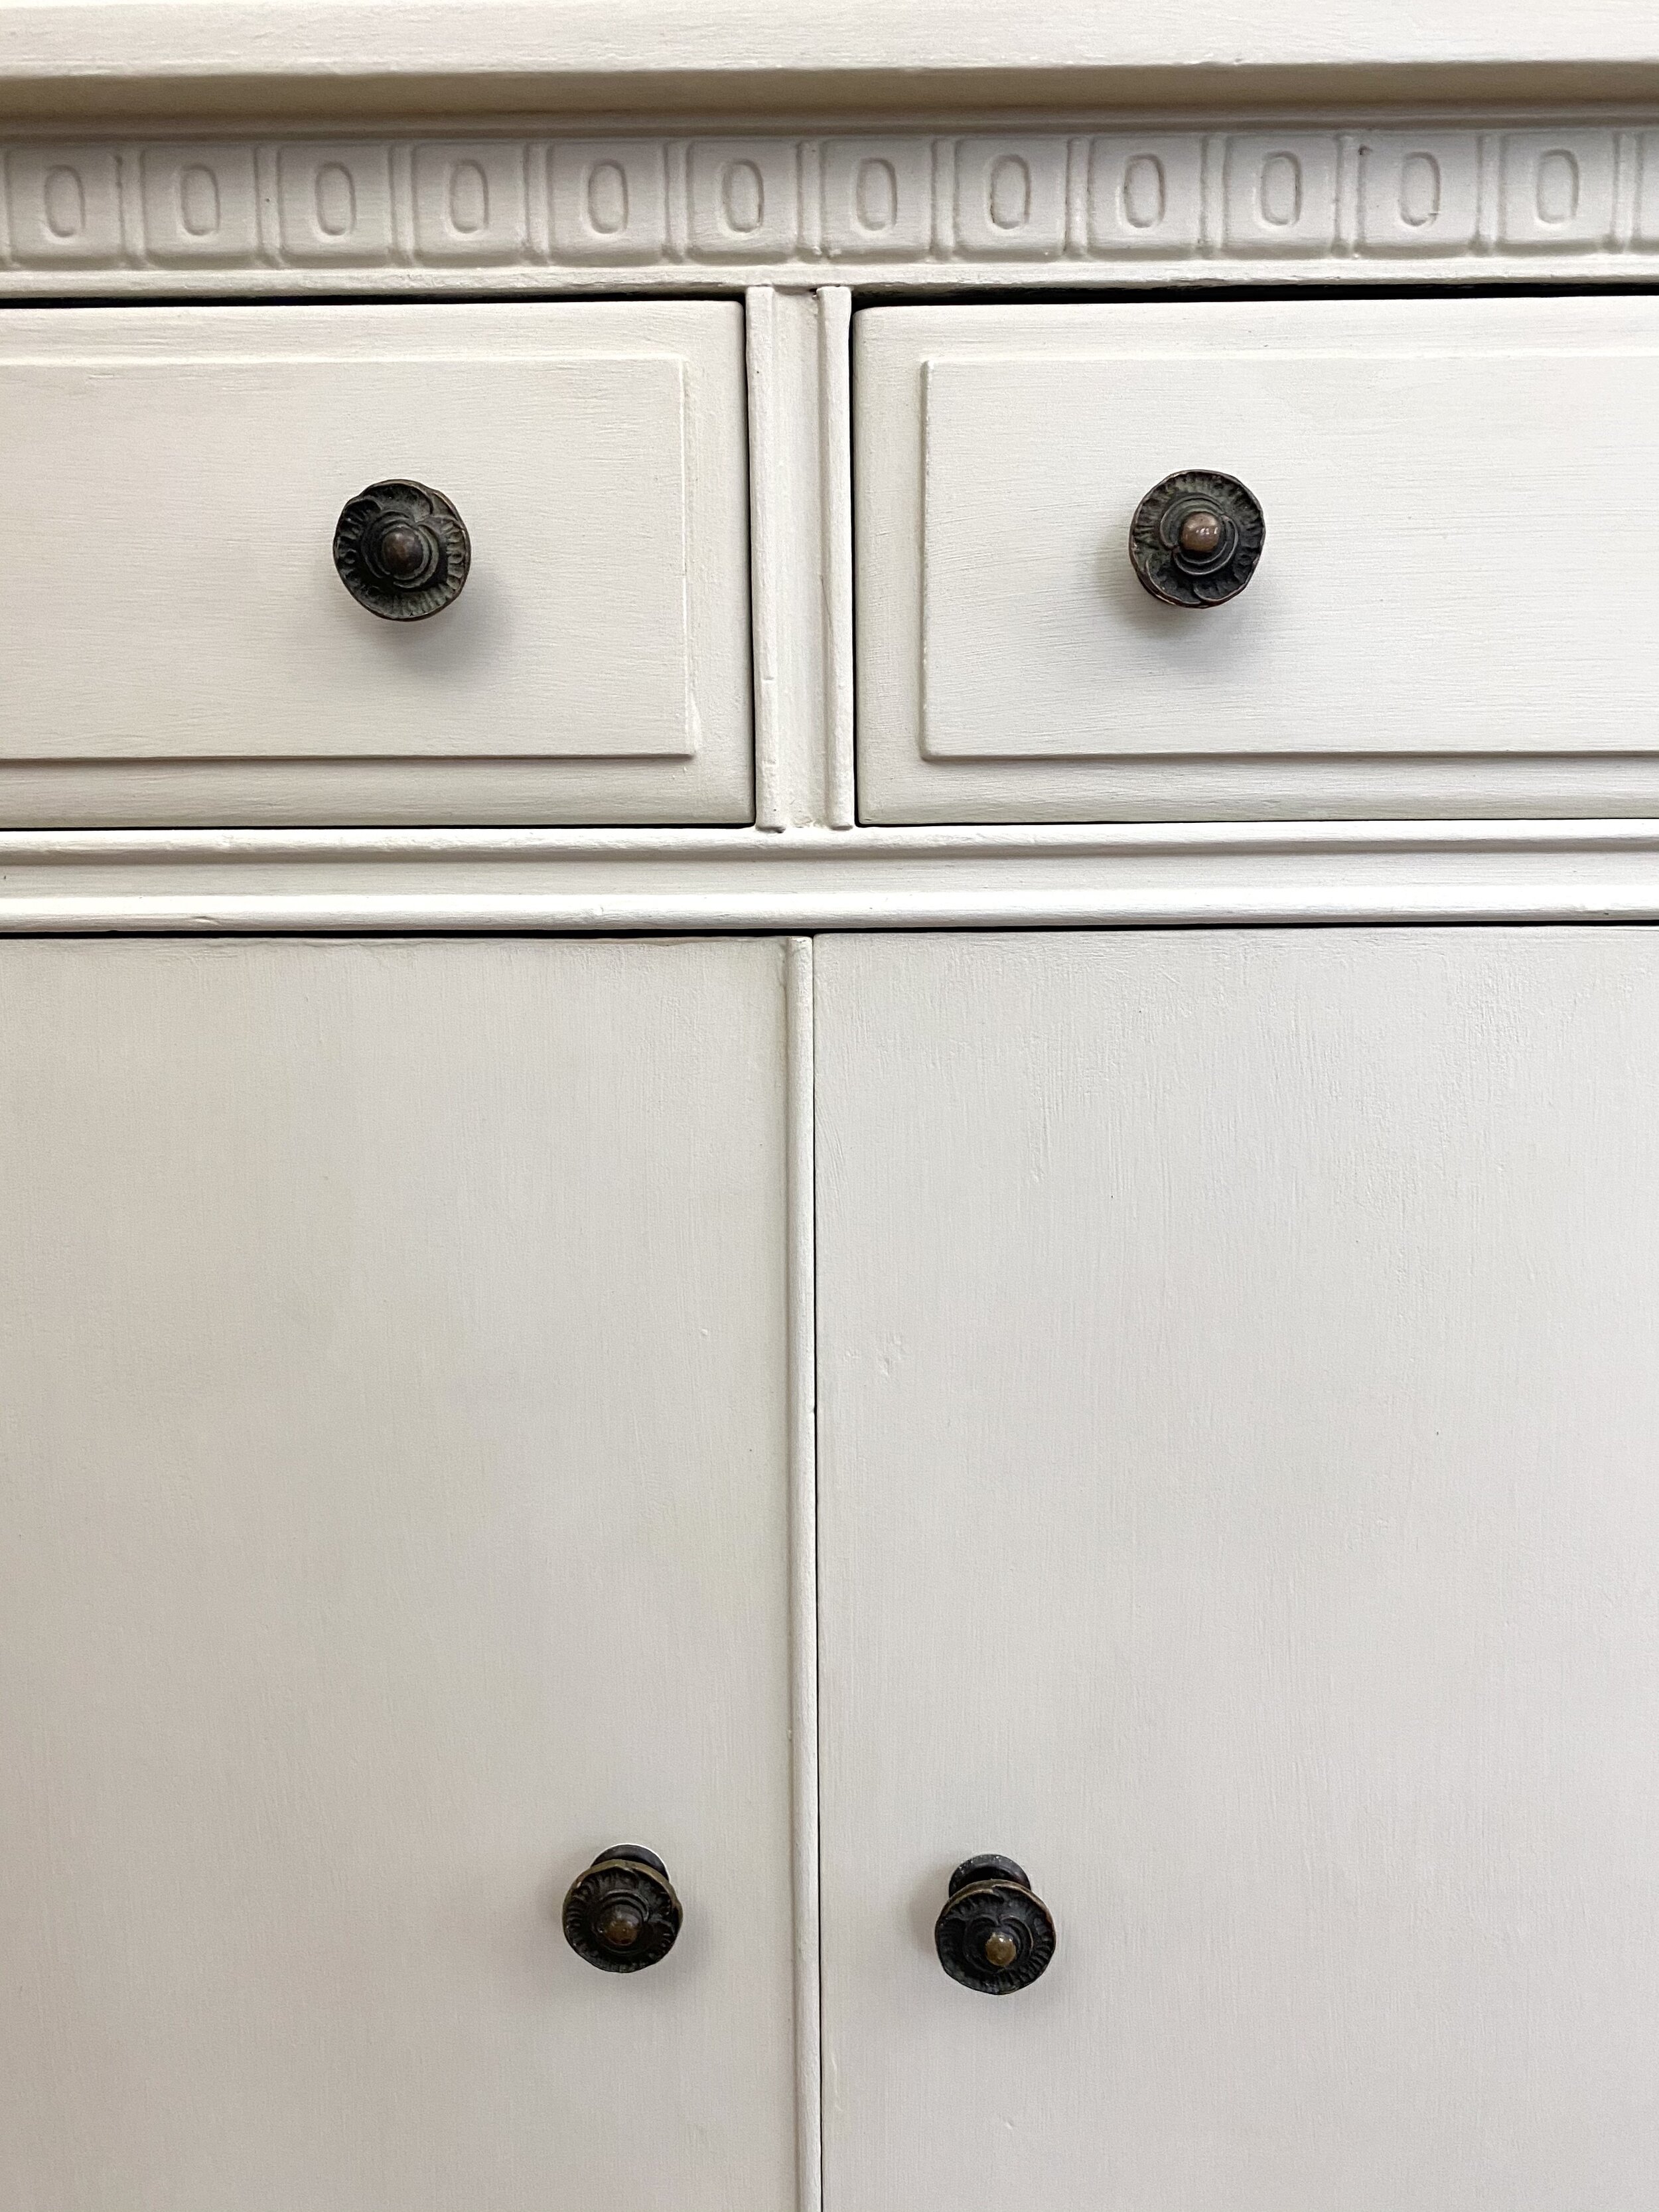
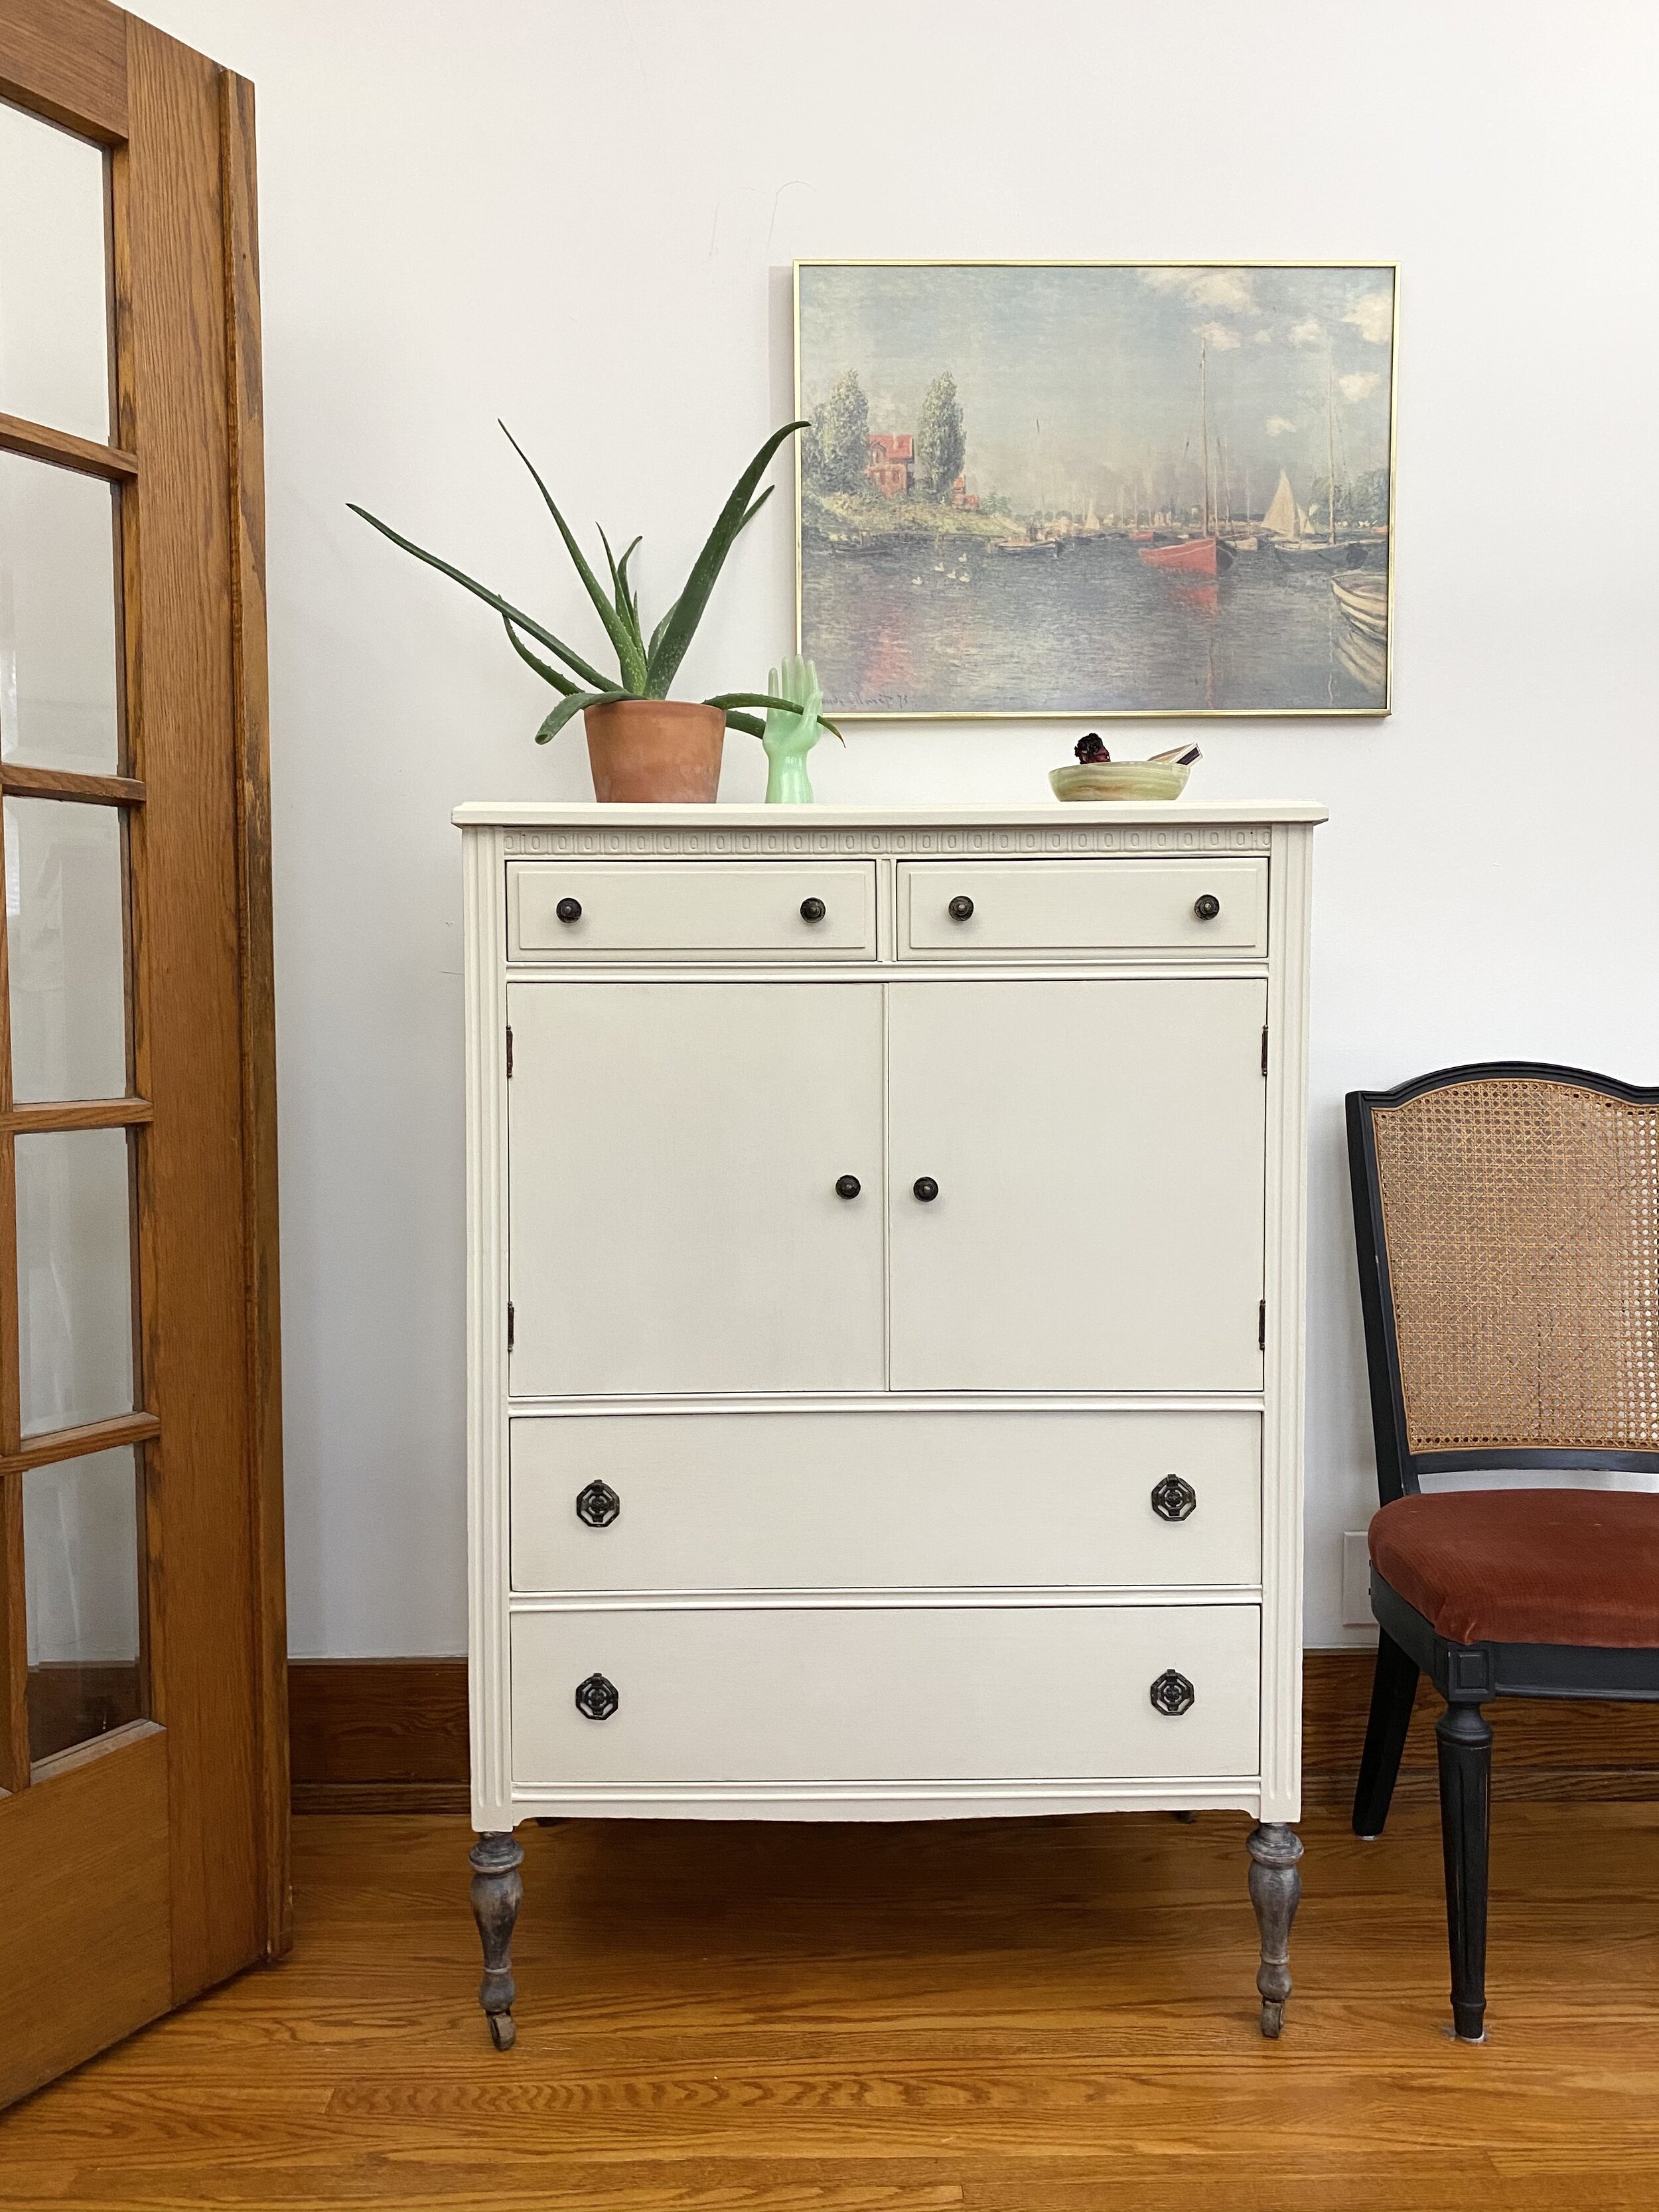
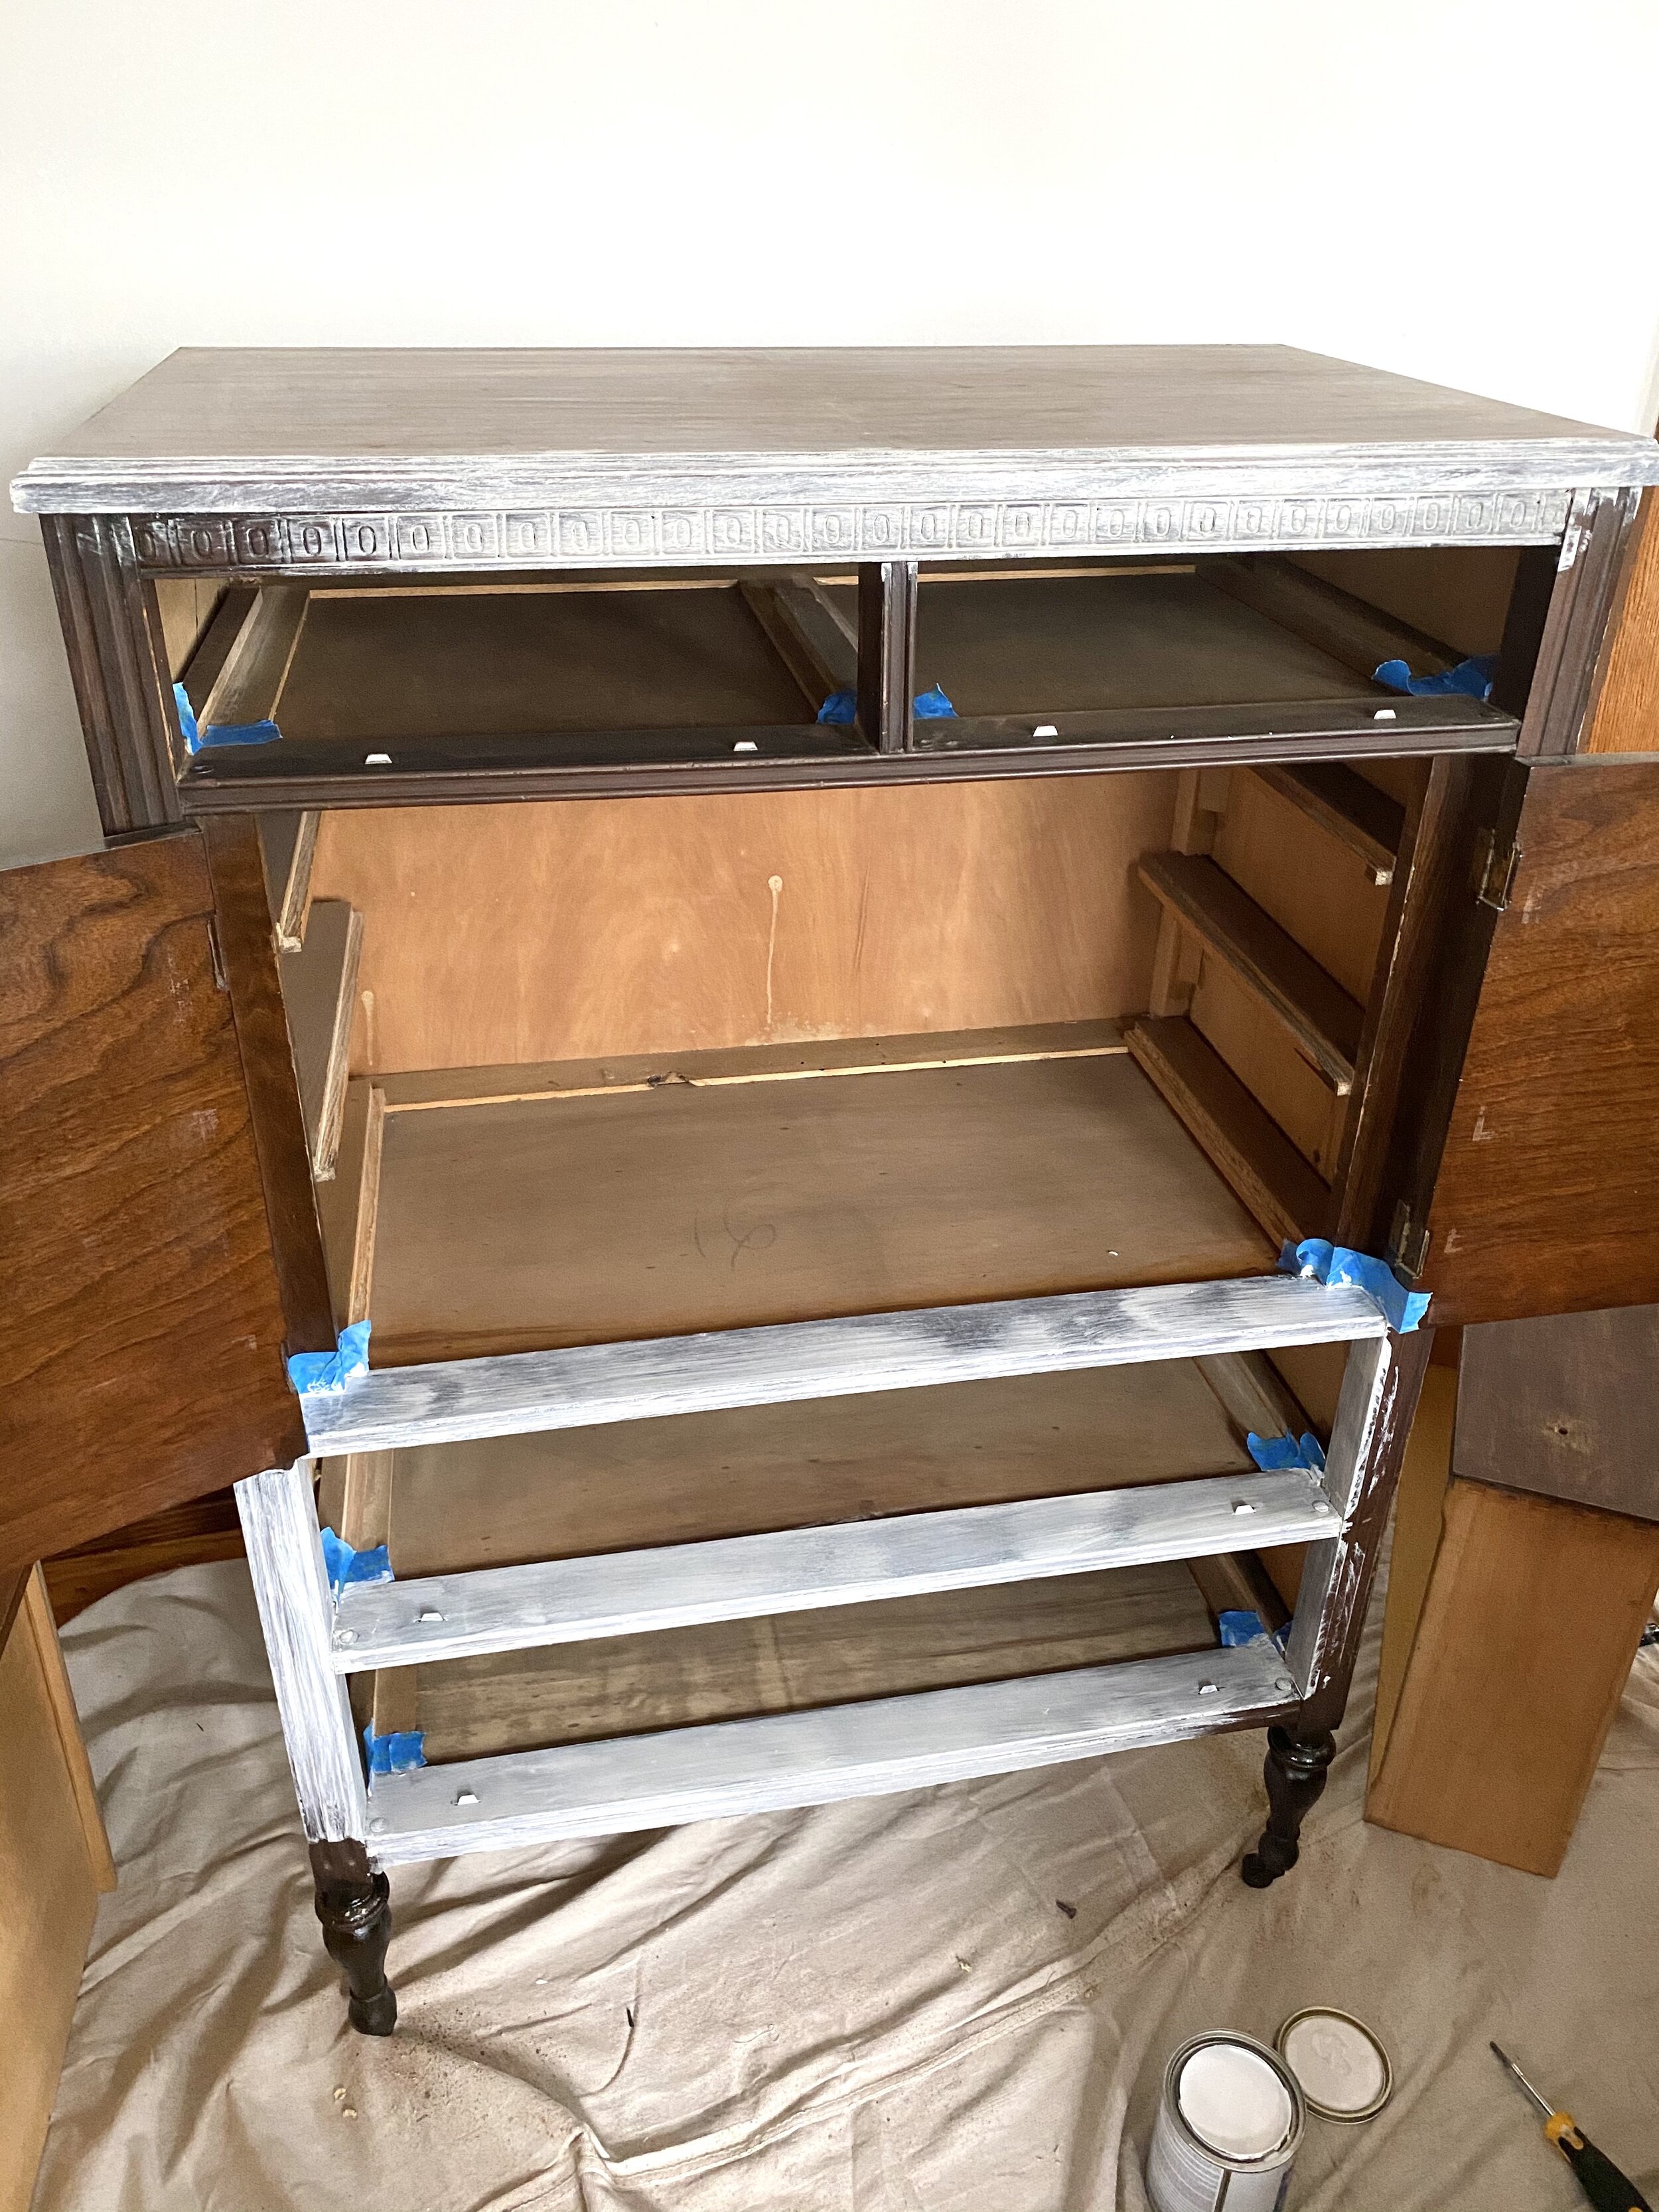
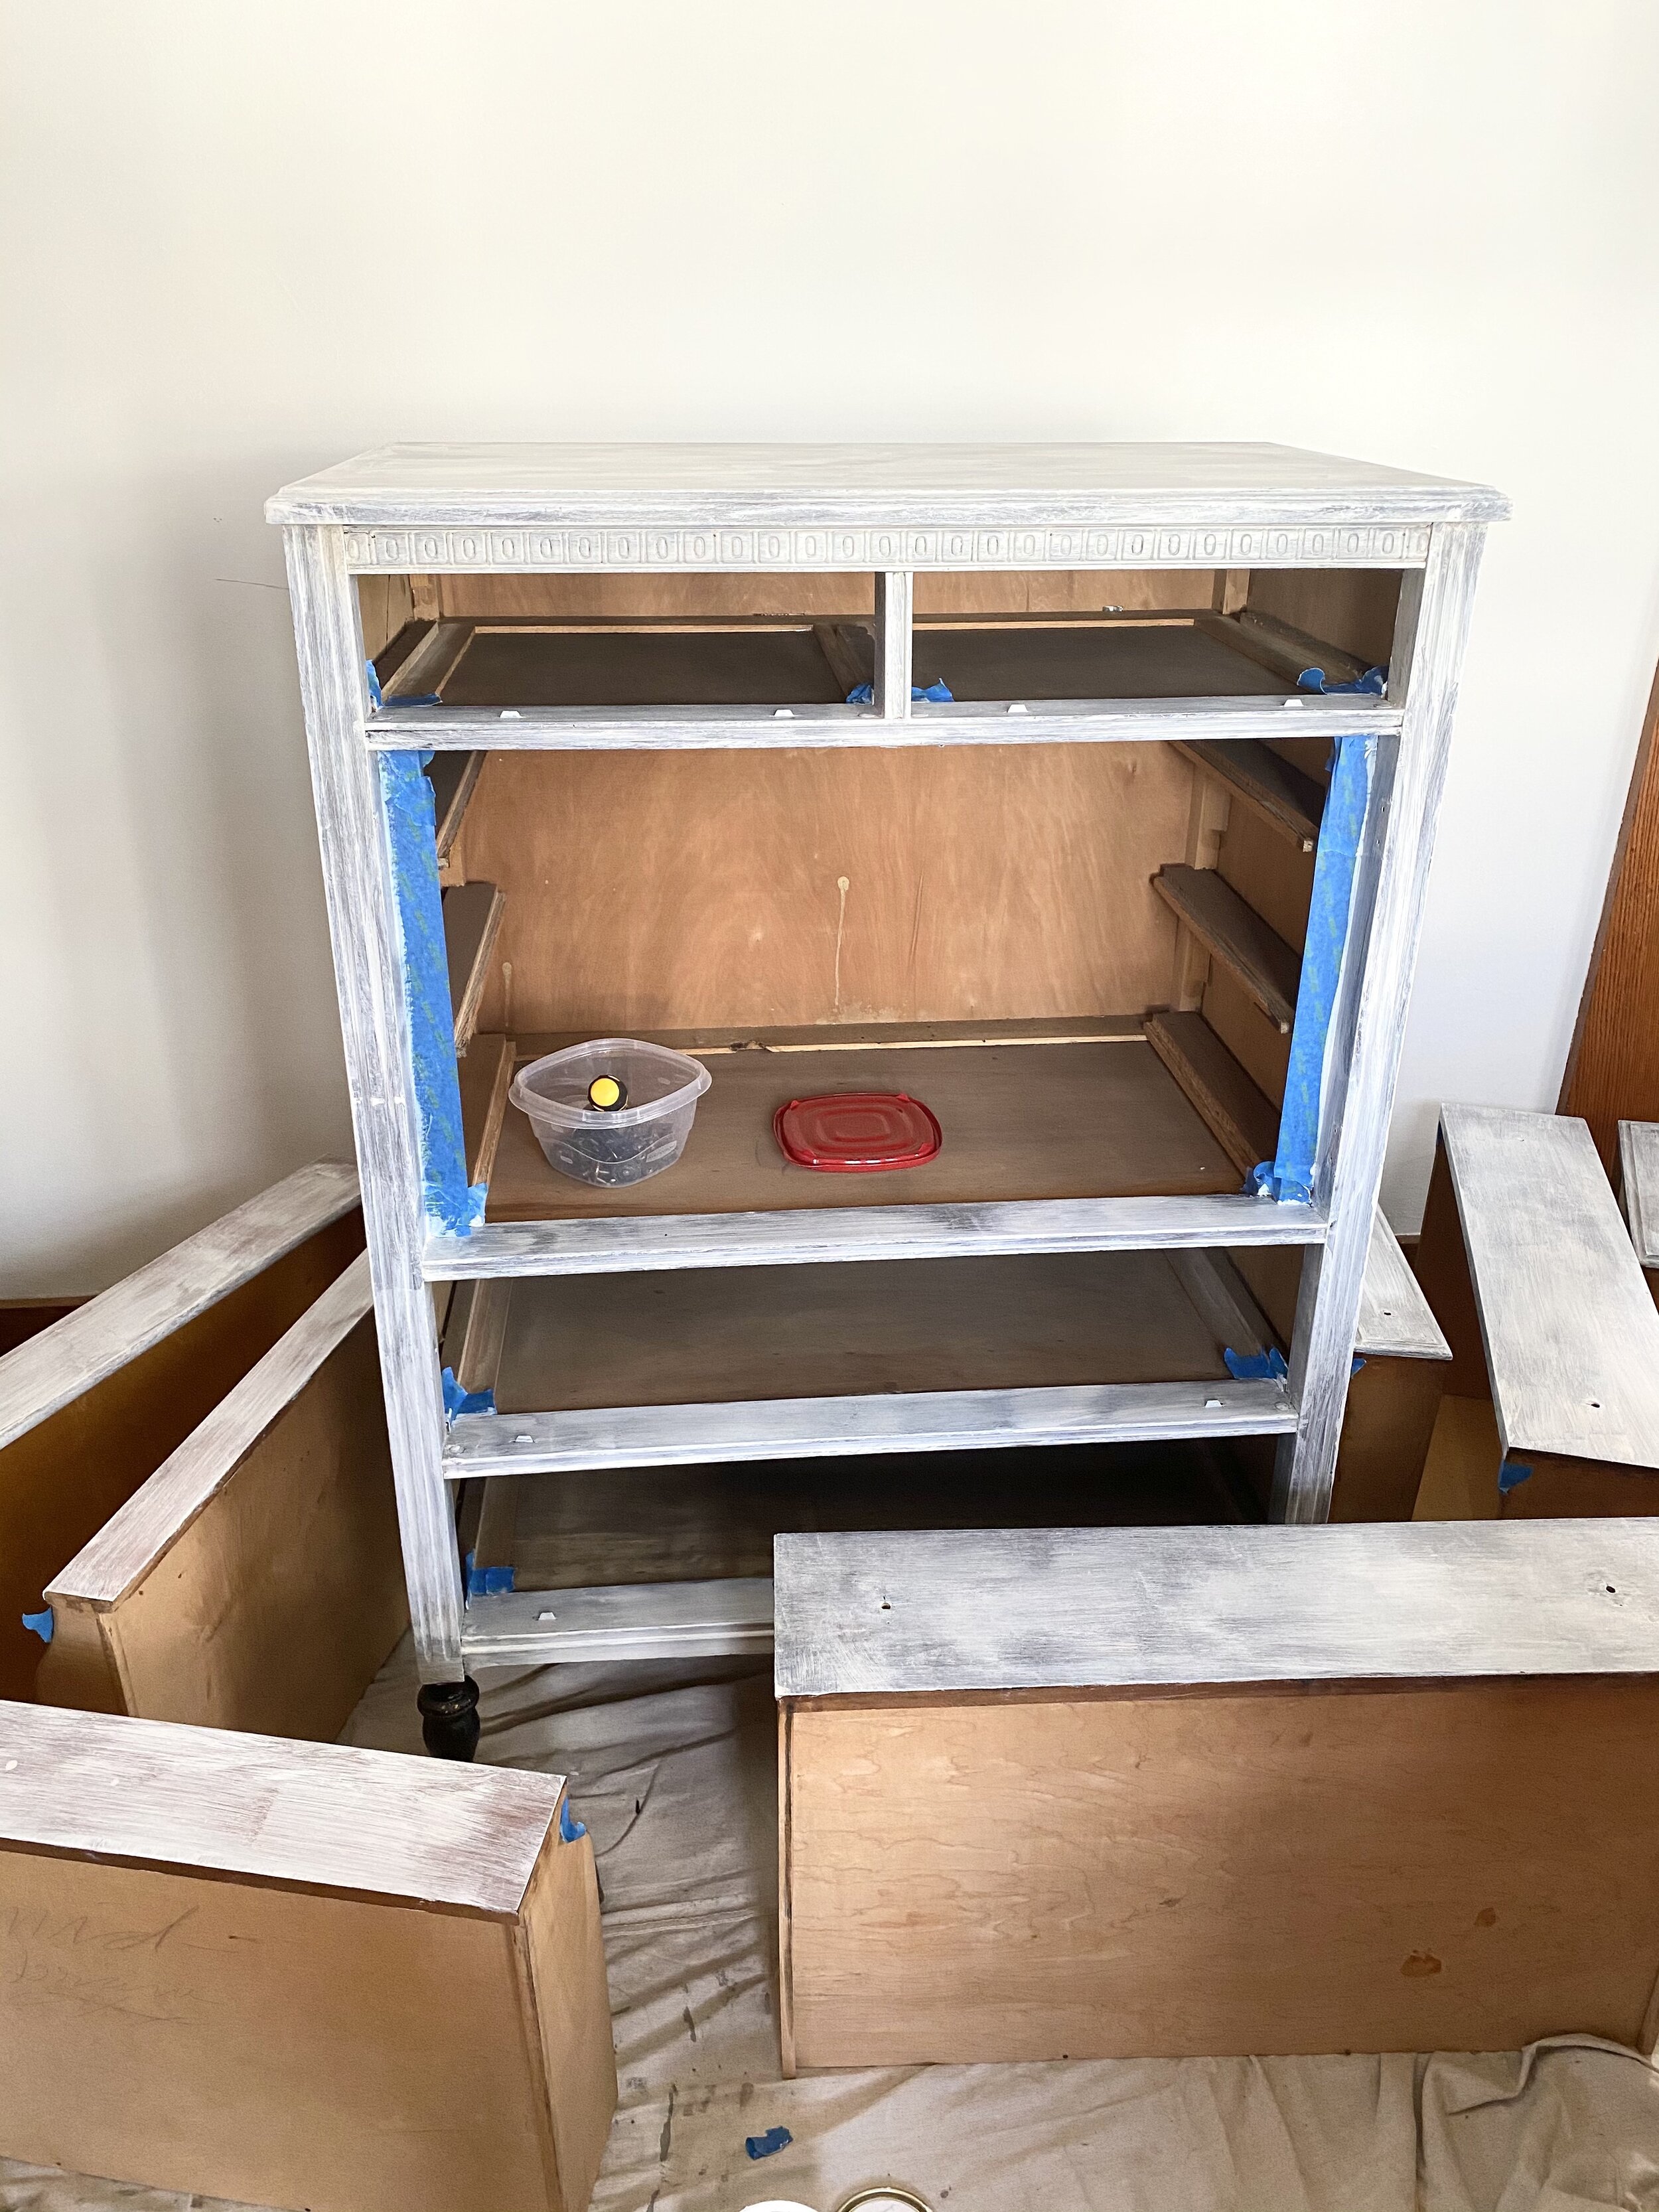
You’re ready to paint!
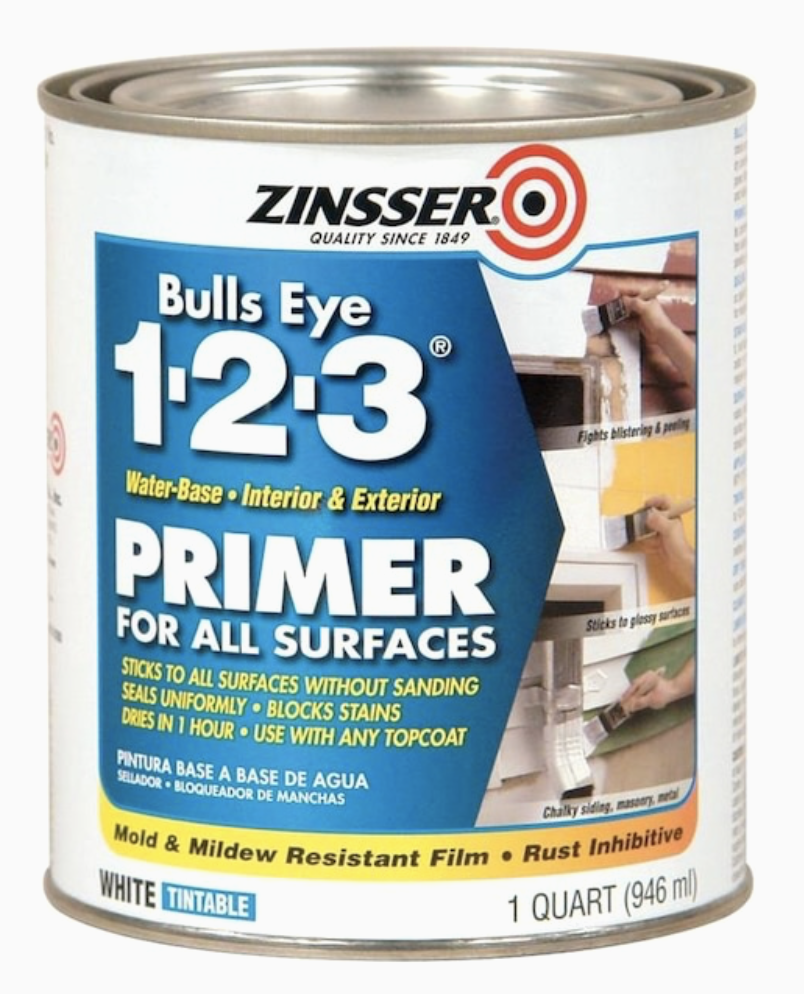
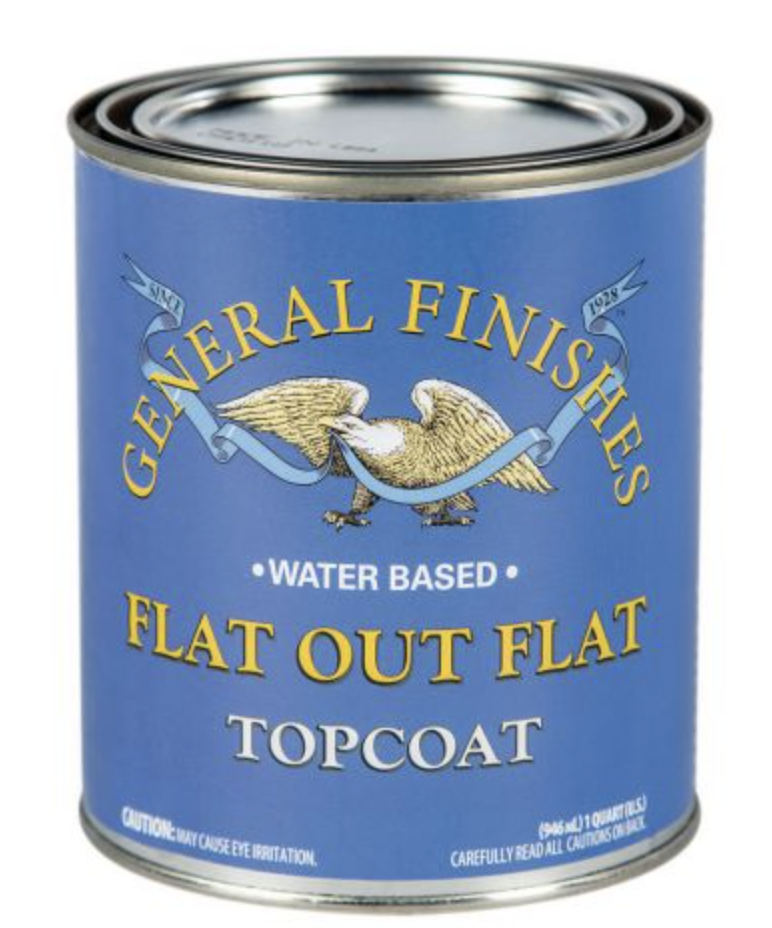
Priming is not always a necessary step, but since I was going from dark to light on this piece, it was the safest option. I used Krylon Chalky Finish water based paint in Ocean Buff for a super creamy, silky look. To finish and protect that matte chalk paint sheen, I used General Finishes ‘Flat Out Flat’ poly. It gives sealed protection without an overly shiny look. Below are the products I used, in order:

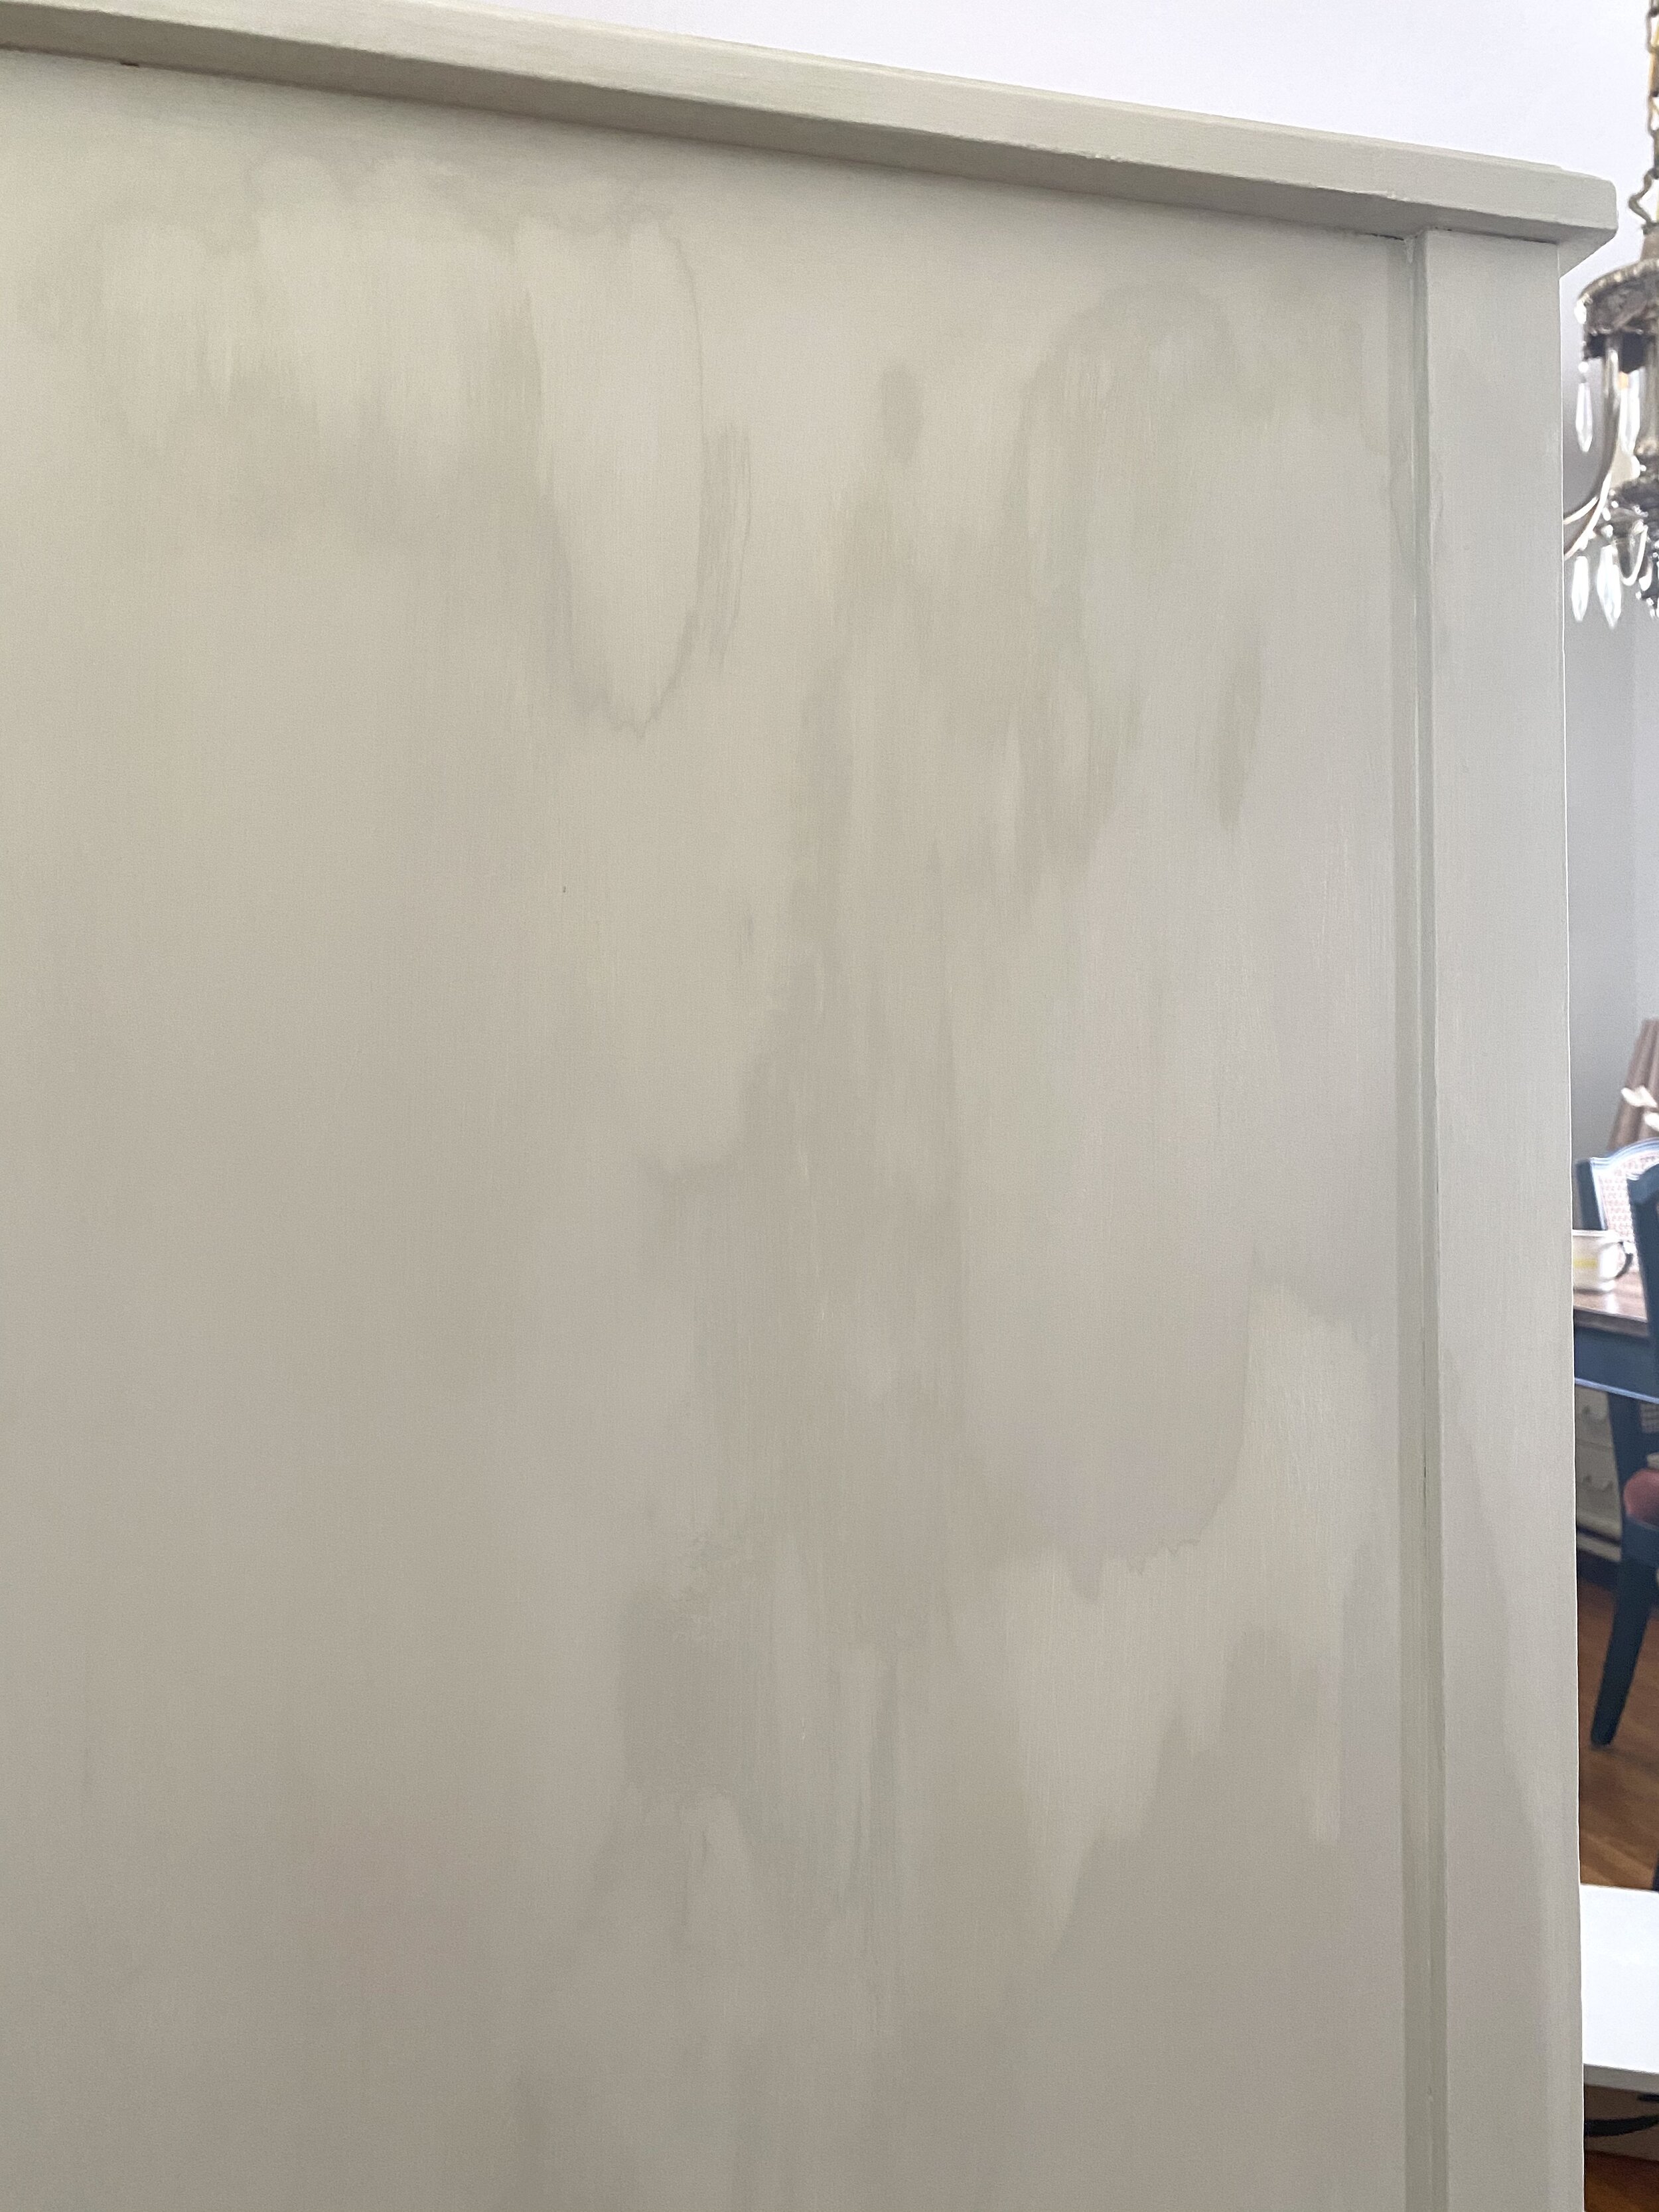
I’m just going to warn you right now - It’s going to get real ugly before it gets beautiful.
It’s going to be streaky and you’re going to fear you’ve ruined the piece forever.
You’re going to take over the entire room you’re painting in and inconvenience everyone in your household with your mess.
You’re going to assume something is wrong with the paint or furniture because 3 coats just isn’t doing it.
I’m being dramatic, but the point is- hang in there! Utter beauty just takes a little time and patience, so enjoy the process!

Painting Tip #1:
These large, chunky brushes do well with chalk paint. They are also great at getting into hard-to-reach crannies.

Painting Tip #2:
Short-handled brushes also are much easier to maneuver that long-handled brushes. Not quite done painting and don’t want to wash your brush yet? Wrap it in plastic wrap and pop it in the fridge to preserve it. (And once again, apologize to your household for being so annoying to live with.)

Painting Tip #3:
Patching can happen at any time. I realized I missed this chip in the veneer only after I painted. I tried to ignore it, but couldn’t. Nothing a little patch job, sanding and another coat of paint couldn’t solve!
The final results!